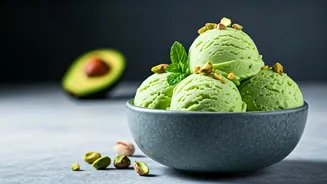


Why Dairy-Free Goes Wrong
Before we get to the solution, let’s understand the problem. Traditional ice cream relies on the magic of dairy—specifically, milk fat and milk sugars (lactose). Fat globules get in the way of water molecules, preventing them from forming large, crunchy
ice crystals. The sugar lowers the freezing point of the mixture, keeping it from turning into a solid, un-scoopable brick. When you remove dairy, you remove this natural structure. Most plant-based milks are primarily water, which is why your first attempt at almond milk ice cream probably tasted like a sweetened ice cube. The key to success is consciously re-introducing the elements that dairy provides: fat, sugar, and solids.
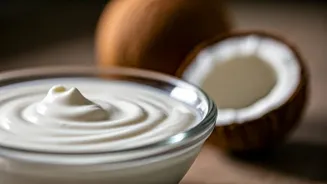
Choose Your Creamy Foundation
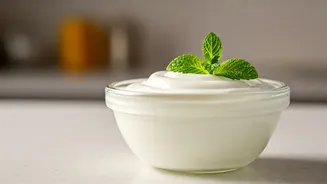
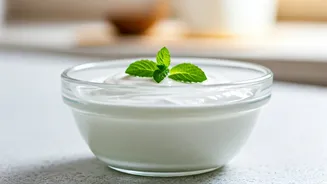
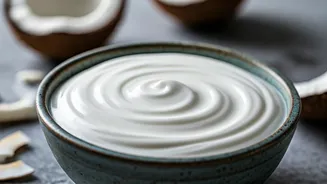
Not all non-dairy bases are created equal. For a truly velvety result, you need a base with inherent creaminess and fat. Full-fat coconut milk from a can is the undisputed champion here. The high saturated fat content mimics dairy cream beautifully, creating a rich mouthfeel. Another excellent option is raw, unsalted cashews. When soaked and blended with water, they break down into a luscious, neutral-tasting cream that’s high in fat and protein. While you can use other milks like oat or soy, they often require more help from other ingredients to achieve the same level of smoothness. Start with coconut or cashew for the most foolproof results.
The Fat Factor Is Everything
Let’s be clear: this is not a low-fat dessert. Fat is the number one enemy of iciness. Your goal is to have a high-fat ratio in your final base. If you’re using full-fat coconut milk, make sure to use the thick cream that rises to the top of the can. If your base seems a bit thin, you can even supplement it. A tablespoon or two of refined coconut oil (which is flavourless) or another neutral oil can be blended into the base before churning. This extra fat will work wonders, coating the microscopic ice crystals and ensuring the final product melts on your tongue, not in crunchy shards.
The Sweet Science of Sugar
Sugar does more than just add sweetness; it’s a crucial textural component. By dissolving in the water, sugar molecules get in the way of freezing, keeping the soft serve, well, soft. While regular granulated sugar works, using a mix of sugars is even better. Invert sugars, like corn syrup, glucose syrup, or even golden syrup, are particularly effective at preventing crystallisation and creating a smooth texture. They are 'hydrophilic,' meaning they love to hold onto water, which further prevents iciness. Try replacing about a quarter of the granulated sugar in your recipe with one of these liquid sugars. You’ll be amazed at the difference it makes in the final texture.
A Pinch of Insurance: Stabilisers
The word ‘stabiliser’ can sound intimidatingly chemical, but it’s simply an ingredient that helps maintain a stable emulsion and prevent ice crystal growth. You only need a tiny amount to make a huge impact. A small pinch of xanthan gum or guar gum (about 1/4 teaspoon per litre of base) can give your soft serve the body and chewiness that’s often missing in dairy-free versions. Both are widely available in the baking aisle. Whisk the powder into your sugar before adding it to the liquid base to prevent clumping. This tiny step is the professional’s secret to an ultra-smooth, store-bought texture.
Technique and Temperature
Finally, how you prepare and freeze your base matters. First, ensure your base is completely smooth. A high-powered blender is your best friend for breaking down cashews or fully emulsifying oils. Second, chill your base thoroughly. It should be refrigerator-cold (4°C or lower) for at least four hours, or preferably overnight, before churning. Putting a warm base into an ice cream maker forces the machine to work harder, which promotes the growth of large ice crystals. A properly chilled base will freeze faster and, therefore, creamier. If you have an ice cream maker, use it. The constant churning is designed to keep ice crystals small. No machine? You can try the 'no-churn' method of freezing the base in a loaf pan and stirring vigorously every 30 minutes, but a machine will always give you a superior, more consistent result.