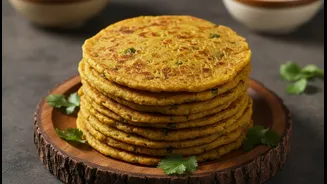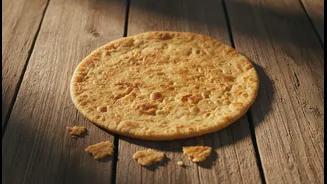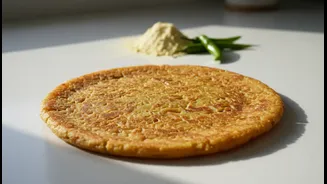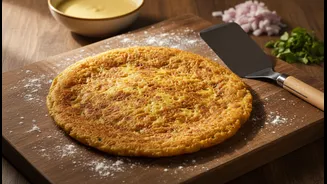






The Foundation: Perfecting Your Batter
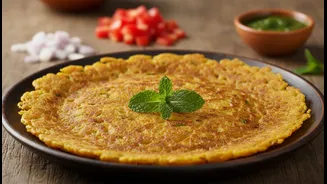
The secret to a great chilla begins with the batter. Its consistency is crucial. You're aiming for a smooth, pourable consistency that’s not too thick and not too thin, much like a standard pancake or dosa batter. A common mistake is adding all the water
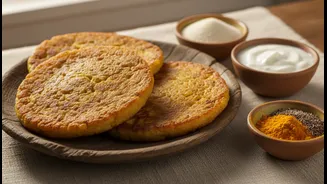
at once. Instead, add water gradually to your gram flour (besan) while whisking continuously to prevent any lumps. For a one-cup measure of besan, you might start with half a cup of water and add more as needed. Sifting the flour beforehand can also help avoid lumps. While a basic batter of besan, spices, and water is traditional, letting it rest for about 10 minutes allows the flour to absorb moisture, which can result in a crispier chilla. Some cooks also add a tablespoon of semolina (suji) or rice flour for extra crispness and better binding.
Managing Your Mix-Ins
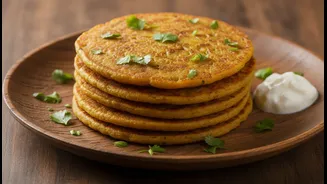
Vegetables add flavour, nutrition, and texture, but they can also be the reason your chilla falls apart. The key is to chop your vegetables—like onions, tomatoes, and coriander—as finely as possible. Large, chunky pieces can disrupt the structure of the chilla and cause it to break when you try to flip it. It's also important to maintain a good balance; too many vegetables can overwhelm the batter and compromise its integrity. Common spices that aid digestion and add flavour include carom seeds (ajwain), asafoetida (hing), turmeric, and grated ginger. Adding these directly into the batter ensures an even distribution of flavour throughout the pancake.
Mastering the Pan and Heat
The right pan and temperature are non-negotiable for a non-stick experience. A non-stick pan or a well-seasoned cast-iron tawa is your best bet. One of the biggest errors is pouring batter onto a cold or insufficiently heated pan, which is a primary cause of sticking. Your pan should be heated on a medium-high flame first. A good test is to sprinkle a few drops of water on the surface; if they sizzle and evaporate immediately, your pan is ready. At this point, reduce the heat to medium before pouring the batter. An overly hot pan will cause the batter to set too quickly and prevent you from spreading it evenly.
The Art of the Pour, Spread, and Flip
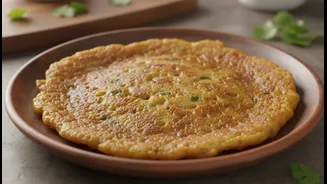
Once your pan is at the perfect temperature, lightly grease it with oil. Pour a ladleful of batter into the centre. Working quickly, use the back of the ladle to spread the batter outwards in a gentle, circular motion to form a thin pancake. Don't make it too thin, as this can make it fragile. Now, be patient. Let the chilla cook for about two to three minutes on medium heat. You’ll know it's ready to be flipped when the edges start to look dry and lift away from the pan. Drizzle a little oil around the edges to help it crisp up. When you see the edges are crisp and the top surface looks set, it's time to flip. Use a thin spatula to gently lift and turn it over, then cook the other side for another minute or two until you see golden-brown spots.
Troubleshooting Common Chilla Disasters
What if it still goes wrong? Don't worry. If your chilla is sticking, your pan was likely not hot enough or not greased properly. If it's breaking upon flipping, the batter might be too thin, you may have added too many large vegetable pieces, or you didn't let it cook long enough before attempting the flip. A thick, doughy chilla means your batter was too thick or the heat was too low. Conversely, if it burns before cooking through, the heat is too high. For each chilla, wipe the pan with a cloth or tissue and re-grease it lightly to prevent residue build-up and maintain consistent heat. This simple step ensures each chilla has a clean start.