
The Sweet of Krishna's Birthplace
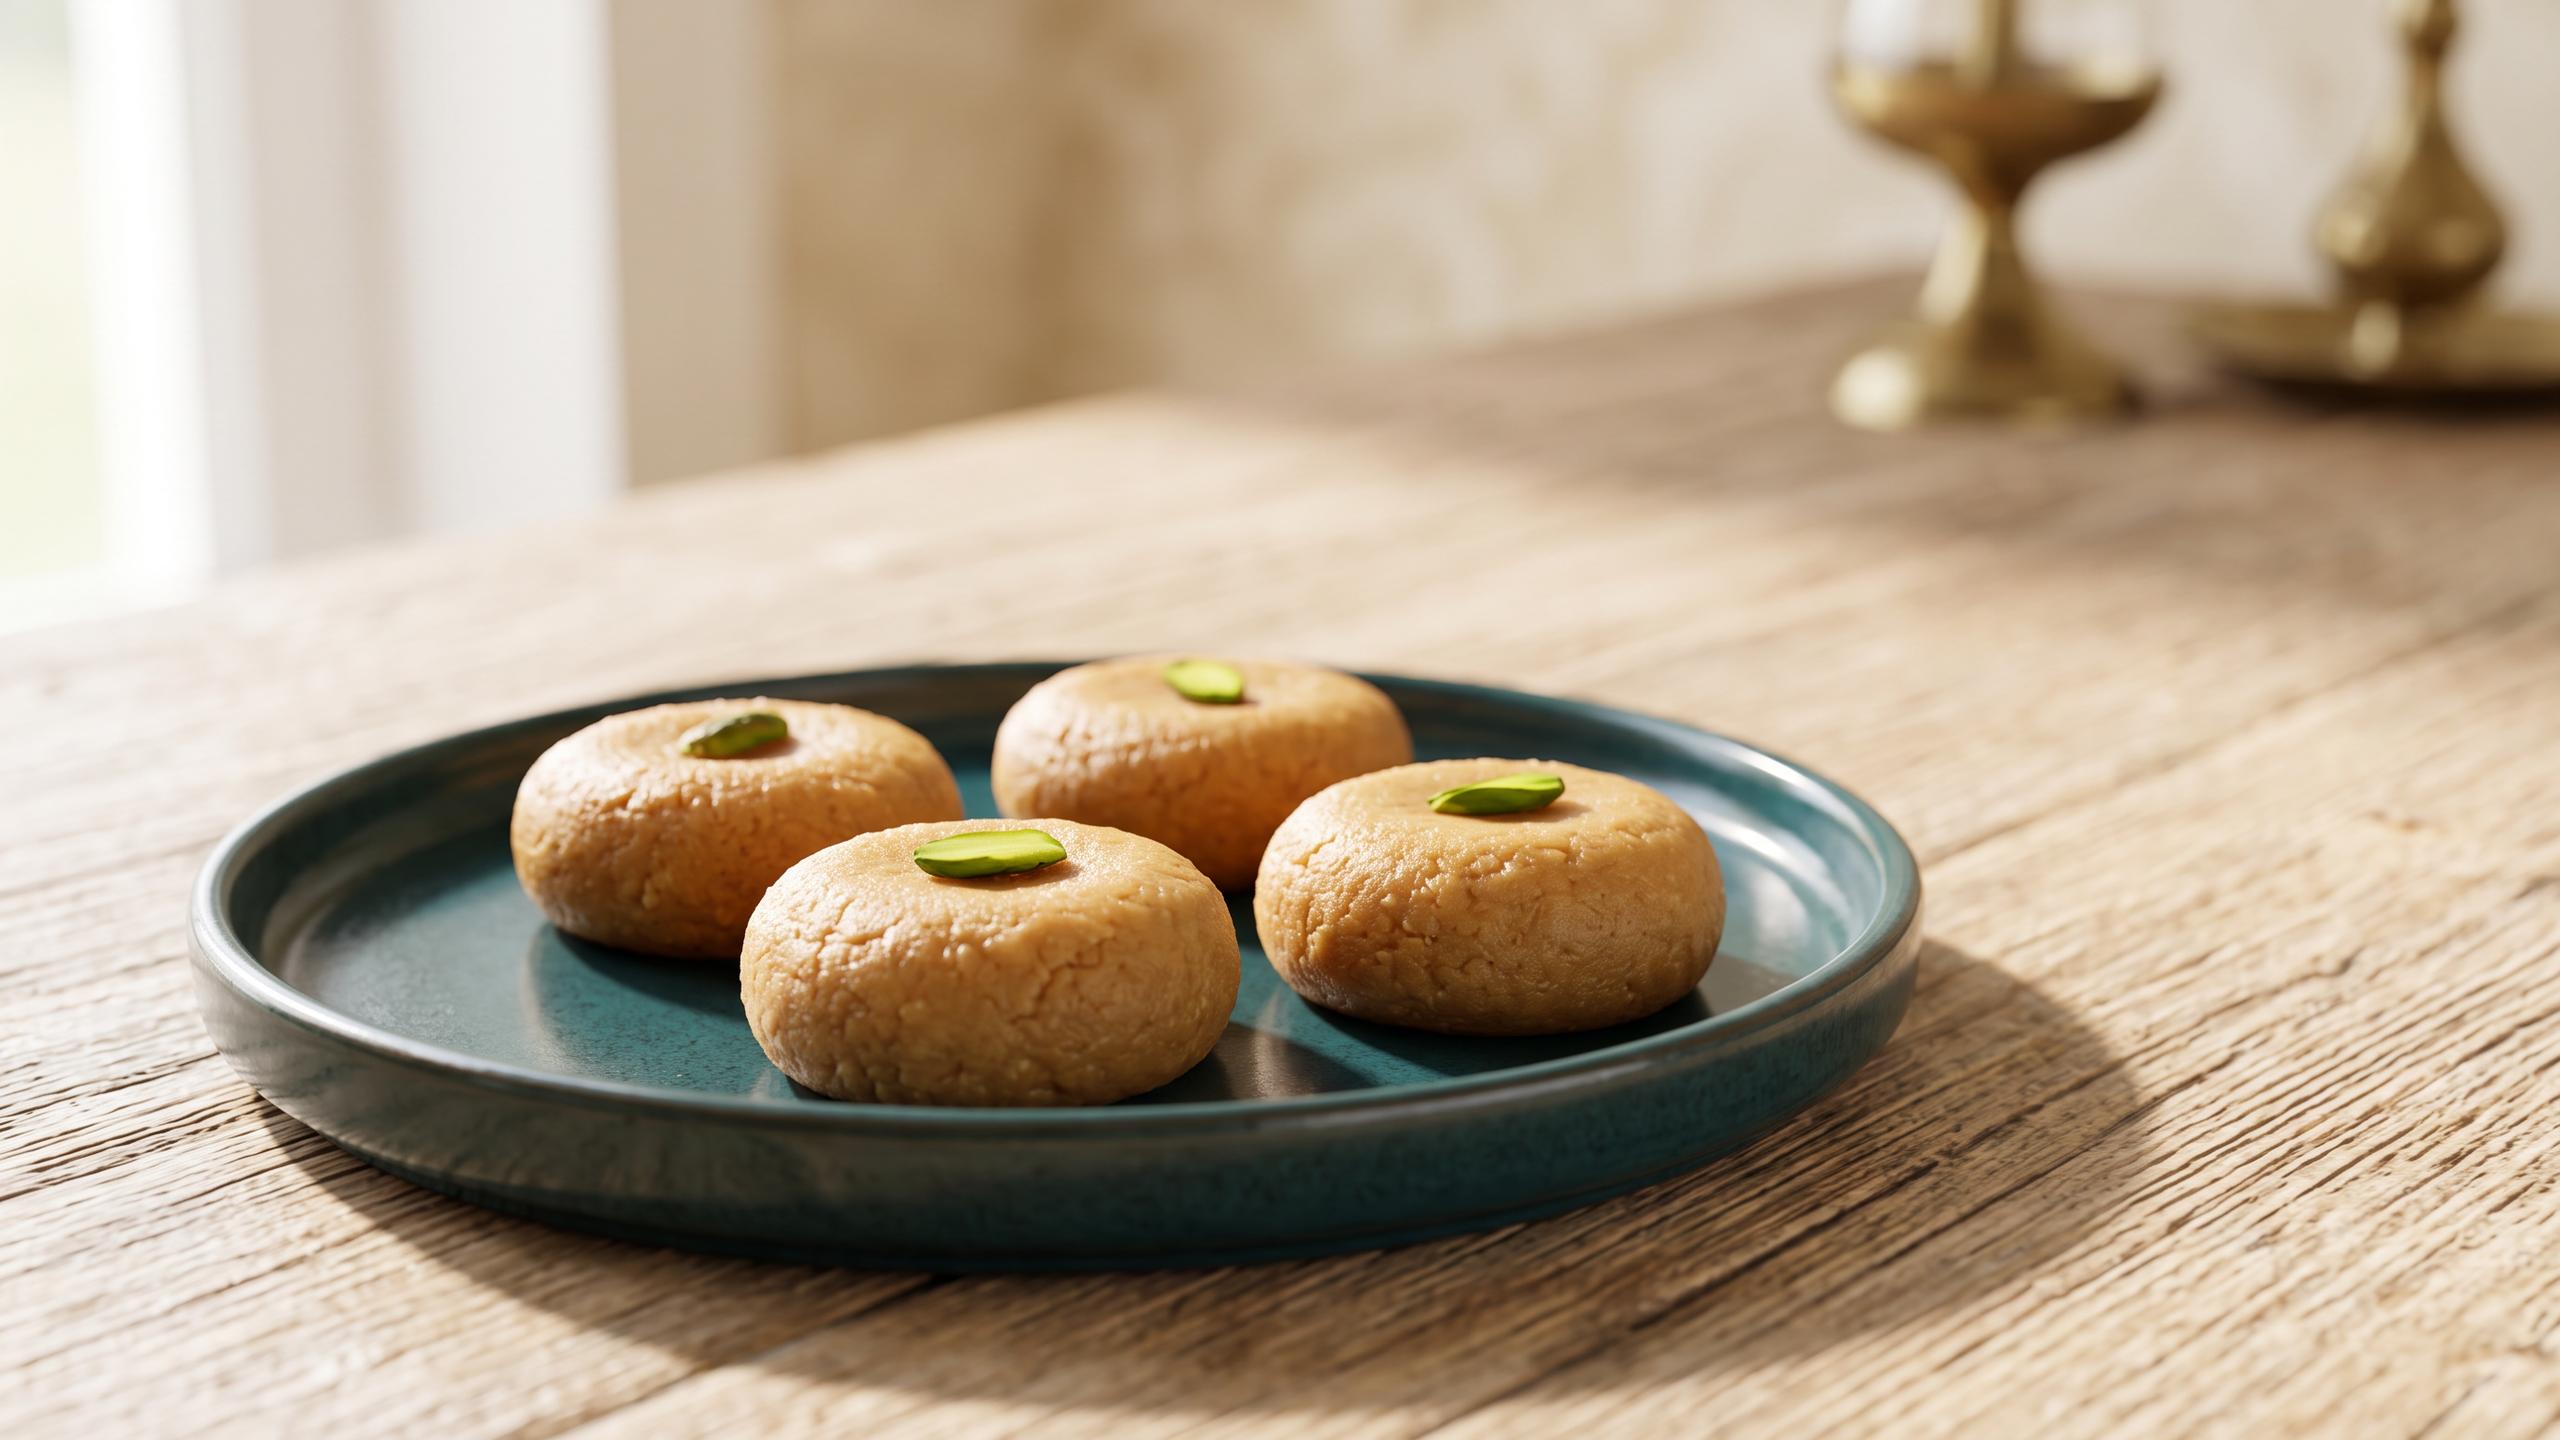
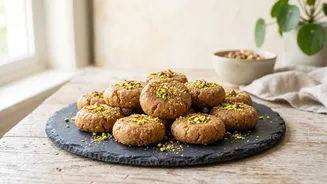
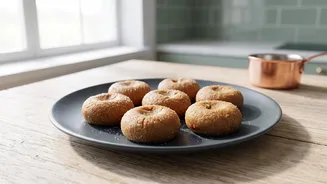
Janmashtami, celebrating the birth of Lord Krishna, is incomplete without offerings of milk-based sweets. Among the most beloved is the Peda, especially the style famous in Mathura, Krishna's holy birthplace. Known for its rich, caramelized flavour and
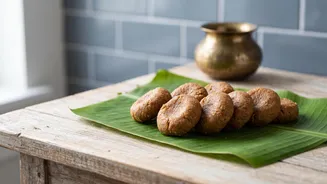
slightly grainy texture, Mathura Peda is more than just a dessert; it's a taste of sacred tradition. Making it at home is a rewarding way to connect with the festive spirit. This classic recipe uses khoya (milk solids), which is slow-roasted to develop its characteristic dark colour and deep flavour, then sweetened and scented with cardamom.
Gather Your Ingredients
This recipe focuses on the traditional method using khoya, which you can either buy from a store or make at home. For the most authentic Mathura-style peda, you will need just a few simple ingredients: Khoya (Mawa): 2 cups (around 250 grams), unsweetened and grated. This is the heart of the Peda. Sugar: ½ to ¾ cup of powdered sugar (also known as bura or tagar), plus extra for coating. Adjust to your sweetness preference. Ghee: 1-2 tablespoons. A little ghee helps in roasting the khoya and prevents sticking. Cardamom Powder: ½ to 1 teaspoon, for that classic aroma and flavour. Milk: 2-3 tablespoons, if needed, to adjust the consistency. Optional Garnish: Finely chopped pistachios or almonds.
Step 1: Roasting the Khoya
The key to authentic Mathura Peda is perfectly roasted khoya. This step requires patience but is crucial for the final colour and taste. Begin by grating your unsweetened khoya. Place a heavy-bottomed pan or kadai on low heat and add the grated khoya. Stir continuously as it begins to melt. After a few minutes, add a tablespoon of ghee and continue to roast. Keep the flame on low to medium-low, stirring constantly to prevent the khoya from burning at the bottom. The mixture will gradually change colour from white to a light golden brown and then to a darker, caramel-like shade. This process can take anywhere from 15 to 40 minutes depending on your stove and pan. The goal is a rich, dark golden-brown colour and a crumbly texture. If the mixture seems too dry, you can add a splash of milk.
Step 2: Combining and Cooling
Once the khoya has achieved the desired dark brown colour and is fragrant, turn off the heat. Transfer the mixture to a separate bowl or plate to cool down slightly. It's important that it's not completely cold but just warm enough to handle with your hands. If the roasted khoya has lumps, you can briefly pulse it in a blender to achieve a smoother, more uniform powder-like consistency. Now, add the powdered sugar and cardamom powder to the warm khoya mixture. Use your hands to mix everything together thoroughly, rubbing it to ensure the sugar and flavourings are evenly distributed. Add a tablespoon or two of milk if the mixture feels too dry to bind together. It should come together like a moist dough.
Step 3: Shaping Your Pedas
Before you begin shaping, lightly grease your palms with a little ghee. This prevents the mixture from sticking and gives the Pedas a smooth finish. Take a small, lemon-sized portion of the warm mixture and roll it between your palms to form a smooth, crack-free ball. Gently flatten it between your palms. You can also press the center gently with your thumb to create a small indent. Traditionally, Mathura Pedas are then rolled in powdered or coarse sugar for a final coating. Place the finished Pedas on a plate. If you like, you can garnish the top of each Peda with finely chopped pistachios or almonds. Let them sit and air dry for about an hour to firm up before serving.
Tips for Perfect Pedas
Making perfect Peda at home is all about technique. Always use a heavy-bottomed pan to prevent the milk solids from burning. Constant stirring on low heat is non-negotiable; leaving the khoya unattended even for a minute can result in a burnt taste. Don't overcook the mixture, as this can lead to dry and hard Pedas. The mixture is ready for shaping when it's warm, not hot or cold. If it's too hot, it will be sticky, and if it's too cold, it will be difficult to shape. Store your homemade Pedas in an airtight container. They will stay fresh at room temperature for a day or in the refrigerator for up to a week.