




Why Proper Sectioning is Non-Negotiable
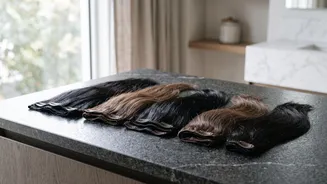
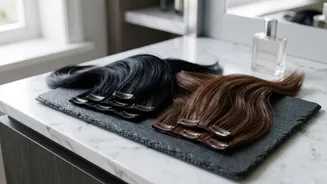
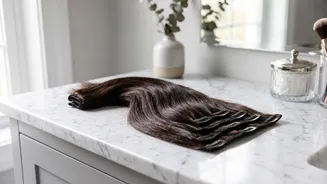
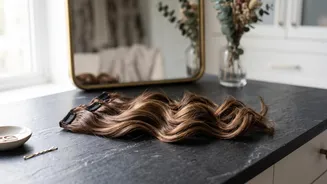
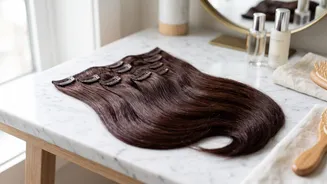
Sectioning your hair before applying clip-ins is about more than just organization; it's the foundation of a secure, comfortable, and damage-free style. When you create clean, horizontal parts, you ensure that each extension weft has a solid base to grip
onto. This prevents the clips from pulling on individual strands, which can cause tension headaches and, over time, lead to breakage. Proper sectioning distributes the weight of the extensions evenly across your scalp, making them feel lighter and more natural. Without it, you risk placing wefts unevenly, which can result in a bulky, unnatural appearance and put unnecessary strain on your roots.
The Philosophy of 'Gentle' Sectioning
The key to protecting your hair is to be mindful and gentle throughout the application process. This starts with how you part your hair. Avoid pulling or tugging at the roots, which can cause discomfort and damage. The goal is to create clean lines without stressing the hair follicles. This gentle philosophy extends to preparing the root for the clip. While light backcombing or a spritz of texturizing spray can provide extra grip, especially for fine hair, it should be done minimally. Aggressive teasing creates tangles and weakens the hair shaft, defeating the purpose of a protective styling method. Think of it as creating a supportive cushion, not a tangled mess.
Your Essential Toolkit
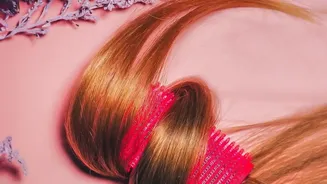
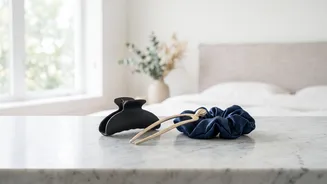
You don't need a professional salon's worth of equipment, but a few key tools will make gentle sectioning infinitely easier. First is a rat-tail or pintail comb. Its slender end is perfect for creating precise, clean horizontal parts. Second, you'll need sectioning clips to hold the rest of your hair securely out of the way while you work. This prevents stray strands from getting caught and ensures you’re only working with the section you intend to. For those with very fine or silky hair, a texturizing powder or a dry shampoo can be a great addition to provide a bit more grip at the root without causing damage.
A Step-by-Step Guide to Gentle Application
Ready to apply your extensions with care? Start with clean, completely dry, and detangled hair. 1. Create Your First Section: Using your rat-tail comb, make a clean horizontal part low on your head, about an inch above the nape of your neck. Clip the rest of your hair up and out of the way. 2. Prepare the Root (If Needed): If your hair is fine, lightly backcomb the roots of this section just once or twice, or apply a small amount of texturizing powder to create a base for the clip to hold. 3. Secure the Weft: Open the clips on your first weft. Use a 'scooping' motion: press the clip down into the root, scoop slightly upwards to catch the prepared hair, then press it flat against your head and snap it shut. This ensures a secure hold without pulling. 4. Work Your Way Up: Release another section of hair about an inch above the first weft and repeat the process. Continue this, using the wider wefts for the widest part of your head and saving smaller ones for the sides.
Common Mistakes to Avoid
Even with the best intentions, a few common errors can lead to visible extensions or hair strain. One major mistake is clipping the wefts too high on the head, near your parting or natural hairline. Always leave about an inch of your own hair free at the crown and around your face to ensure the wefts are concealed. Another error is creating crooked or uneven partings, which can cause the weft to sit awkwardly and become visible. Finally, avoid the temptation to place clips in the exact same spot every time you wear your extensions, as this can cause repeated stress on the same strands. Rotating your placement slightly will help keep your natural hair healthy.