





The Telltale Signs of a Soggy Pot
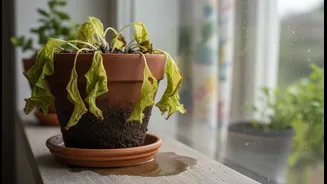
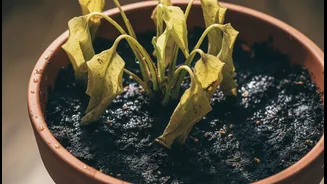
Before you can fix the problem, you need to be sure you’ve diagnosed it correctly. Confusingly, a wilting plant can be a sign of both too much and too little water. With overwatering, however, the plant wilts even when the soil is damp to the touch. This
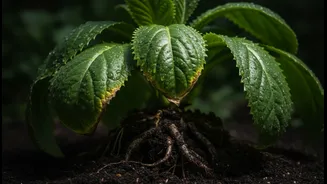
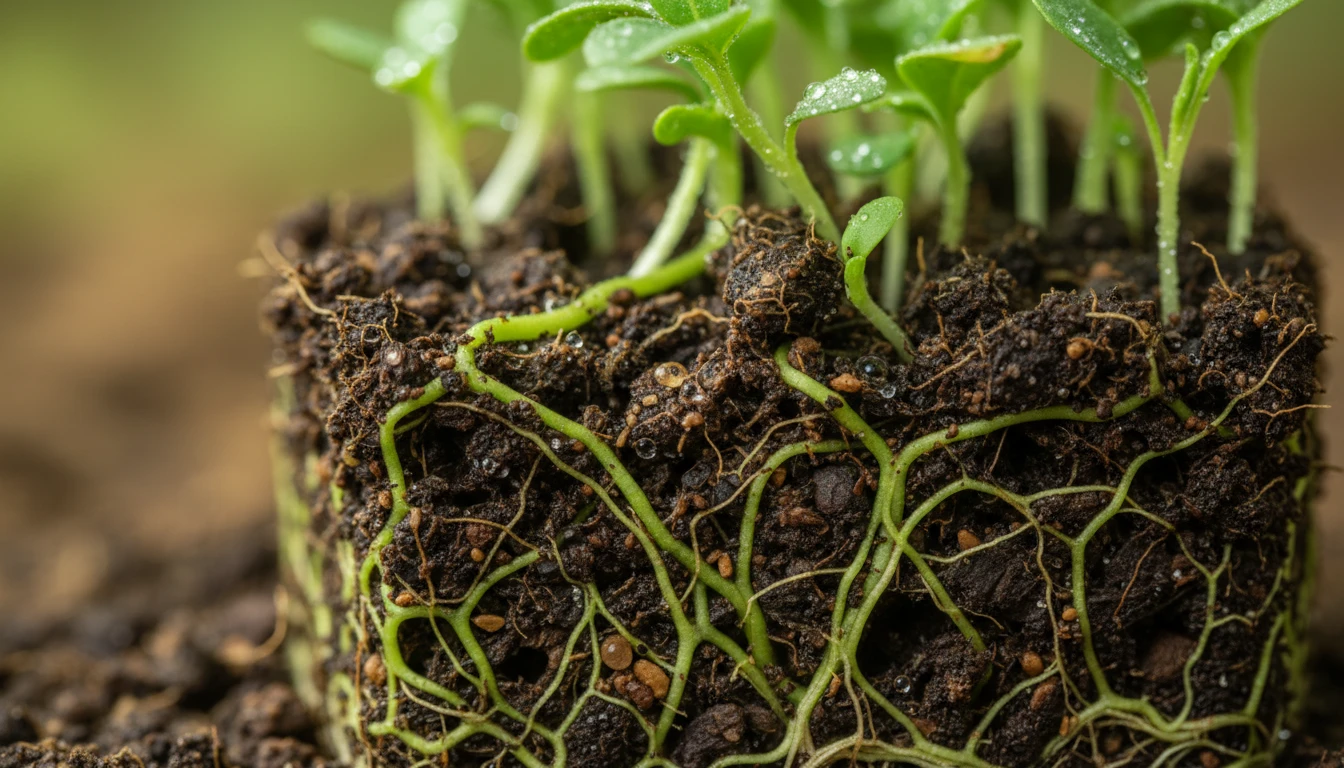
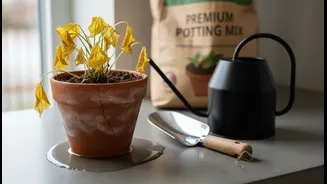
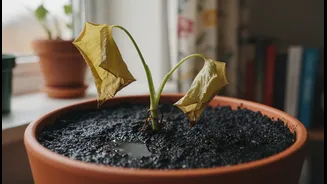
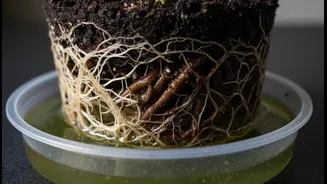
happens because the roots are so waterlogged they can no longer absorb oxygen or nutrients, effectively suffocating. Other common signs include yellowing lower leaves that feel soft, mushy stems near the soil line, and a distinct musty or foul smell coming from the pot, which signals the onset of root rot. Healthy roots should be firm and white or tan; if you see brown, black, or slimy roots, you have a problem.
Step One: Focus on Drainage
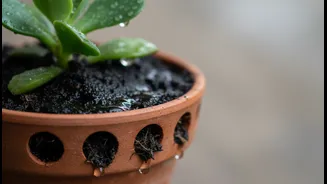
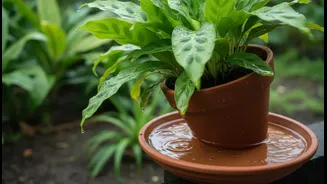
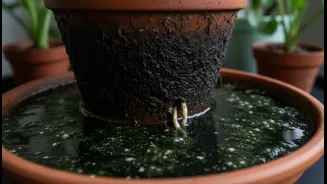
Once you've confirmed overwatering is the issue, immediate action is needed to get air back to the roots. The first and most critical step is ensuring proper drainage. If your pot doesn't have drainage holes, that's your primary problem. You'll need to either carefully drill holes or, ideally, repot the plant into a container that does. If the pot already has holes, make sure they aren't clogged. You can use a chopstick or skewer to gently clear them. For a severely waterlogged plant, it’s best to gently remove it from the pot. If the soil is sopping wet, you can place the root ball on a stack of newspapers or paper towels to help wick away excess moisture for a few hours. This is also the perfect time to inspect for root rot.
Step Two: Give It Some Space and Air
Suffocating roots need to breathe. After addressing drainage, the next step is to improve air circulation. If you've removed the plant from its pot, let the roots air out for a few hours before repotting into fresh, well-draining soil. When repotting, choose a soil mix appropriate for your plant; adding amendments like perlite or coarse sand can significantly improve aeration and prevent compaction. Don’t pack the new soil too tightly around the roots. Even if you don't repot, you can improve airflow by gently tilting the pot on its side and tapping it to create small air pockets between the soil and the pot wall. Moving the plant to a well-ventilated area can also help the soil dry out more evenly.
Step Three: Practice Patience and Pruning
After the initial rescue, the hardest part begins: waiting. Recovery takes time, and your plant needs a stable, stress-free environment. Move it to a spot with bright, indirect light; direct sun can be too harsh for a stressed plant and cause its leaves to scorch. Resist the urge to water it again immediately. Wait until the top inch or two of soil feels completely dry to the touch. You can also help the plant focus its energy on recovery by pruning away any yellowed or dead leaves, as well as any roots that were confirmed to be rotten. Use clean, sterilised scissors to make sharp cuts and prevent the spread of any fungal disease.
Why More Plant Food Isn't the Answer
When a plant looks sickly, it's tempting to give it a dose of fertilizer, thinking it needs a nutrient boost. However, for an overwatered plant, this is one of the worst things you can do. Fertilizer is essentially a mix of salts, and applying it to already damaged, fragile roots can cause 'fertilizer burn,' further stressing the plant. Stressed roots are unable to properly absorb nutrients anyway, so the fertilizer will either go to waste or, worse, fuel the growth of the very fungi and bacteria causing root rot. Hold off on all fertilizer until you see clear signs of new, healthy growth. Once the plant is actively growing again, you can resume a normal feeding schedule.