



The Living Magic in Your Jar
Before you begin, it’s helpful to understand what a sourdough starter is. Think of it as a pet that lives on your counter. It's a living culture of wild yeast and beneficial bacteria, captured from the environment and the flour itself. By simply mixing
flour and water and letting it sit, you create a home for these microorganisms. As you feed them daily, they multiply, fermenting the mixture and producing the carbon dioxide that will eventually make your bread rise. This natural leavening process is what gives sourdough its signature tangy flavour, chewy texture, and beautifully open crumb.
Why Atta Is Your Secret Weapon
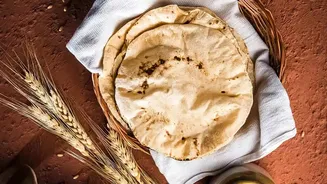
While many online guides call for expensive bread flour, your everyday chapati atta is an excellent, if not superior, choice for starting. Whole wheat flour like atta contains the bran and germ of the wheat grain, which are packed with nutrients and a diverse population of wild yeasts and bacteria. This richness helps to jumpstart the fermentation process, meaning an atta-based starter often becomes active faster than one made with refined maida. It will also give your final loaf a wonderfully nutty flavour and a softer, denser crumb that is deeply satisfying.
Your Simple Starter Toolkit
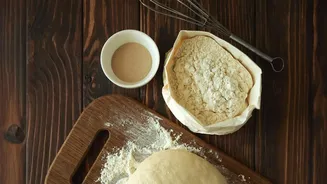
You don't need fancy equipment to begin. Most of what you need is likely already in your kitchen. You will require a clean glass jar (a jam or coffee jar works perfectly), whole wheat atta, filtered or room-temperature water, and a kitchen scale for accuracy. While you can use measuring cups, weighing your ingredients ensures the correct ratio of flour to water, which is crucial for consistent results. A small spatula for mixing is also helpful.
Day 1 to 3: The Initial Mix
On Day 1, combine 50 grams of atta and 50 grams of lukewarm water in your clean jar. Mix thoroughly until no dry flour remains, creating a thick paste. Cover the jar loosely—a lid placed on top without sealing, or a cloth—and leave it in a warm spot in your kitchen for 24 hours. On Day 2, you might see a few bubbles, but don't worry if there’s no activity. Just let it rest. On Day 3, the first feeding begins. Discard about half of the mixture. To the remainder, add 50 grams of atta and 50 grams of water. Mix well, cover loosely, and let it rest again for 24 hours.
Day 4 to 7: Building Strength
From Day 4 onwards, you will begin feeding your starter twice a day, roughly 12 hours apart. Each time, you will discard all but a small amount (about 50-100 grams) of the starter and feed it with a fresh 50 grams of atta and 50 grams of water. This regular refreshment process strengthens the yeast culture. You should start to see more activity: the starter will become more bubbly, rise in the jar, and develop a pleasantly sour, fruity, or yeasty aroma. It might also have a thicker consistency than starters made with white flour, which is completely normal.
How to Know Your Starter Is Ready
By Day 7, or perhaps a few days later, your starter should be showing consistent signs of maturity. It will reliably double or even triple in volume within a few hours of being fed. The texture will be light and airy, full of bubbles, and the top may look domed at its peak. The most common way to test for readiness is the 'float test': drop a small spoonful of the starter into a glass of water. If it floats, it's full of gas and ready to bake with.
Baking Your First Atta Sourdough Loaf
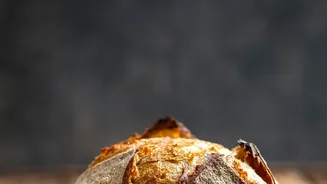
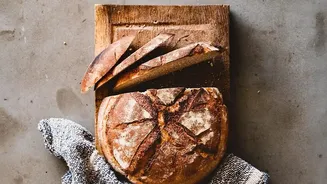
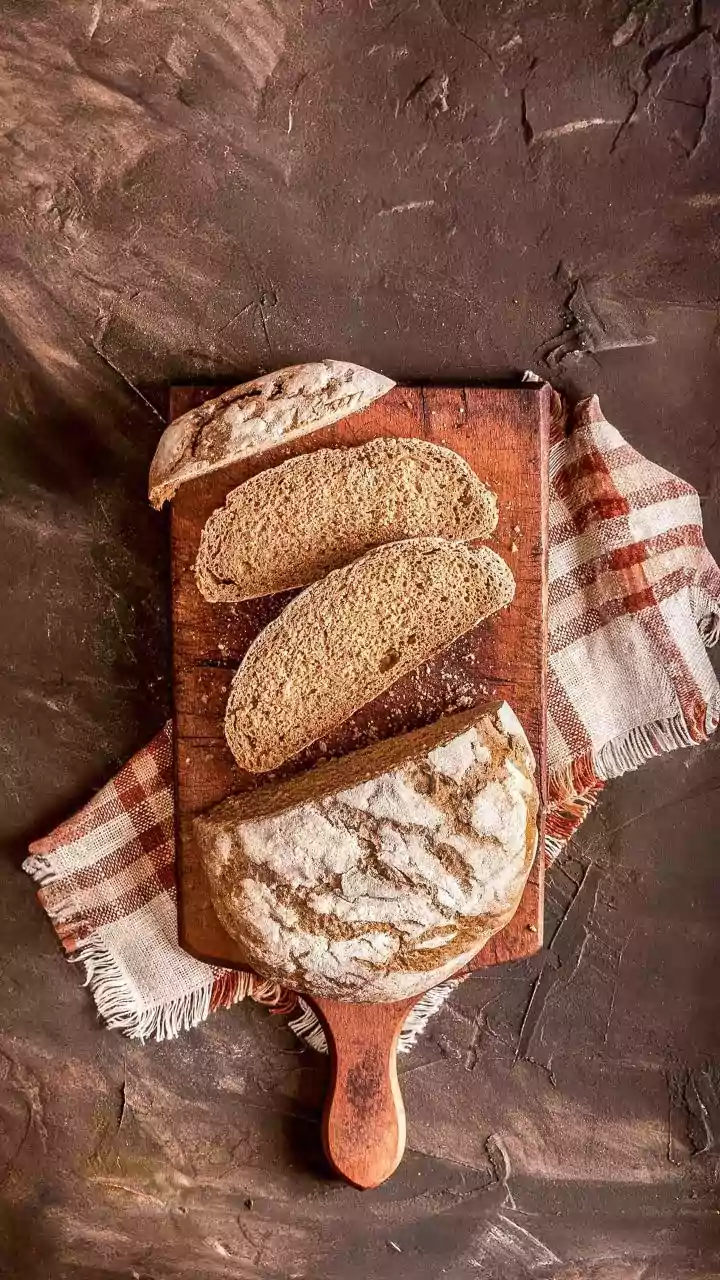
Once your starter is active, you can bake your first loaf. For a simple, 100% atta bread, combine 350 grams of water and 400 grams of atta in a bowl and let it rest for 30 minutes (a process called autolyse). Then, mix in 80-100 grams of your active starter and 8 grams of salt. Over the next 4-6 hours, perform a series of 'stretch and folds' every 30-45 minutes to build strength. After this bulk fermentation, gently shape the dough into a ball, place it in a bowl, and let it proof until it's airy. For the best crust, preheat a heavy pot like a kadhai or Dutch oven to 230°C. Score the top of your loaf with a sharp knife, then bake it covered for 20-25 minutes, and uncovered for another 15-20 minutes until deep golden brown. The most difficult part comes last: let the loaf cool completely before slicing to allow the crumb to set.