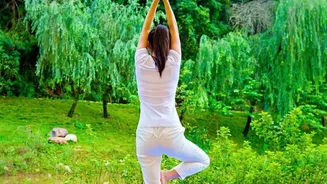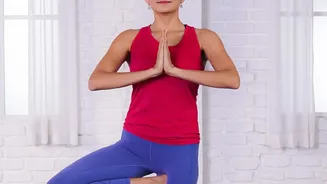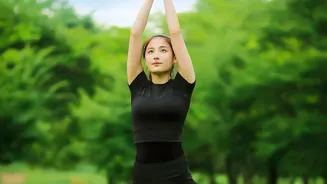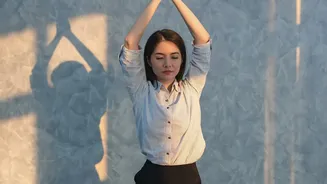





Vrikshasana, or Tree Pose, is a beautiful expression of balance and stillness. But what if you feel more like a wobbling sapling than a sturdy oak? Enter your best friend in yoga: the wall. It’s the perfect prop to build confidence and stability.
Why Use a Wall for Tree Pose?
Balance
can be a significant challenge in yoga, especially for beginners or on days when you feel unsteady. Using a wall for support removes the fear of falling, allowing you to focus on the key actions of the pose. It helps you train your body's stabilizing muscles and refine your alignment without the pressure of holding a perfect balance. By providing a reference point, the wall acts as a teacher, giving you immediate feedback on your posture. This support can help you safely open your hips, engage your core, and strengthen your standing leg, all of which are crucial for a healthy Tree Pose.
Variation 1: The Sideways Support
This is the most common and intuitive way to use a wall for Tree Pose. Stand with your right side parallel to the wall, about an arm's length away. Place your right hand lightly on the wall for support. Begin to shift your weight into your left foot, grounding down firmly. Bend your right knee and place the sole of your right foot on your inner left ankle, calf, or thigh. Be sure to avoid placing your foot directly on your knee joint, as this can create instability. Press your foot into your leg and your leg back into your foot to create a stable connection. You can keep your left hand at your hip or bring it to your heart in a prayer position. As you feel more stable, you can try lifting your hand off the wall for a few seconds at a time. Remember to breathe steadily and repeat on the other side.
Variation 2: Full Back Support
For days when you need maximum stability, practicing with your back against the wall is an excellent option. Stand with your back against the wall, with your heels a few inches away from it. Allow your glutes and shoulder blades to make light contact. This setup helps you feel what a truly neutral and tall spine feels like. Shift your weight onto your right foot and draw your left knee toward your chest. Open your hip to the side and place your left foot on your inner right leg. With your back supported, you can focus entirely on the hip-opening aspect of the pose and the engagement of your standing leg. Your arms can be in a prayer position at your heart or extended overhead. This variation is particularly helpful for understanding pelvic alignment and preventing the standing hip from jutting out.
Variation 3: Knee or Foot on the Wall
Another creative way to use the wall is to place part of your lifted leg against it for support. Stand facing the wall, about a leg's distance away. Shift your weight into one foot. Bend your other knee and, instead of placing it on your standing leg, press the sole of your lifted foot into the wall. This variation allows you to work on balance while the wall provides a firm surface to press against, helping to activate the muscles of the standing leg and hip. Alternatively, you can stand with your side to the wall and rest the knee of your bent leg against it. This leaves both hands free to come into a prayer position or reach overhead, giving you a sense of the full pose with an added safety net.
Key Alignment and Breathing Tips
Regardless of which variation you choose, a few key principles will enhance your practice. Actively root down through all four corners of your standing foot to create a solid foundation. Engage your core to keep your torso stable and your hips level. Find a 'drishti', or a non-moving focal point in front of you, to help steady your gaze and your balance. Most importantly, maintain a steady, calm breath. If you notice you’re holding your breath, it's a sign to ease off and find more softness. The goal is to find a balance between effort and ease, allowing you to feel strong yet relaxed.