



Nail the Batter Consistency
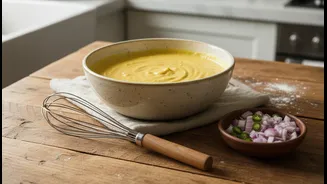
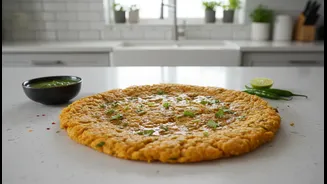
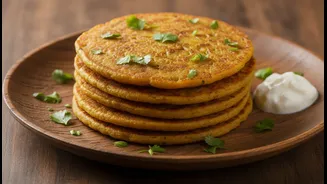
The single most important factor for a perfect chilla is the batter. It should be of a smooth, pouring consistency—not too thick, which results in a dense, heavy pancake, and not too thin, which will cause it to tear. A good rule of thumb is to start
with one cup of besan (gram flour) and gradually whisk in about half a cup of water. Keep adding water slowly, a tablespoon at a time, until you have a batter that flows freely but isn't watery. Whisk thoroughly to eliminate any lumps, as a smooth batter spreads more evenly and cooks uniformly.
Add a Crisping Agent
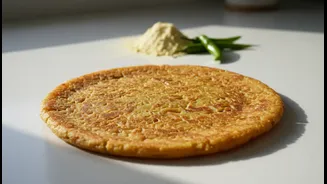
For that desirable restaurant-style crispiness, a secret ingredient can make all the difference. Adding one or two tablespoons of sooji (semolina) or rice flour to your besan batter is a game-changing tweak. These ingredients help in binding the batter, preventing the chilla from breaking when you flip it, and most importantly, they create an incredibly crispy texture that's hard to achieve with besan alone. This small addition provides structural integrity and a delightful crunch.
Let the Batter Rest
Patience is a virtue, even with a quick breakfast like chilla. Once your batter is mixed, let it rest for about 10 to 20 minutes. This resting period allows the besan and any added sooji or rice flour to fully hydrate, which results in a smoother texture and better-tasting chilla. It also allows the flavours of the spices to meld together. While some recipes suggest preparing batter the night before, it's best to only do so without vegetables, as they can release water and alter the consistency.
Master Your Pan Temperature
The temperature of your tawa or skillet is crucial. A common mistake is pouring batter onto a pan that is either too hot or not hot enough. If the pan is scorching hot, the batter will set instantly and won't spread properly. If it's too cool, the chilla will stick. Heat your pan over a medium flame. You can test if it's ready by sprinkling a few drops of water; if they sizzle and evaporate immediately, you're good to go. For consistent results, it can be helpful to wipe the hot pan with a damp cloth to slightly lower its temperature just before pouring the batter.
Chop Your Veggies Finely
Vegetables add nutrition and flavour, but their preparation matters. Onions, tomatoes, bell peppers, and coriander are classic additions. However, ensure they are all chopped very finely. Large, chunky pieces of vegetables can disrupt the batter's structure, creating weak spots that cause the chilla to break apart during cooking or flipping. If you're adding other vegetables like carrots or zucchini, grating them is an excellent option to ensure they incorporate seamlessly into the batter.
Don't Be Afraid of a Little Oil
While it's possible to make chillas without oil on a good non-stick pan, a small amount is key for flavour and a crispy texture. After spreading the batter, drizzle about half to one teaspoon of oil or ghee around the edges and a few drops on top. This helps the edges crisp up beautifully and makes flipping easier. For an even crispier chilla, you can add more oil to the pan before pouring the batter.
Know When to Flip
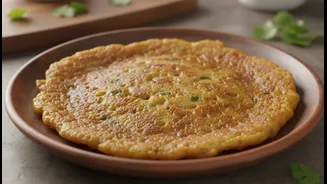
Flipping too early is a primary cause of broken chillas. Once you've spread the batter, let it cook on medium-low heat. You'll know it's ready to be flipped when the top surface starts to look cooked and dry, and the edges begin to lift away from the pan on their own. This usually takes about two to three minutes. Gently slide a thin spatula underneath to check. If it lifts easily, flip it and cook the other side until golden-brown spots appear.