


The Hidden Power in the Peel
Before you begin, it’s worth knowing why orange rinds are worth saving. Far from being kitchen scraps, they are packed with beneficial compounds. The peel contains a significant amount of vitamin C and plant-based polyphenols. It is also a great source
of natural pectin, which is the key ingredient that helps jams and marmalades set to that perfect, spreadable consistency. By using the whole rind, including the white pith, you harness this natural gelling power without needing commercial pectin. This zero-waste approach not only feels good but also results in a marmalade with a complex flavour and beautiful texture.
Gather Your Tools and Ingredients
Making marmalade requires only a few basic items. For this recipe, you will need the rinds from about 2-3 pounds of oranges, which you can collect over time and store in the freezer. You’ll also need granulated sugar, water, and the juice of one large lemon. The lemon juice is crucial as it helps to lower the pH, which in turn assists the natural pectin in gelling properly. For equipment, you'll need a large, heavy-bottomed pot, a sharp knife for slicing the peels, a measuring cup, a wooden spoon, and several clean glass jars with lids. Having a kitchen scale can also be helpful for achieving the perfect ratio of fruit to sugar.
Step 1: Prepare the Rinds
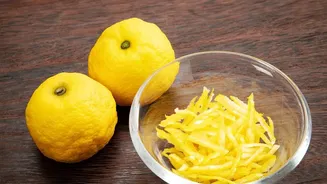
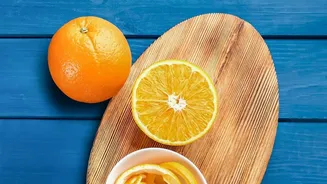
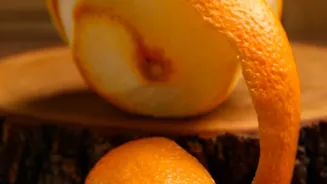
The first step is to prepare your orange rinds. If you're using fresh peels, give them a good wash. Slice the peels thinly into strips; the thickness is a matter of preference, but thinner strips will cook down more softly. The white pith is naturally bitter, which is characteristic of marmalade. If you prefer a less bitter spread, you can reduce it by blanching the peels. Simply cover the sliced rinds with water in a pot, bring to a boil for about 10 minutes, and then drain. Repeating this process two or three times can further mellow out the bitterness. This step softens the peels while preserving their wonderful citrus aroma.
Step 2: Cook to a Gel
Place your prepared, blanched rinds back into the large pot. Add enough water to cover them, along with the fresh lemon juice. Bring the mixture to a boil, then reduce the heat and let it simmer until the peels are very tender, which can take about an hour. Once the peels are soft, it's time to add the sugar. A common ratio is equal parts by weight of fruit and sugar. Stir the sugar in until it has completely dissolved. Then, bring the mixture back to a rolling boil. Cook rapidly, stirring frequently to prevent it from sticking or burning, until it reaches its setting point. This can take anywhere from 30 to 45 minutes.
Step 3: Test for the Perfect Set
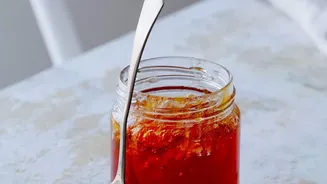
Knowing when your marmalade is ready is the most important part of the process. There are two reliable methods to check for a set. The first is the temperature test: a marmalade will gel at around 220°F (104.5°C). Use a candy thermometer for an accurate reading. The second is the classic wrinkle test. Before you start cooking, place a few small plates in your freezer. When you think the marmalade might be ready, spoon a small amount onto one of the cold plates and return it to the freezer for a minute. If the surface wrinkles when you push it with your finger, it’s ready. If it’s still runny, continue boiling for another five minutes and test again.
Step 4: Jar and Store Your Creation
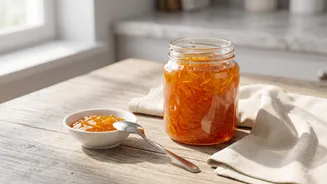
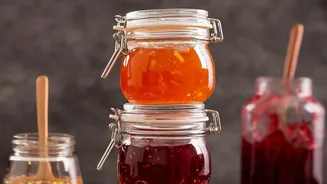
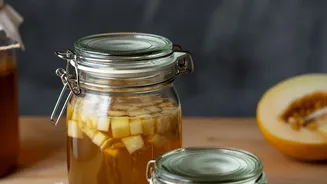
While the marmalade is in its final boil, you should prepare your jars. To ensure your marmalade lasts, the jars must be sterilized. You can do this by washing them in hot, soapy water, rinsing them well, and then placing them on a baking sheet in an oven preheated to 140°C (275°F) for about 10 minutes until completely dry. Carefully ladle the hot marmalade into the hot, sterilized jars, leaving about a quarter-inch of headspace at the top. Wipe any drips from the rims with a clean, damp cloth, then seal the lids tightly. As the jars cool, you should hear a satisfying 'pop' sound, indicating a proper seal has formed.