
Why Indian Flour is Your Secret Weapon
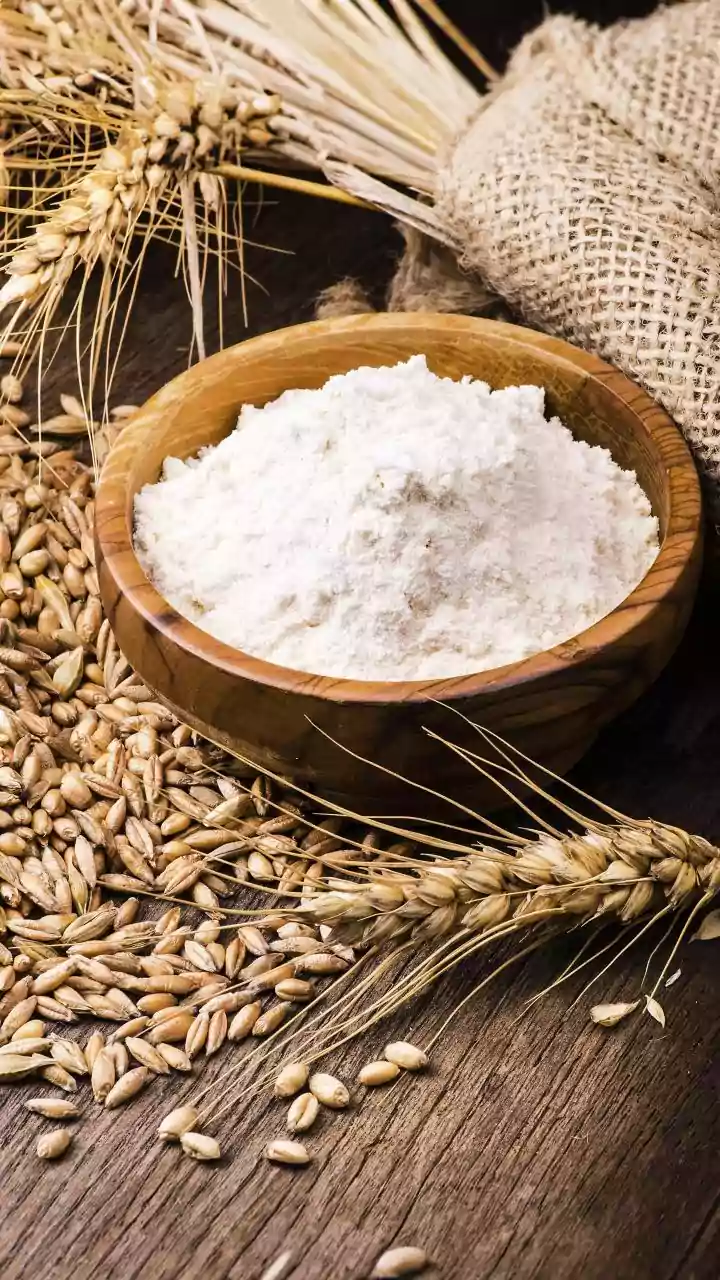
A sourdough starter is a living colony of wild yeast and bacteria, cultivated from just flour and water. While many recipes call for specific bread flours, the humble Indian whole wheat atta is a fantastic starting point. Because atta contains the bran
and germ of the wheat kernel, it is rich in natural yeasts and nutrients that give your starter a vigorous head start. This often means your starter will become active more quickly than one made with refined flour alone. You can use a mix of atta and maida (all-purpose flour) or start with 100% atta; both will work beautifully.
What You Will Need to Get Started
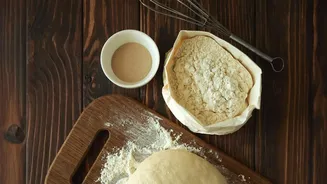
You don't need fancy equipment. All that's required is a clean glass jar (at least 500ml), a kitchen scale for accuracy, a spoon or spatula, and your ingredients: Indian whole wheat flour (atta) and filtered or bottled water. Using a scale is highly recommended over cups for consistent results. Chlorine in tap water can sometimes inhibit yeast growth, so it's best to use water you would drink.
Day 1-3: Bringing Your Starter to Life
On Day 1, combine 50 grams of whole wheat atta and 50 grams of lukewarm water in your jar. Mix thoroughly until no dry flour remains, cover loosely (just rest the lid on top or use a cloth), and let it sit in a warm spot for 24 hours. On Day 2, you might see a few bubbles. Discard about half of the mixture, then add another 50 grams of atta and 50 grams of water. Mix well and let it sit again. Repeat this process on Day 3. During these initial days, the smell may be unpleasant, but this is normal as the good bacteria begin to take over.
Day 4 Onwards: The Nurturing Routine
From Day 4, your starter should show more activity, with visible bubbles and a more pleasant, slightly tangy aroma. Now, you’ll begin feeding it twice a day, roughly every 12 hours. Each time, discard all but about 50 grams of the starter. To the remaining starter, add 50 grams of flour and 50 grams of water (this is known as a 1:1:1 ratio). This regular feeding provides the fresh food your yeast culture needs to grow strong and predictable. India's warm climate can speed up fermentation, so keeping an eye on it is key.
Is It Ready? Signs of a Healthy Starter
Your starter is ready for baking when it displays three reliable signs, typically after 7-14 days. First, it should consistently double or even triple in volume within 4-8 hours after feeding. Second, its texture will be bubbly and airy, almost like a mousse. Third, it will have a pleasant, tangy, slightly sweet, or yogurt-like smell. An over-fermented starter might smell like alcohol or nail polish remover, which is a sign it's very hungry and needs to be fed. A popular readiness check is the "float test": drop a spoonful of active starter into a glass of water. If it floats, it is full of gas and ready to leaven bread.
Troubleshooting Common Problems
Don't panic if your starter seems sluggish. The most common issue is temperature; yeast loves warmth. Try moving your jar to a warmer spot, like inside a turned-off oven with the light on. If you see a dark liquid on top, this is called "hooch" and simply means your starter is hungry. You can either pour it off or stir it in before your next feeding. However, if you see any pink, orange, or fuzzy mould, this indicates contamination, and the starter must be discarded. In that case, thoroughly clean your jar and begin again.