

The Sacred Sweet of Mathura
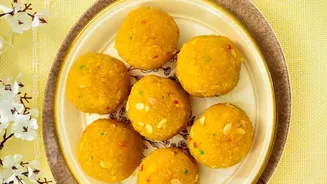
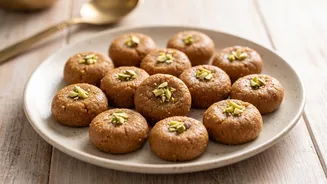
Mathura Peda is more than just a dessert; it is a piece of cultural and religious heritage. Originating from Mathura, the land where Lord Krishna was born, this sweet holds a special significance during Janmashtami. The stories of a young Krishna, fondly
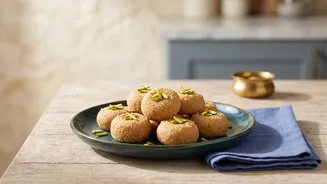
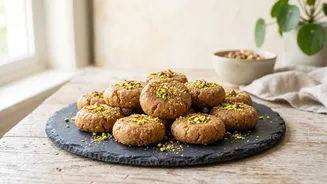
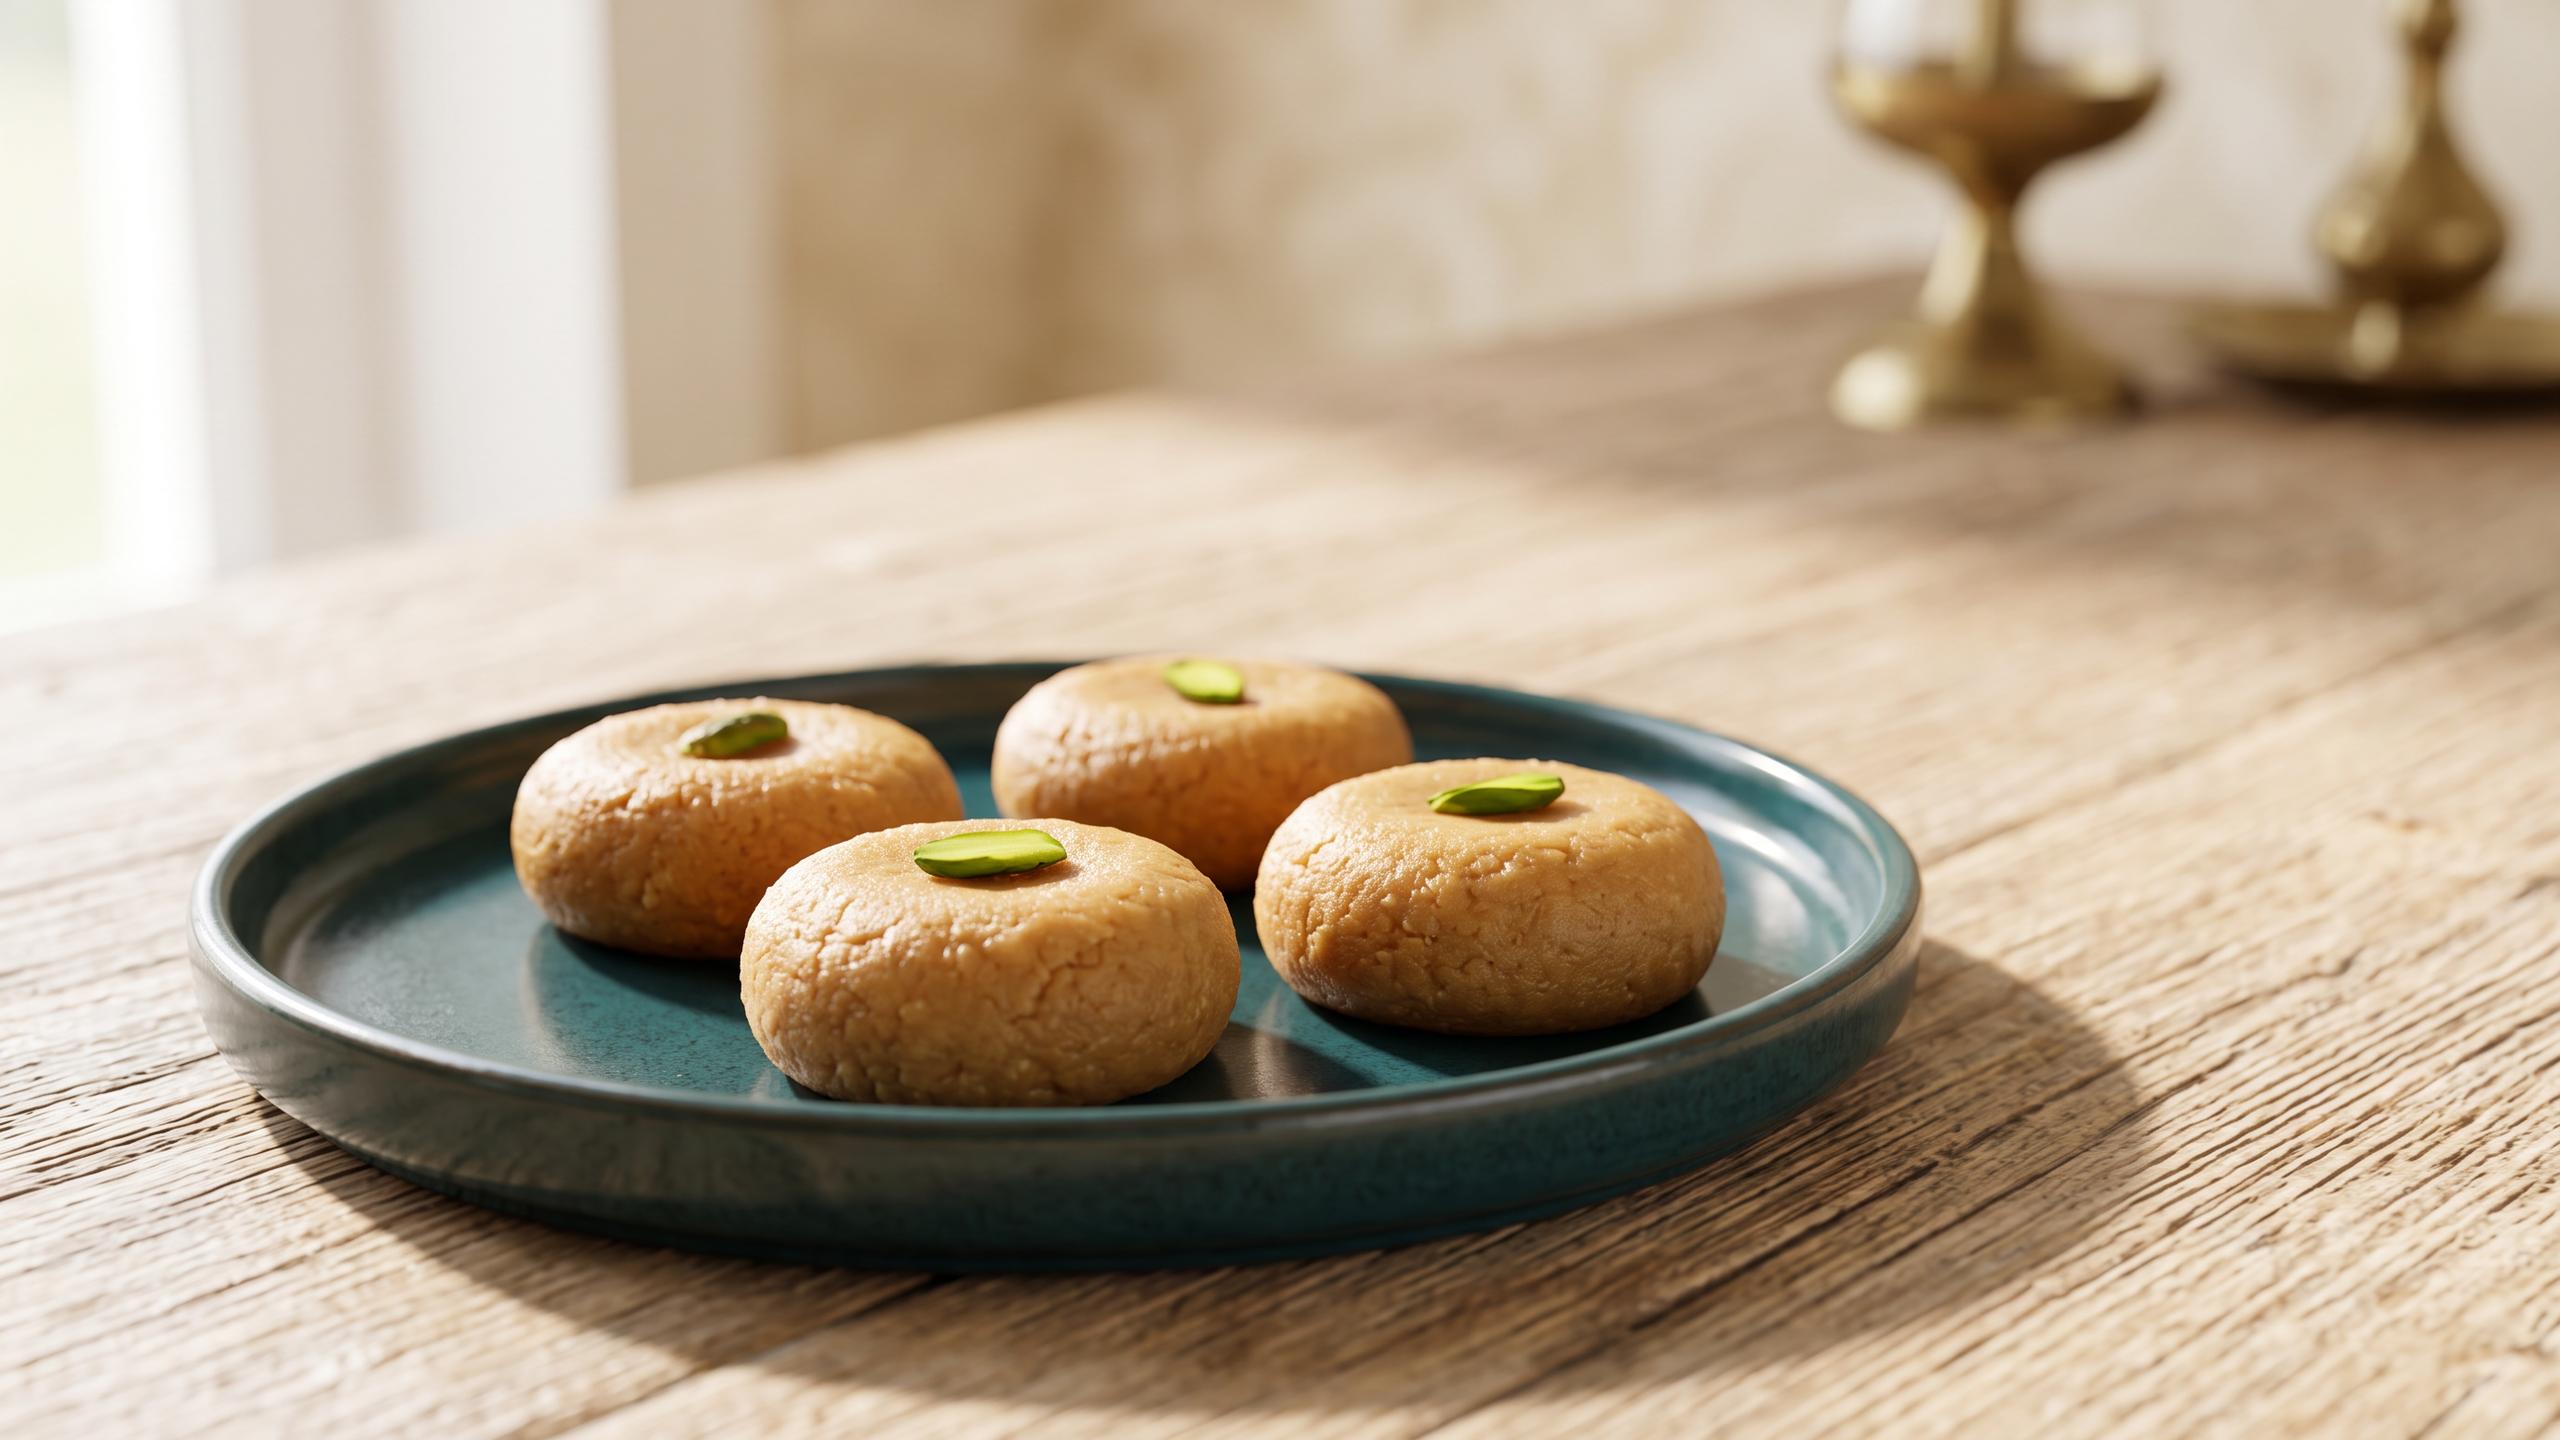
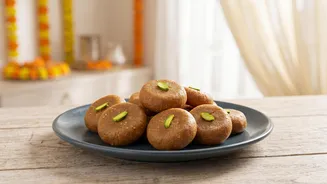
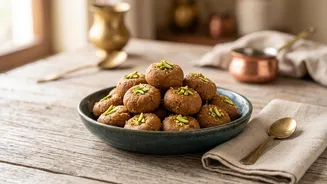
called 'Makhan Chor' (butter thief), are filled with his love for milk, butter, and other dairy products. Consequently, milk-based sweets became a traditional offering, or 'prasadam', to honor him. The Mathura Peda, with its distinct brownish hue from caramelized milk solids and its rich, grainy texture, is considered a favorite offering for the deity. Making it at home is a way to connect with this timeless tradition and fill your celebration with authentic flavour and devotion.
Gathering Your Essential Ingredients
The beauty of this recipe lies in its simplicity. You only need a few core ingredients to create this divine sweet. The star of the show is 'khoya' or 'mawa', which are dried milk solids. You can find this at most Indian grocery stores, often in the refrigerated or frozen section, but you can also make it at home by slowly simmering full-fat milk until it thickens and solidifies. For this recipe, you will need: 2 cups of grated, unsweetened khoya (mawa) - approximately 250 grams 1/2 cup of 'bura' or 'tagar' (a type of unrefined powdered sugar), plus extra for coating. Powdered sugar can also be used. 2 to 3 tablespoons of ghee (clarified butter) 2 to 4 tablespoons of milk, as needed 1/2 teaspoon of cardamom powder (elaichi) A pinch of nutmeg powder (optional, for authentic flavour)
Crafting the Pedas: Step-by-Step
The key to the perfect Mathura Peda is patience, especially during the roasting of the khoya. This slow process is what gives the peda its characteristic colour and nutty, caramelized flavour. 1. Roast the Khoya: Crumble or grate the khoya and place it in a heavy-bottomed, non-stick pan on low to medium heat. Begin to roast it, stirring continuously to prevent it from sticking or burning. 2. Brown and Caramelize: After 5-7 minutes, as the khoya starts to dry out, add 1-2 tablespoons of ghee. Continue to stir and roast. You will notice the colour changing from off-white to a light golden, and then gradually to a deeper brown. This process can take 15-20 minutes. Don't rush this step; the deep brown colour is crucial for the authentic taste. 3. Cool and Grind: Once the khoya is a rich brown colour and has a crumbly texture, turn off the heat and let it cool slightly. Transfer the mixture to a blender or food processor. If it seems too dry, add a tablespoon of milk. Pulse it a few times to achieve a smoother, yet still slightly grainy, texture. 4. Combine and Knead: Transfer the ground mixture to a bowl. Add the cardamom powder, nutmeg powder, and the powdered sugar (bura). Do not add the sugar when the mixture is hot, as it will cause it to become watery. Mix everything well, using your hands to knead it into a soft, pliable dough. If the mixture feels too dry to bind, add a teaspoon of milk at a time until it comes together. 5. Shape and Coat: Take small, golf-ball-sized portions of the dough and roll them into smooth balls between your palms. Gently flatten each ball to create the classic peda shape. Finally, roll each peda in the extra powdered sugar (bura) to coat it on all sides.
Tips for Perfect Homemade Peda
Making mithai at home can seem daunting, but these tips will help ensure your success. First, always use a heavy-bottomed pan to prevent the milk solids from scorching during the long roasting process. Constant stirring is non-negotiable; this ensures even cooking and prevents the khoya from burning at the bottom of the pan. The most common mistake is not roasting the mawa for long enough. Be patient and wait for that deep, dark golden-brown colour to develop, as this is where all the flavour comes from. Another key tip is to let the roasted khoya mixture cool to a warm temperature before adding the sugar. If the mixture is too hot, the sugar will melt and make your dough too soft and difficult to shape. Lastly, if your final mixture is too dry and crumbly to form pedas, add milk, just one teaspoon at a time, until it becomes pliable.