

Start with What You Own: A Smartphone
The best camera is the one you have with you, and modern smartphones are surprisingly capable of capturing the night sky. Any phone with a 'night mode' or a manual mode that lets you control settings is a great starting point. The key isn't the phone itself,
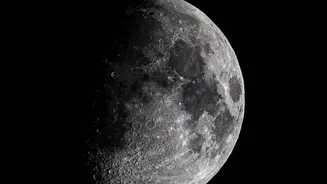
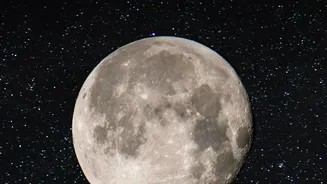
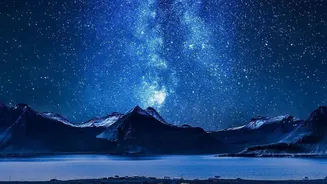
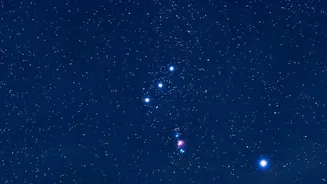
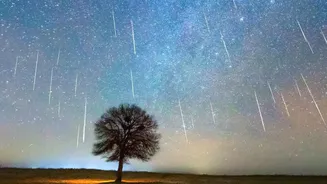
but how you use it. To get a clear shot of stars or the Moon, you must keep the phone perfectly still for a long exposure of 10 to 30 seconds. This makes a small, portable tripod for your phone the first and most crucial piece of equipment. Pair this with a dark location away from city light pollution, and you can begin capturing constellations and even the faint glow of the Milky Way.
The First Big Step: A DSLR or Mirrorless Camera
When you're ready to capture more detail, a dedicated camera is your next purchase. You don't need the latest professional model; an entry-level DSLR or mirrorless camera will do wonders. The single most important feature is the ability to shoot in Manual (M) mode. This gives you full control over the three pillars of astrophotography: ISO (light sensitivity), aperture (how much light the lens lets in), and shutter speed (how long the sensor is exposed to light). Look for used models like a Nikon D5300 or a Canon Rebel series, which are affordable and have a proven track record among amateur astronomers. An articulating screen is also a huge plus, saving you from crouching in uncomfortable positions to frame your shot.
Let There Be Light: The Right Lens
For newcomers, a common mistake is thinking you need a powerful telephoto lens. For capturing wide swathes of the night sky, like the Milky Way, the opposite is true. You want a wide-angle lens with a 'fast' aperture. The aperture is measured in f-stops (e.g., f/1.8, f/2.8), and a lower number means a wider opening that gathers more light. While a standard 18-55mm kit lens can get you started, a prime lens (one that doesn't zoom) with a wide aperture is a fantastic and relatively affordable upgrade that will dramatically improve your images. A lens like a Rokinon/Samyang 135mm f/2 is often cited as one of the best value-for-money lenses in the hobby.
The Unsung Hero: A Sturdy Tripod
This cannot be overstated: a solid, sturdy tripod is absolutely essential and non-negotiable for astrophotography. You will be using long exposures, often lasting many seconds or even minutes. During this time, the slightest vibration from a breeze or even from you pressing the shutter button can turn sharp stars into blurry streaks. A cheap, flimsy tripod will only lead to frustration. Invest in the most stable tripod you can afford. It doesn't need to be the most expensive carbon-fibre model, but it should be robust enough to hold your camera and lens steady without any wobble. A tripod is just as important as the camera itself.
The Game Changer: A Star Tracker Mount
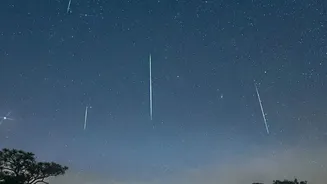
Without any other gear, you are limited to exposures of around 20-30 seconds before the Earth's rotation causes the stars to trail in your photos. To go beyond this and capture faint deep-sky objects like nebulae and galaxies, you need a star tracker. This is a small, motorized device that sits between your tripod and your camera. It rotates your camera at the same speed as the Earth's rotation, effectively 'freezing' the stars in place. This allows you to take exposures lasting several minutes, gathering incredible amounts of light and detail. While it's an added expense, a star tracker is widely considered the single most impactful upgrade for a beginner's astrophotography setup.
A Few Small Essentials
Finally, a few small accessories will make your nights under the stars much smoother. A remote shutter release or an intervalometer is a must-have. This allows you to trigger your camera without touching it, eliminating vibrations. Many cameras have a built-in time-delay function that can also work. Also, carry multiple spare batteries. Cold nights drain battery life much faster than you'd expect, and there is nothing worse than having to pack up early because your camera has died. Headlamps with a red-light mode are also invaluable, as they preserve your night vision while you adjust your settings.