




Start with Smart Hair Prep
The secret to a neat, long-lasting braid begins before you even start weaving. Working with hair that is slightly dirty—perhaps on its second or third day post-wash—provides more grip and texture, which helps the braid hold its shape better. If your hair is freshly
washed, you can fake this grit with a texturizing spray. Before you begin, ensure your hair is thoroughly brushed and free of tangles to allow for smooth sectioning. A light mist of a leave-in conditioner or a smoothing cream can help tame frizz from the outset, making the strands easier to handle. This initial prep work sets the foundation for a polished look and prevents the braid from becoming fuzzy halfway through the day.
Mastering the Basic Weave
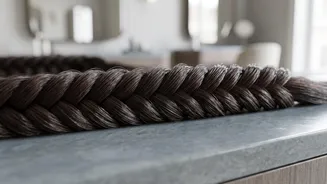
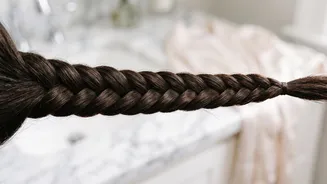
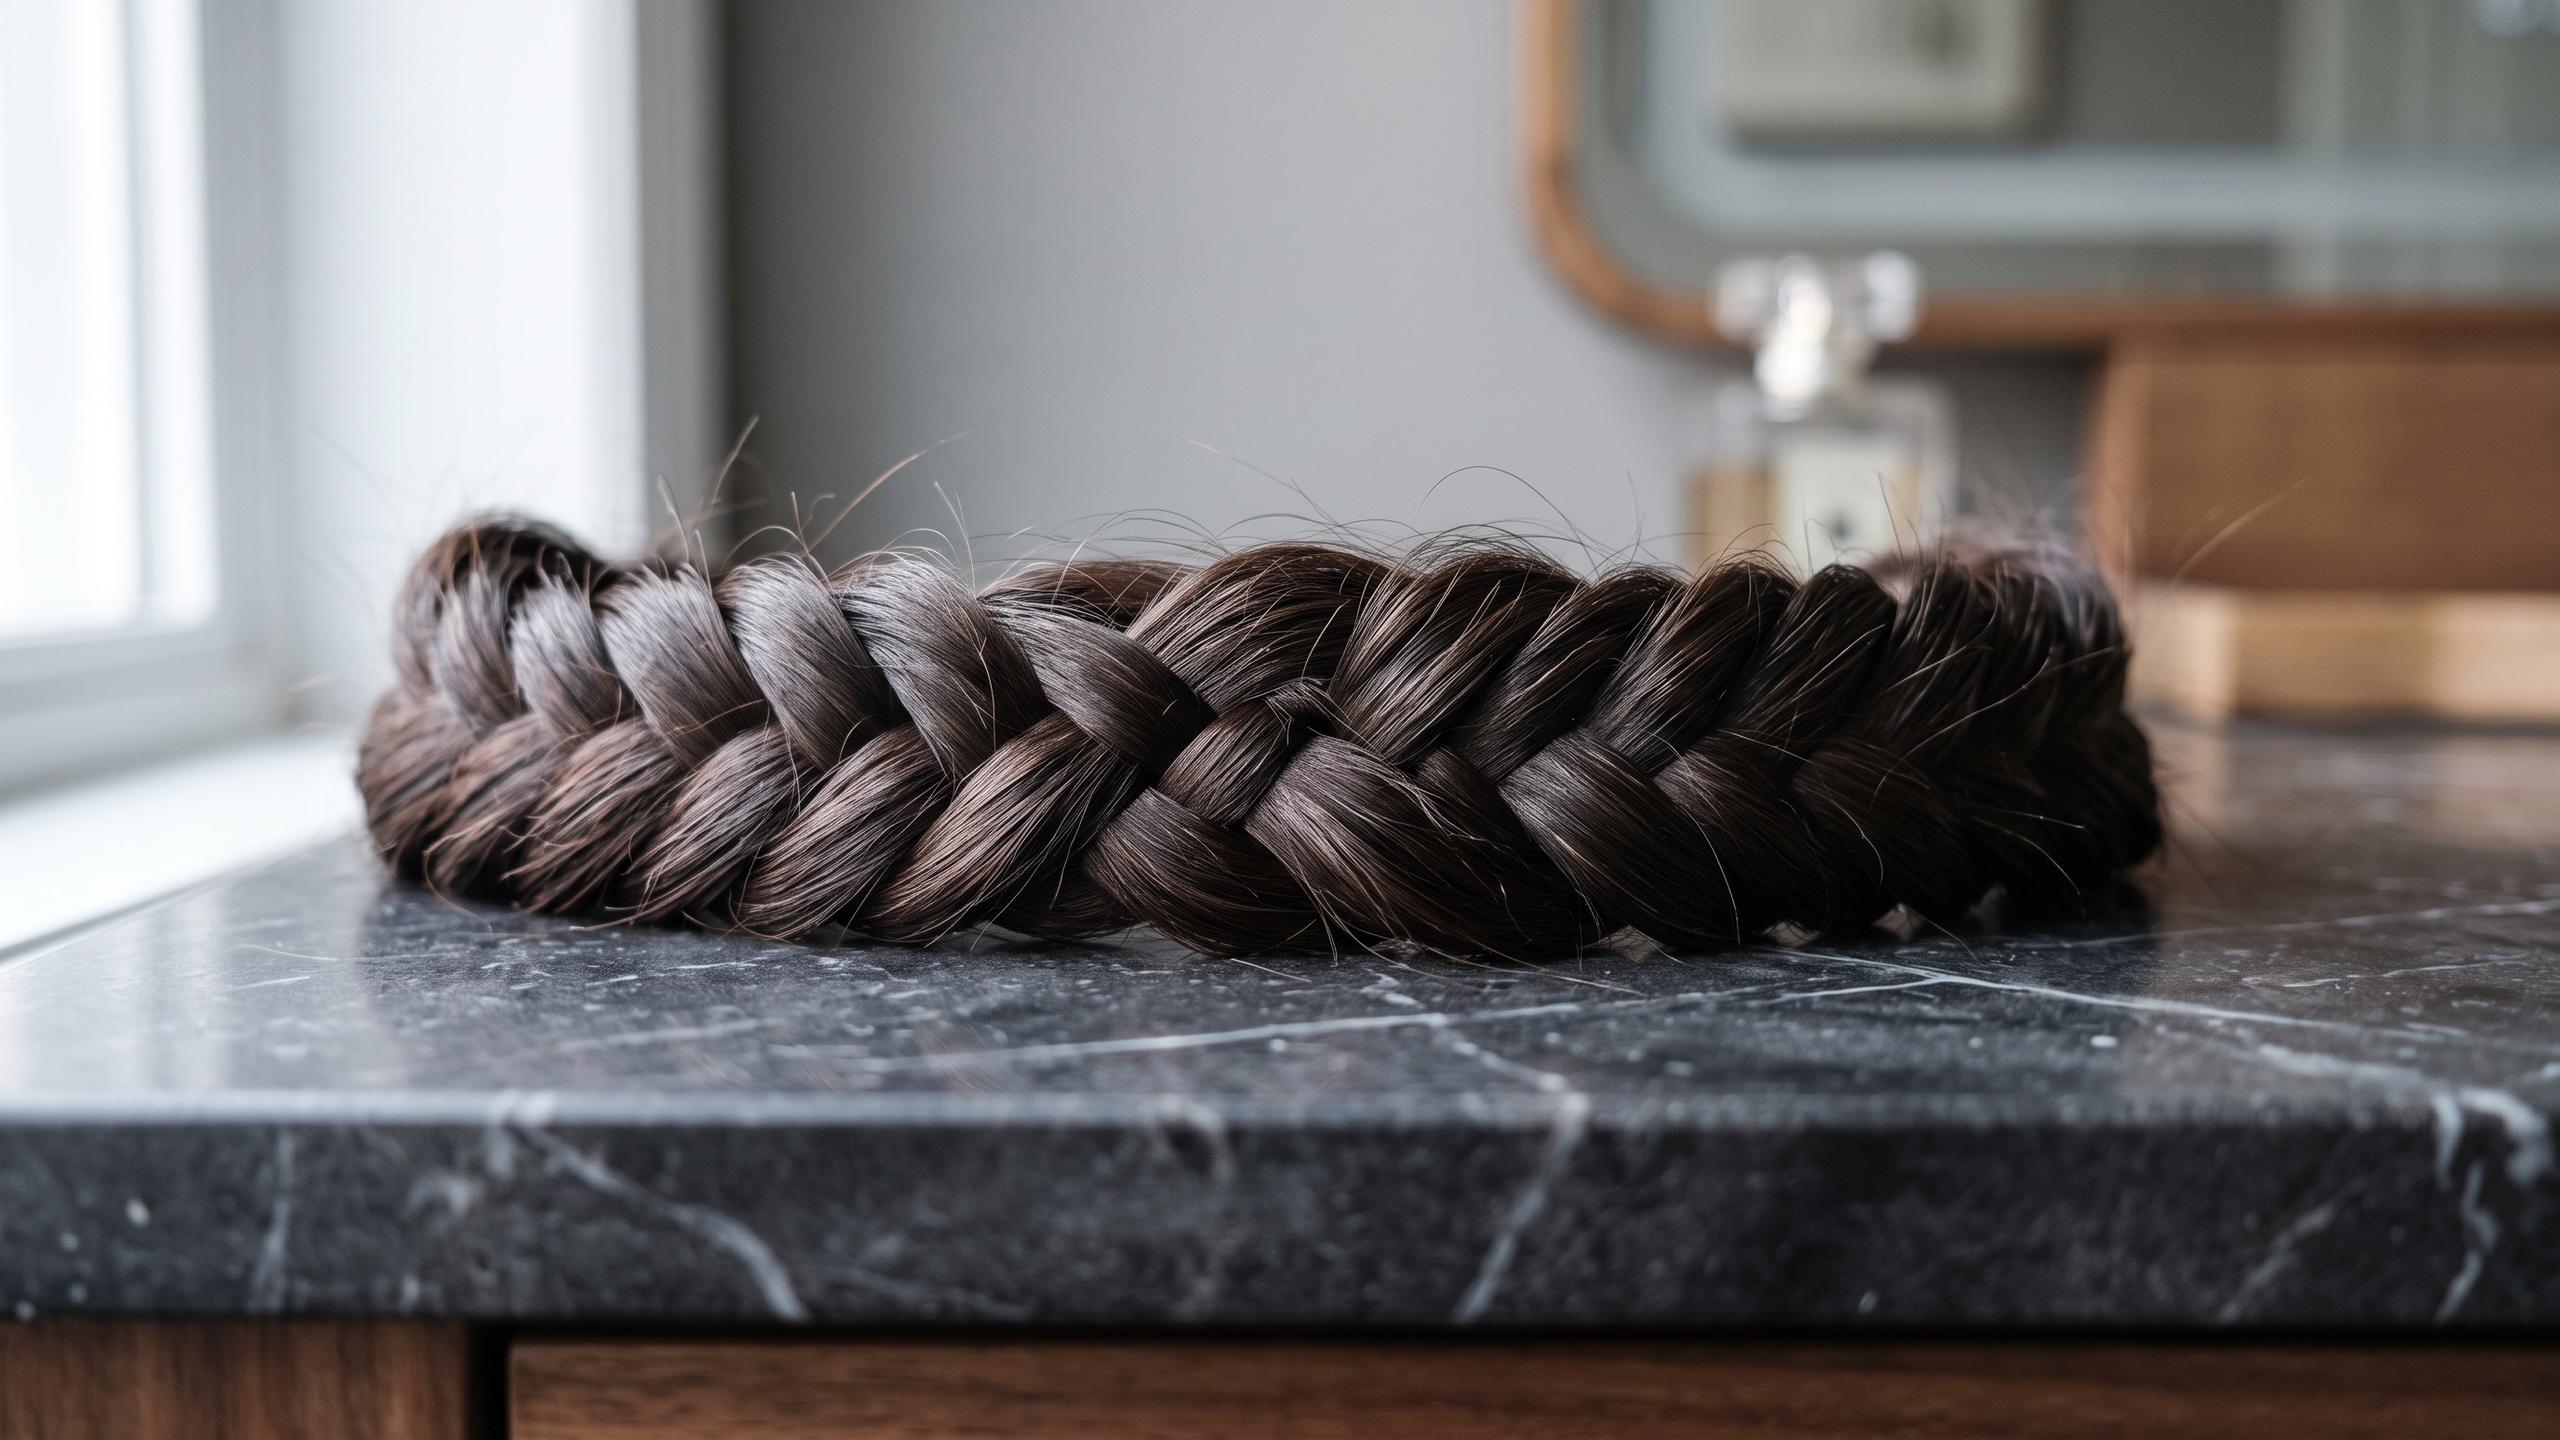
Unlike a traditional three-strand braid, the fishtail uses only two main sections. Begin by dividing your hair into two equal parts. Hold one section in each hand. Now, take a thin strand of hair—about a quarter to a half-inch thick—from the outer edge of the left section. Cross this small piece over the top of the left section and join it with the inside of the right section. Now, repeat the process on the other side: take a thin strand from the outer edge of the right section, cross it over the top, and merge it with the left section. The key to a classic, intricate fishtail look is to keep the strands you cross over consistent and relatively small; while it takes longer, the detailed result is worth it.
Maintaining Tension for a Neat Finish
As you continue this alternating pattern down the length of your hair, maintaining consistent tension is crucial for a neat braid. Each time you cross a piece over, gently pull the two main sections apart to tighten the weave at the top. This simple move keeps the braid secure and prevents loops or gaps from forming. To stay in control, try to keep your hands positioned high up on the braid as you work your way down. If you find your arms getting tired, you can bring the braid over your shoulder to continue braiding in front of you, which can make it easier to see and manage the sections. A firm, steady grip ensures that all the small strands are incorporated smoothly, resulting in a defined, picture-perfect fishtail.
Securing and Finishing Your Braid
Once you've braided to your desired length, leaving a few inches at the end, secure it with a small, clear elastic. For a perfectly polished look, you can stop here. However, if you prefer a fuller, more voluminous style, this is where 'pancaking' comes in. Gently pull on the outer edges of the braid from the bottom up, loosening the weave to create more body and texture. This can make the braid appear thicker and more effortless. To tame any flyaways that may have escaped, a light mist of hairspray or a small amount of smoothing serum can be applied for extra hold and shine. If you have layers, a few bobby pins can help tuck in any shorter pieces that poke out.
Troubleshooting Common Braid Problems
If your fishtail braids often end up frizzy or uneven, a few small adjustments can make a big difference. Frizz is often caused by a lack of moisture or hair that is too clean and slippery. Using a bit of gel or pomade on your sections before starting can help bind baby hairs and keep them in place. If your braid looks lopsided, you are likely taking uneven strands from each side. Make a conscious effort to grab sections of the same thickness each time. Another common issue is the braid loosening too quickly. This usually comes down to tension. Don't be afraid to pull the braid tight as you go; you can always loosen it for a softer look at the end. Lastly, protecting your style overnight with a silk or satin scarf or bonnet will drastically reduce friction and frizz, keeping your braid neat for the next day.