



Reading the Signs: When to Repot
Your plants will tell you when they need a bigger space. One of the most obvious clues is seeing roots peeking out of the drainage holes at the bottom of the pot. Another key sign is how quickly the soil dries out; if you find yourself watering far more
frequently than you used to, it's likely because the pot is full of roots with very little soil left to hold moisture. You might also notice that your plant's growth has slowed down or stopped, or that it has become top-heavy and unstable. If water seems to run straight through the pot without being absorbed, that's a final confirmation that the root system has taken over and it's time for an upgrade.
Gather Your Supplies
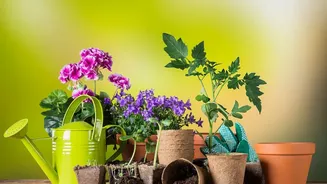
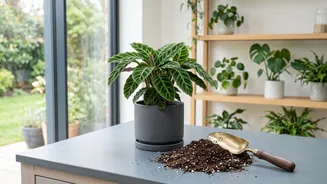
Before you start, get your tools in order to make the process smooth and stress-free for both you and your plant. You will need a new pot, fresh potting mix, a pair of clean scissors or pruning shears, and a small trowel (or even an old kitchen spoon). It's also a good idea to lay down some newspaper or a plastic sheet to catch any spilled soil, making cleanup much easier. Watering your plant a day or two before you plan to repot it can also help reduce stress on the plant and make it easier to slide out of its current container.
Choosing the Perfect New Pot and Soil
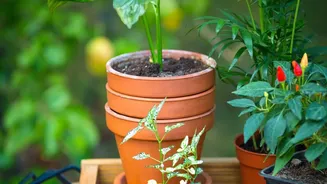
When selecting a new pot, resist the urge to go too big. A pot that is excessively large can hold too much moisture, leading to root rot. The general rule is to choose a new pot that is just one to two inches larger in diameter than the old one. If your plant is in a pot larger than 10 inches, you can go up by two to three inches. Most importantly, ensure the new pot has drainage holes. Without proper drainage, water will pool at the bottom, which is a common cause of plant distress. For soil, always choose a quality indoor potting mix. Avoid using soil from your garden, as it can be too dense, drain poorly, and may introduce pests.
The Step-by-Step Repotting Process
With your supplies ready, it's time for the main event. Start by turning the plant's current pot on its side and gently easing the plant out. You may need to tap the bottom or squeeze the sides of a plastic pot to loosen it. Once the plant is out, inspect the root ball. If the roots are tightly wound in a circle (a condition known as 'root-bound'), gently tease them apart with your fingers to encourage them to grow outwards into the new soil. Don't be afraid to trim any roots that look mushy, black, or dead with your clean scissors. Add a layer of fresh potting mix to the bottom of the new pot, place your plant inside, and check that the top of the root ball sits about an inch below the rim. Then, fill in the space around the root ball with more potting mix, gently patting it down to eliminate large air pockets.
Essential Aftercare for a Happy Plant
The first couple of weeks after repotting are crucial for recovery. Once the plant is settled in its new pot, give it a thorough watering until you see water running from the drainage holes. This helps the new soil settle around the roots. It might be tempting to give your plant a boost, but you should wait at least a month before using any fertilizer. Fresh potting mix contains plenty of nutrients, and adding more can overwhelm and burn the sensitive, recovering roots. Place your plant back in its usual spot, though it's wise to keep it out of intense, direct sunlight for a week or so to minimize stress. Don't be alarmed if your plant looks a little droopy for a few days; this 'transplant shock' is normal, and it should perk up soon.