



How Self-Watering Pots Actually Work
At their core, self-watering pots operate on a simple, brilliant concept. They consist of a growing bed for the plant and soil, and a separate water reservoir below. A wicking system, which might be a fabric rope or a porous section of the pot itself,
connects the two. Through a process called capillary action, the soil draws water up from the reservoir as it dries out. This provides a consistent level of moisture directly to the plant's roots, avoiding the feast-and-famine cycle of traditional top-watering. The goal is to keep plants perfectly hydrated without daily intervention.
The Drainage Deception: Why Overflow Is Key
One of the biggest misconceptions is that self-watering pots don't need drainage. While they may not have a traditional hole at the very bottom, a well-designed pot must have an overflow mechanism. This is an opening on the side of the pot, just above the reservoir's maximum fill line. Its job is to let excess water escape before it can saturate the upper soil where the roots live. Without an overflow, a simple mistake like overfilling the reservoir or leaving the pot out in the rain could lead to a waterlogged disaster. This is the primary cause of root rot, where roots are deprived of oxygen and begin to decay in stagnant water. So, while it's not a classic drainage hole, this overflow feature is non-negotiable for a healthy plant.
The Silent Problem of Soil Health
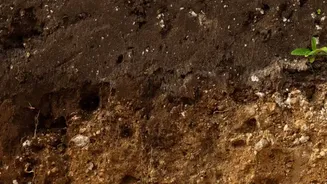
Even with perfect watering, the soil inside a self-watering pot isn't in a closed loop. As water is wicked upward, it carries dissolved minerals from your tap water and any fertilizers you use. But when that water evaporates or is used by the plant, the minerals and salts are left behind. Over months, these can build up in the soil, creating a white, crusty layer on the surface. This buildup can prevent the plant from properly absorbing water and nutrients, leading to stunted growth and burned leaf tips. Furthermore, the constant moisture can cause the soil to compact over time, squeezing out the air pockets that roots need for oxygen. A plant in compacted, salt-heavy soil will struggle, no matter how much water is in the reservoir.
Your Hands-On Maintenance Checklist
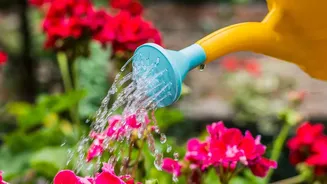
Self-watering pots reduce the frequency of watering, but they don't eliminate the need for observation. First, always check the soil moisture before refilling the reservoir. Stick your finger about an inch into the soil; if it feels damp, hold off. This prevents the soil from becoming perpetually soggy. Second, periodically check for soil compaction. You can gently poke a chopstick or skewer into the soil in a few places to create air channels, being careful to avoid major roots. If you notice a white crust forming on the soil, it's a sign of salt buildup. You'll need to flush the soil by watering it thoroughly from the top and letting the water run out of the overflow hole. Doing this every few months helps wash away the excess minerals.
When to Hit the Reset Button
No soil can last forever in a container, and self-watering pots are no exception. At least once a year, it's wise to give your plant a full refresh. This involves taking the plant out of the pot and gently replacing most of the old soil with a fresh, high-quality potting mix. Using a mix with plenty of perlite or other materials that promote good aeration is crucial to prevent compaction. This is also the perfect time to thoroughly clean the pot and its reservoir, scrubbing away any algae or mineral deposits that have built up. This annual reset ensures the soil structure remains healthy, nutrients are available, and the wicking system can function as intended for another year of growth.