




Step 1: Plan Your Space and Needs
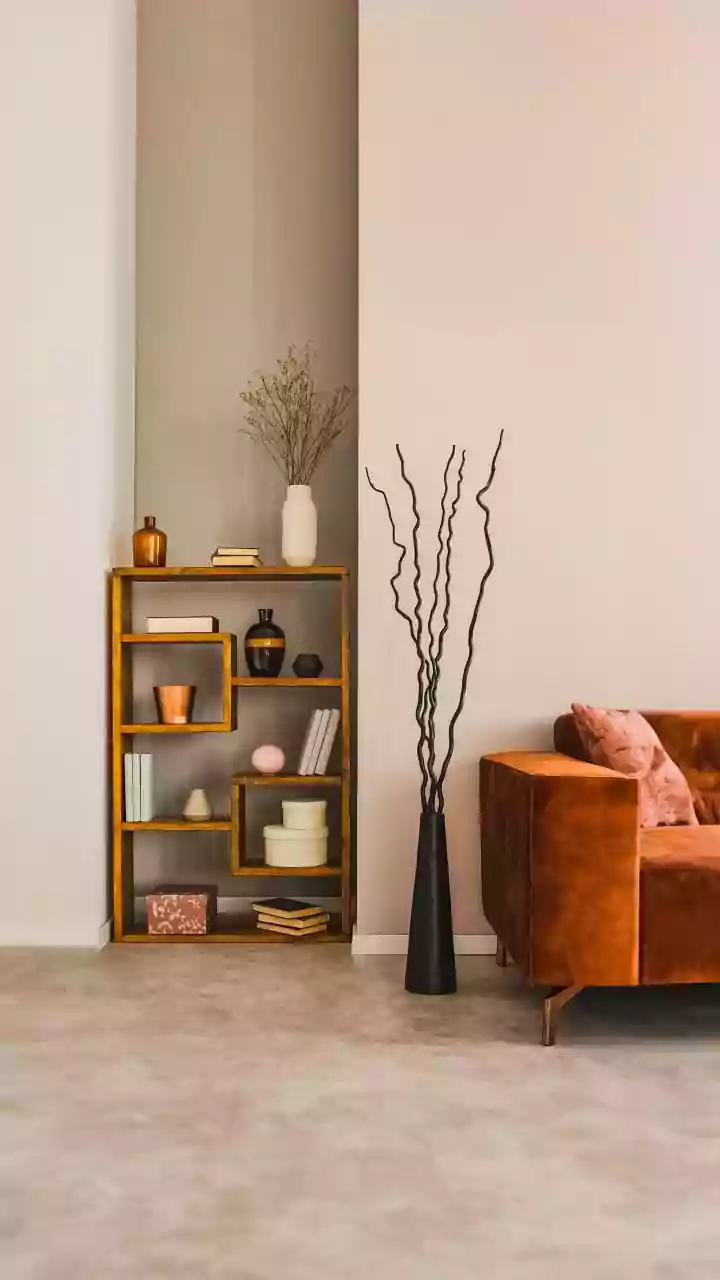
Before buying anything, figure out exactly what you want to store and where. Measure the wall space you intend to use in your living room. Is it a small niche next to the sofa or a larger area behind a desk? Consider the items you want to organize: books,
plants, electronics, or decorative objects. Knowing the approximate weight and size of these items will help you choose the right pegboard and installation method. Sketch out a rough layout. This crucial first step prevents you from buying a system that’s too big for the space or too weak for your belongings. Planning ensures your final setup is both functional and visually pleasing, turning potential clutter into a curated display.
Step 2: Choose a Truly Damage-Free Method
The key to a renter-friendly installation is avoiding drills and screws entirely. You have three excellent options. First, heavy-duty adhesive strips are perfect for lightweight systems. Products like Command Picture Hanging Strips are designed to hold significant weight when used correctly and remove cleanly. Always check the weight capacity on the package—a set of four large strips can often hold up to 7 kg. Second, for heavier loads or larger setups, consider a freestanding pegboard. These systems stand on their own feet or are designed as room dividers, requiring no wall contact at all. They often come in stylish designs that can help define zones in a small living room. Finally, tension rod systems, which brace between the floor and ceiling, can support pegboard panels without touching the walls.
Step 3: Select the Right Pegboard Material
Pegboards come in several materials, and your choice will impact both aesthetics and weight. Lightweight plastic pegboards are an excellent, budget-friendly option for adhesive-based installations, as they are easy to handle and won't strain the strips. They are often modular, allowing you to connect multiple panels to fit your space. Wooden pegboards offer a warmer, more decorative look that blends well with living room furniture, but they can be heavier. If you opt for wood, ensure it’s a thinner, lighter variety or consider a freestanding frame. Metal pegboards are the most durable and can hold the most weight, but they are also the heaviest. A metal system is best suited for a freestanding unit, where its weight is supported by a sturdy frame on the floor rather than by your wall.
Step 4: Prepare Your Wall Surface
If you're using an adhesive method, proper surface preparation is non-negotiable. Any dust, oil, or grime on the wall will prevent the strips from bonding correctly, risking a collapse. Start by cleaning the designated area with an isopropyl rubbing alcohol solution. Avoid using household cleaners, as they can leave behind a slippery residue. Wipe the area and let it dry completely, which usually takes about an hour. While the wall dries, you can lay out your pegboard and attach the corresponding adhesive strips to the back of the panel. Press each strip firmly for at least 30 seconds to ensure a strong bond between the adhesive and the board.
Step 5: The Installation Process
For adhesive mounting, once your wall is clean and dry, it’s time to hang the board. Use a level and painter's tape to mark a straight guideline on the wall where the top of the pegboard will sit. This prevents a crooked installation. Remove the final liners from the strips on your board and press it firmly against the wall, holding for at least 30 seconds to a minute. It’s often recommended to let the adhesive cure for at least an hour before hanging any accessories. For freestanding systems, assembly is typically straightforward and requires no tools. Simply follow the manufacturer’s instructions to connect the base, poles, and panels. The main advantage here is immediate use—once it's built, you can start organizing right away.
Step 6: Accessorize and Style Your Display
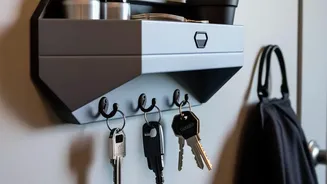
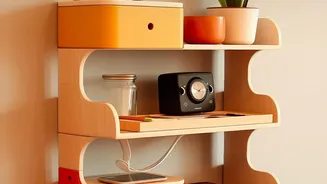
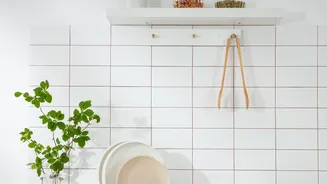
This is where your functional storage transforms into a design feature. Modular pegboard systems shine thanks to their vast ecosystem of accessories. Start with basic hooks to hang items like keys, headphones, or lightweight picture frames. Add small shelves for planters, speakers, or books. Baskets and bins are perfect for containing smaller, loose items. Think about aesthetics as you arrange your belongings. Group items by color or function, and don’t be afraid to leave some empty space to avoid a cluttered look. The beauty of a modular system is its flexibility; you can rearrange the hooks and shelves anytime your needs or style preferences change.