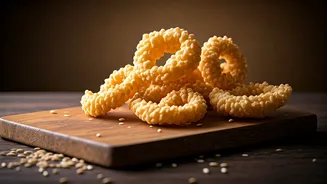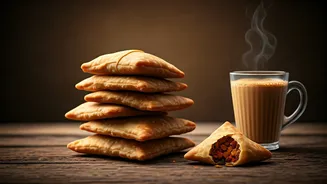


The Magic is in the Dough
The soul of a great samosa isn't the filling; it's the crust. The goal is a pastry that is flaky and crisp, not oily or bubbly. The secret lies in a stiff, low-moisture dough. For every 2 cups of maida (all-purpose flour), you'll need about ¼ cup of ghee
or oil. The most crucial step is called 'moin'—the process of rubbing the fat into the flour with your fingertips until the mixture resembles coarse breadcrumbs. This coats the flour particles and prevents gluten from forming long strands, which is what ensures a flaky, 'khasta' texture. When adding water, do it a tablespoon at a time. You want a firm, non-sticky dough that you'll need to knead for just 5-7 minutes before letting it rest, covered, for at least 30 minutes. This resting period is non-negotiable; it allows the gluten to relax, making the dough easier to roll.
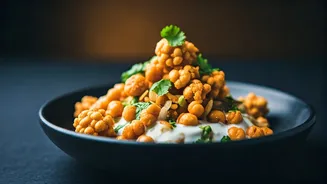
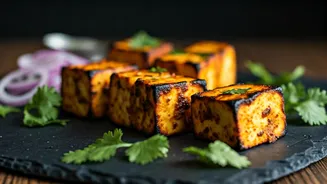
Crafting the Perfect Potato Filling
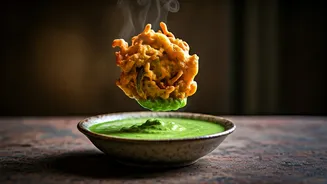
While the dough rests, it's time to prepare the classic aloo-matar filling. The key here is flavour and texture. Boil about 3-4 medium-sized potatoes until they are just cooked through—not mushy. Once cooled, peel and gently crumble them with your hands into small, uneven chunks; do not mash them. In a pan, heat a little oil and splutter some cumin seeds. Add chopped ginger and green chillies, followed by a pinch of asafoetida (hing). Then, add your green peas (frozen works perfectly) and cook for a minute. Now, introduce the spices: turmeric powder, red chilli powder, coriander powder, and the star ingredient, amchur (dried mango powder), for that signature tang. Toss everything together, add the crumbled potatoes and salt, and mix gently. Finish with a sprinkle of garam masala and chopped coriander leaves. Your filling should be aromatic and relatively dry to prevent the samosa from becoming soggy.
The Art of Folding
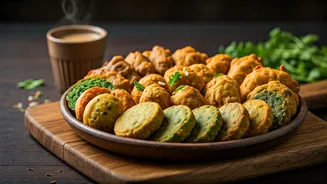
This is the part that often intimidates home cooks, but it’s simpler than it looks. After the dough has rested, knead it once more and divide it into equal-sized balls. Take one ball and roll it into an oval shape, about 6-7 inches long. It shouldn't be paper-thin. Now, cut it in half crosswise. You now have two semi-circles. Take one semi-circle and apply a little water along its straight edge. Bring the two corners of the straight edge together to form a cone, overlapping one corner slightly over the other and pressing firmly to seal. You now have a perfect little cone in your hand. Hold it gently and spoon in about 1-2 tablespoons of the potato filling, pressing it down lightly. Don't overfill it! Apply a little more water on the inside of the cone's open rim, and then pinch it shut tightly to seal the samosa completely.
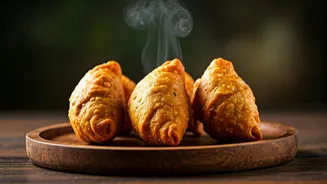
Frying for Ultimate Crispiness
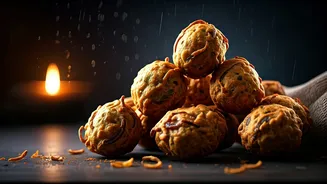
This is the final and most crucial step for achieving that street-style crunch. The secret is low and slow frying. Heat your oil in a kadai or deep pan over a low flame. How do you know it's ready? Drop a tiny piece of dough into the oil; it should sink and then rise to the surface slowly, with gentle bubbles. If it sizzles and rises immediately, the oil is too hot. Hot oil will give you a samosa with bubbles on the surface that browns quickly but remains raw inside. Gently slide your prepared samosas into the warm oil. Don't overcrowd the pan. Let them fry undisturbed on a low flame for 10-15 minutes, turning them occasionally, until they are firm and a light golden brown. They won't look perfectly crisp yet, but this low-heat cooking is what cooks the pastry from the inside out. Once they are firm, you can increase the heat slightly to finish them off, frying until they reach that perfect deep golden-brown colour. This two-stage temperature process guarantees a perfectly cooked, incredibly crispy samosa.