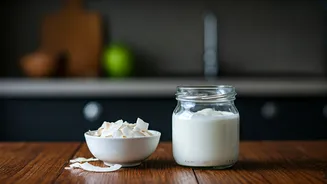


The Magic of Two Ingredients
The beauty of this recipe lies in its stunning simplicity. All you need are two items: a can of full-fat coconut milk and probiotic capsules. [2, 3] That's it. No gums, no stabilisers, no added sugars, and no unpronounceable ingredients that often populate
the labels of store-bought vegan yogurts. [6] The full-fat coconut milk provides the creamy, rich base, which is essential for achieving a thick, Greek-style texture. [5] The probiotics are the active component, containing live cultures that will ferment the coconut milk, creating that signature tangy flavour and transforming it into yogurt. [2]
Why Quality Matters
While the ingredient list is short, their quality is paramount for success. Opt for a high-quality, full-fat canned coconut milk, preferably one that is organic and doesn't contain a long list of additives. [1, 6] Cheaper or lower-fat versions may not thicken properly, resulting in a thin, disappointing consistency. The second key is the probiotic. You'll need vegan-friendly capsules that can be easily opened to release the powder inside. Look for a brand with a high CFU count (colony-forming units), often 30 billion or more, as this indicates a potent culture that will effectively ferment the milk. [2, 5]
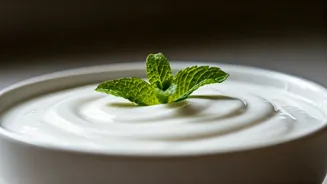
The Simple Step-by-Step Method
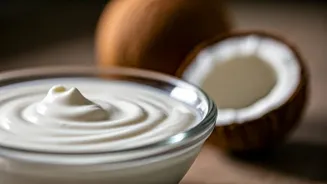
Making your own coconut yogurt is more about patience than skill. First, ensure your equipment—a glass jar or bowl and a non-metal spoon—is spotlessly clean to avoid introducing unwanted bacteria. [5] Start by pouring the full-fat coconut milk into your jar and whisking it until completely smooth, ensuring any separated cream and liquid are fully combined. Next, open two or three probiotic capsules and sprinkle the powder directly into the milk. [1] Stir gently with a wooden or plastic spoon until the powder is dissolved. [5] Cover the jar with a breathable material like cheesecloth or a clean tea towel, securing it with a rubber band. This allows air to circulate while keeping contaminants out. [3, 6]
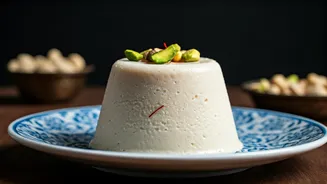
Ferment, Chill, and Thicken
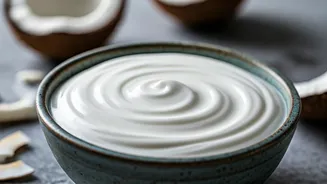
Now comes the waiting game. Place the jar in a warm, draft-free spot for 24 to 48 hours. [1] An oven with just the light on often provides the perfect gentle warmth needed for fermentation. [5] The longer you leave it, the tangier the yogurt will become. After 24 hours, you can do a taste test with a clean spoon. [2] If you prefer more tang, let it ferment longer. Once it has reached your desired flavour, give it a final stir, cover it with a proper lid, and transfer it to the refrigerator. The chilling process is crucial—it will thicken the yogurt significantly, often to a lush, spoonable consistency. It will be ready to enjoy after several hours in the fridge. [5]
Troubleshooting and Customisation
Don't be discouraged if your first batch isn't perfect. Homemade fermentation can sometimes be unpredictable. If your yogurt is thinner than you'd like, it could be due to the brand of coconut milk or the fermentation temperature. [1] You can strain it through a cheesecloth or nut milk bag to remove excess liquid and achieve a thicker texture. [1] It's normal for some separation to occur; just give it a good stir. [1] If you notice any mould, a strange colour, or an 'off' smell, it's best to discard it and start again, ensuring your equipment is sterilised. Once you've mastered the plain version, feel free to get creative by adding vanilla extract, a touch of maple syrup, or fruit puree after it has fermented. [3]