



Why Harvest Rainwater?
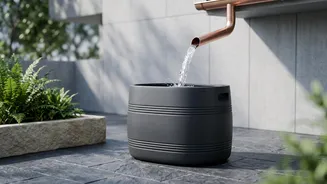
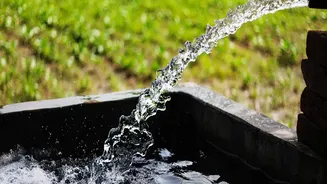
Harvesting rainwater isn't just an eco-friendly trend; it's a practical solution for urban living. By capturing the water that falls on your terrace or roof, you can reduce your dependency on municipal water for non-potable uses like gardening, flushing
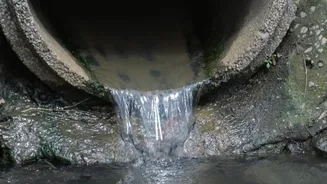
toilets, and cleaning floors. This can lead to noticeable savings on your water bills. More importantly, when done correctly, it helps reduce surface runoff that contributes to urban flooding. Instead of letting precious water clog the drains, you direct it back into the earth, helping to recharge the depleted groundwater tables that our cities so heavily rely on. It's a win-win: you gain a degree of water self-sufficiency, and your community benefits from a healthier water table.
Start with a First Flush Diverter
Before you filter, you must first divert. The initial spell of rain washes your roof clean of dust, leaves, bird droppings, and other debris. You don't want this in your system. A 'first flush diverter' is a simple but crucial component that directs this initial, dirty water away from your filter and storage tank. You can create a basic one using a standard PVC pipe attached to your main downspout with a T-junction. This section of pipe has a cap at the bottom. As the first rains fall, this pipe fills up. Once full, the cleaner water that follows bypasses the diverter and flows towards your filter. You just need to remember to empty the diverter after the rain stops.
Building a Simple Multi-Layer Filter
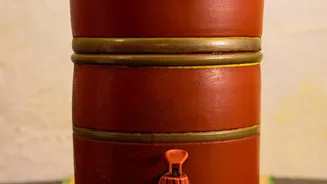
The heart of your system is a simple, multi-layered filter that mimics nature's own purification process. You can build one using a large, sturdy plastic drum or even a stack of large clay pots (matkas). The principle is to pass water through layers of different materials to remove impurities. A typical setup, from bottom to top, is a layer of coarse gravel, followed by a layer of smaller pea gravel, a thick layer of coarse sand, and finally, a layer of activated charcoal. Charcoal is excellent at removing odours and some contaminants. Each layer should be separated by a piece of mesh or non-woven geotextile fabric to prevent them from mixing. The rainwater enters from the top, percolates down through the layers, and exits through a tap or pipe fitted near the bottom of the container.
Directing Water to Recharge the Ground
Once filtered, the water is ready. You can store it in a tank for household use or, to make a bigger environmental impact, use it to recharge groundwater. The simplest way is to create a small 'recharge pit' or 'soak pit'. This is an excavated pit, typically a few feet deep and wide, located in a suitable spot in your garden or compound. You can construct one by placing a perforated barrel into the pit and filling the surrounding gap with coarse gravel or broken bricks. The outlet from your DIY filter then directs the clean water into this pit, from where it can slowly percolate deep into the ground, replenishing the local aquifer. This is especially effective if you have a borewell nearby that you wish to rejuvenate.
Key Things to Remember
This type of DIY system is highly effective for filtering out sediment and debris, making the water suitable for gardening, cleaning, and flushing. However, it is crucial to understand that this water is NOT potable. Without further advanced treatment like UV filtration or boiling, it is unsafe for drinking or cooking. Regular maintenance is also key. Your rooftop catchment area must be kept clean, and the filter itself will need to be cleaned annually by removing, washing, and replacing the filter materials to prevent clogging and ensure effectiveness.