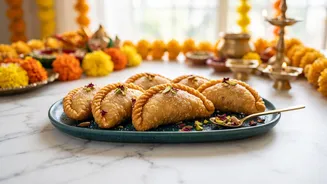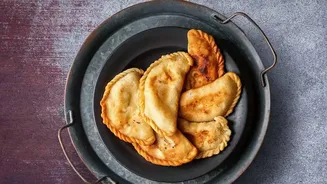


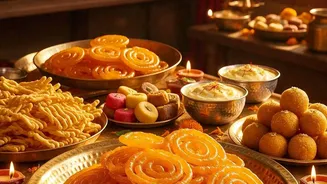

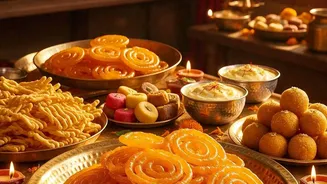
The aroma of sweets frying is the hallmark of any Indian festival. Among the most cherished is the gujiya, a crisp, golden pastry parcel holding a treasure of sweet, fragrant filling. It's a classic that never fails to delight.
The Heart of the Gujiya: The Sweet Filling
The magic of a great gujiya
lies in its filling, a delightful mixture of textures and flavours. The traditional base is khoya (also known as mawa), which are milk solids that provide a rich, creamy foundation. To begin, crumble about 250 grams of khoya and gently roast it in a pan over low heat until it becomes fragrant and slightly changes colour. This step is crucial as it removes moisture and enhances the flavour. Once cooled, combine the khoya with half a cup of roasted sooji (semolina) for a subtle grainy texture. The sweetness comes from adding powdered sugar to taste, typically around one cup. Finally, enrich the mixture with a generous helping of chopped nuts like almonds, cashews, and pistachios, along with a quarter cup of desiccated coconut. A pinch of cardamom powder and some raisins or chirongi (charoli seeds) will elevate it from simply sweet to truly aromatic and festive. Mix everything thoroughly and set it aside; your flavourful heart of the gujiya is ready.
Crafting the Perfect Outer Shell: The Dough
The perfect gujiya needs a casing that is crisp and flaky, not hard or chewy. The secret is a simple, well-made dough. In a large bowl, combine two cups of maida (all-purpose flour) with a pinch of salt. The key ingredient for a flaky texture, or 'khasta' quality, is the fat. Add four to five tablespoons of warm ghee (clarified butter) to the flour. Rub the ghee into the flour with your fingertips until the mixture resembles breadcrumbs. This process, known as 'moyan', is what creates the delightful shortcrust texture. To check if you have added enough ghee, take a small amount of the flour mixture in your palm and press it; it should hold its shape. Now, begin adding lukewarm water, a little at a time, to knead a firm, but smooth dough. It should not be soft like a roti dough, as that will prevent the gujiyas from becoming crispy. Once kneaded, cover the dough with a damp cloth and let it rest for at least 30 minutes. This resting period allows the gluten to relax, making the dough easier to roll out.
Shaping and Sealing Your Parcels of Joy
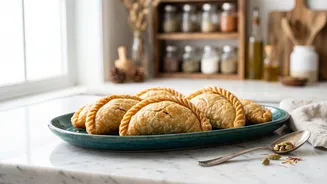
Once the dough has rested, it's time to assemble the gujiyas. Knead the dough again for a minute until smooth. Divide it into small, equal-sized balls. Take one ball and roll it out into a thin, circular disc about four inches in diameter, ensuring the edges are slightly thinner than the centre. Place a spoonful of the prepared filling onto one half of the circle, leaving a clear margin around the edge. To seal it, apply a little water along the edges with your fingertip. This acts as a glue. Carefully fold the other half over the filling to create a semi-circle. Press the edges firmly to seal the gujiya completely. This is the most critical step to prevent the filling from spilling out during frying. You can use a special gujiya mould for a perfect shape and pattern, or you can create a decorative edge by pinching and twisting the sealed border, a technique known as 'godna'. Place the shaped gujiyas on a tray and keep them covered with a cloth to prevent them from drying out.
The Golden Finish: Frying to Perfection
The final step is frying, which requires patience for the best results. Heat ghee or a neutral oil in a kadai or a deep pan over medium heat. The temperature of the oil is paramount. To test it, drop a small piece of dough into the oil; it should sizzle and rise to the surface slowly. If it rises too quickly, the oil is too hot, and your gujiyas will cook on the outside but remain raw inside, likely forming bubbles on the surface. If it's not hot enough, they will absorb too much oil. Slide a few gujiyas into the pan, being careful not to overcrowd it. Fry them on a low to medium flame, turning them occasionally, until they are a beautiful golden brown on all sides. This slow frying process ensures they cook through and become perfectly crisp. Once done, remove them with a slotted spoon and place them on a wire rack or paper towels to drain any excess oil. Let them cool completely before storing.