



A Sweet Steeped in Tradition
Mathura Peda is more than just a dessert; it’s a taste of devotion that originates from Mathura in Uttar Pradesh, the sacred birthplace of Lord Krishna. The sweet's connection to the city is so strong that the name 'Mathura' itself acts as a brand for
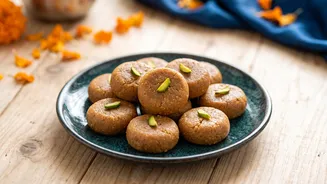
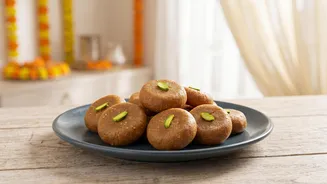
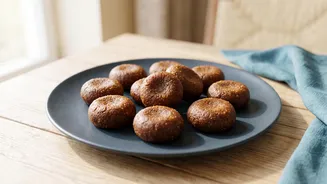
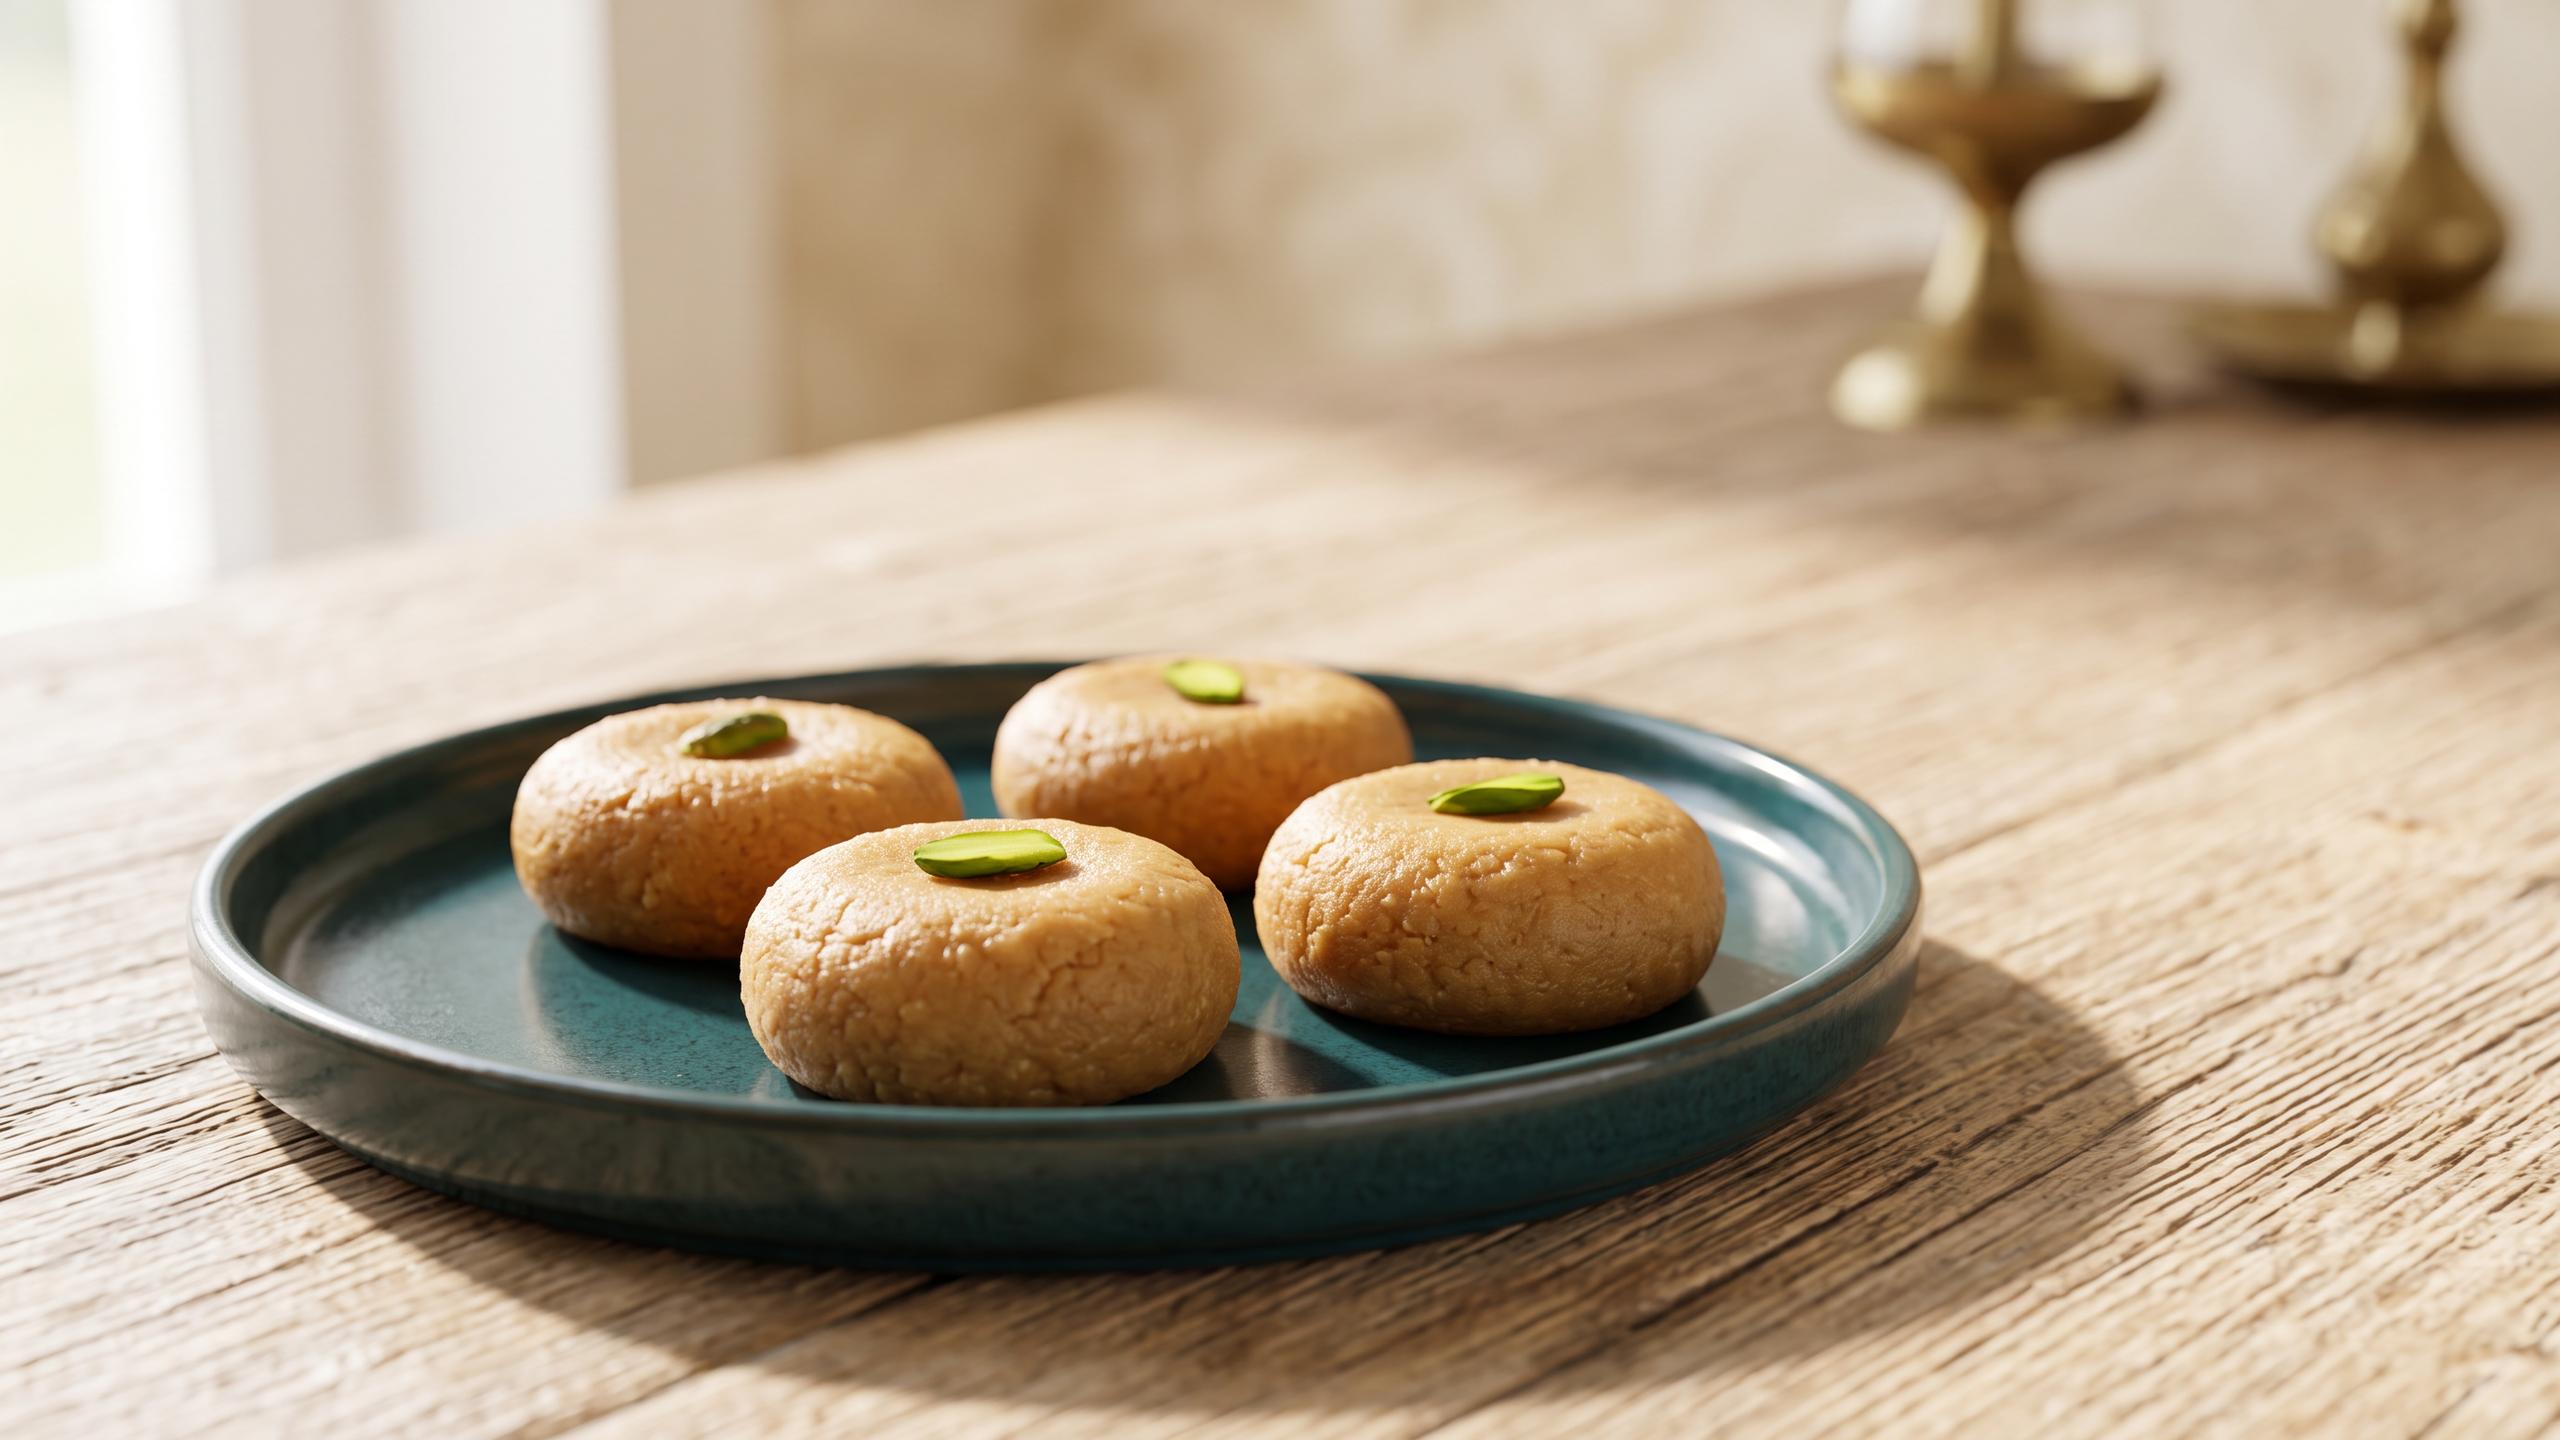
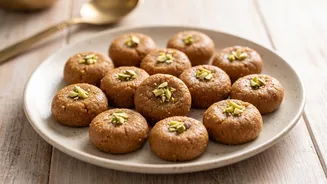
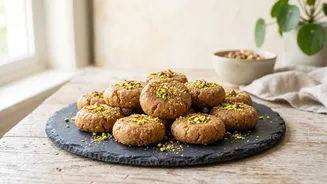
this specific type of peda. Traditionally prepared as a 'prasad' or offering for Janmashtami, this sweet holds a special place in the festivities celebrating Krishna's birth. Stories and folklore suggest the peda was a favourite of Lord Krishna himself, which is why it remains an essential part of the celebrations. Its unique brownish hue and grainy, melt-in-the-mouth texture come from the careful roasting of milk solids, a process that gives it a distinct caramel-like flavour.
Your Simple Ingredient List
The beauty of Mathura Peda lies in its simplicity. You only need a handful of core ingredients to create this divine treat. Traditionally, it is made from khoya (also known as mawa), which are dried milk solids. You can find khoya at most Indian grocery stores, often in the freezer section. For those who prefer to make everything from scratch or can't find store-bought mawa, an 'instant' version can be made at home using full-cream milk powder. Here’s what you’ll gather: Khoya (Mawa): About 250 grams, grated. Ghee: 2 to 3 tablespoons. Sugar: ½ cup of powdered sugar (or bura sugar), plus extra granulated sugar for rolling. Milk: 2 to 4 tablespoons, as needed. * Cardamom Powder: ½ teaspoon for a fragrant aroma.
The Art of Roasting Khoya
The secret to authentic Mathura Peda is the patient roasting of the khoya. This step cannot be rushed. Start by heating a heavy-bottomed or non-stick pan on a low flame. Add the grated khoya and begin to roast it, stirring continuously. As it heats, it will melt and then start to solidify again. Break up any lumps that form. After a few minutes, add a tablespoon or two of ghee to prevent it from sticking and to help it brown evenly. Continue to stir and cook on low heat for about 15-20 minutes. The khoya will gradually change from white to a light golden and finally to a rich, dark brown colour, releasing a beautiful aroma. This caramelisation is what defines the peda's flavour. Once it’s deeply browned and crumbly, turn off the heat and let the mixture cool down.
Bringing It All Together
Once the roasted khoya has cooled slightly but is still warm to the touch, it's time to complete the sweet. Transfer the crumbly mixture to a bowl or blender. Add the powdered sugar and cardamom powder. If the mixture appears too dry, you can pulse it in the blender a few times to make it smoother. Add milk, one tablespoon at a time, just until the mixture becomes moist enough to bind together. Be careful not to add too much milk, as it can make the pedas sticky. Mix everything thoroughly until it forms a uniform, dough-like consistency. Now, take small portions of the mixture and roll them into smooth balls between your palms. You can gently flatten them to create the classic peda shape.
Finishing Touches and Tips
The final step gives the Mathura Peda its signature look. Spread some granulated or bura sugar on a plate and gently roll each peda until it's lightly coated. This adds a lovely crystalline texture that contrasts with the soft interior. For a decorative touch, you can make a small indentation in the center of each peda with your thumb. For the best results, always use a heavy-bottomed or non-stick pan and cook on low heat to prevent the khoya or milk powder from burning. If your mixture becomes too dry while shaping, grease your hands with a little ghee. Store the finished pedas in an airtight container in the refrigerator, where they will stay fresh for several days.