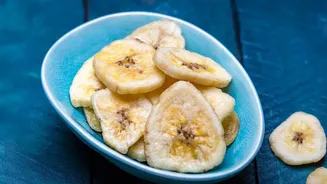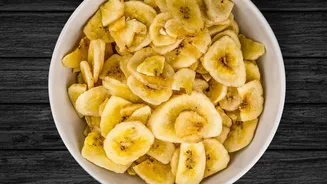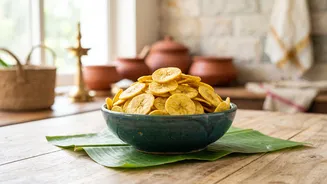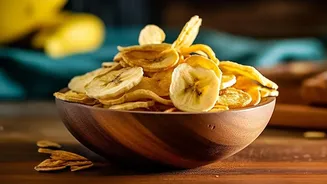





The Secret Starts with the Right Banana
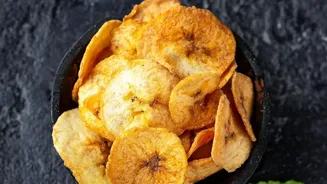
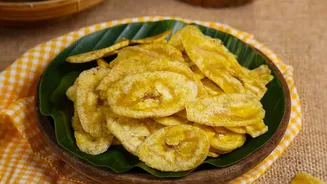
The first step to achieving that signature crunch is selecting the correct type of banana. For the classic savoury chip, popular in Kerala, you must use unripe, green bananas. The Nendran variety is the gold standard, prized for its firm texture and lower
sugar content, which allows it to become crispy rather than chewy. If you can't find Nendran, other varieties of raw, green plantains or bananas will work. Ripe, yellow bananas contain more sugar and moisture, which means they are better suited for sweet, slightly chewier chips and will not deliver the same savoury crunch.
Uniform Slicing Is Non-Negotiable
To ensure every chip cooks evenly, consistent slicing is crucial. Slices that are too thick will remain soft in the middle, while slices that are too thin might burn quickly. Aim for a thickness of about 1/8 to 1/4 of an inch. The easiest way to achieve uniform slices is by using a mandoline slicer. If you don't have one, a sharp knife and a steady hand will do; just take your time to make the slices as even as possible. Some traditional methods even involve slicing the banana directly into the cooking medium, but for baking or air frying, it’s best to slice them beforehand.
The Pre-Cook Treatment for Better Flavour and Colour
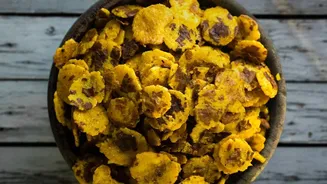
A common step in traditional banana chip making is to soak the slices in a solution of water, salt, and a pinch of turmeric powder. This does several things: the salt seasons the chips from within, while the turmeric imparts a beautiful golden-yellow hue. This bath also helps to prevent the banana slices from oxidizing and turning brown. After a brief soak of about 15-30 minutes, it's vital to drain the slices and pat them completely dry with a paper towel. Any excess moisture on the surface will create steam, which is the enemy of crispiness.
The Low-Oil Method: Oven-Baking
Baking is an excellent way to get crunchy chips without deep-frying. Start by preheating your oven to a low temperature, around 100-120°C (200-250°F). Toss your dry banana slices in a bowl with just a teaspoon or two of oil—enough to create a very light coating. Arrange the slices in a single layer on a baking sheet lined with parchment paper, making sure none of them overlap. Overcrowding the pan will trap moisture and prevent the chips from drying out properly. Bake for 1.5 to 2 hours, flipping the chips halfway through. The low and slow cooking process dehydrates the banana, which is the key to a lasting crunch. They will get even crispier as they cool down.
An Even Faster Route: The Air Fryer
If you have an air fryer, you can achieve crispy results much faster. Preheat your air fryer to around 160-180°C (320-350°F). Just like with baking, lightly toss the slices in a minimal amount of oil. Place them in the air fryer basket in a single, non-overlapping layer. You will likely need to work in batches. Air fry for 10-15 minutes, shaking the basket halfway through to ensure even cooking. Keep a close eye on them during the last few minutes, as they can go from golden to burnt very quickly. The chips may feel slightly soft when you first take them out, but they will firm up and become perfectly crunchy as they cool on a wire rack.
Storage and Seasoning
Once your banana chips are completely cool, you can add extra seasonings. A simple sprinkle of salt is classic, but you can also experiment with black pepper, chilli powder, or chaat masala for an extra kick. For a sweet version using ripe bananas, a dusting of cinnamon sugar after cooking works well. The most important final step is storage. To maintain their crunch, store the chips in a completely airtight container at room temperature. When stored properly, your homemade, low-oil banana chips will stay fresh and crispy for up to a week, ready for you to enjoy a guilt-free snack anytime.