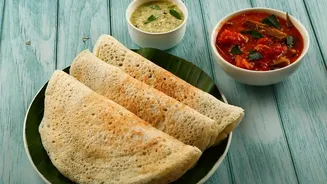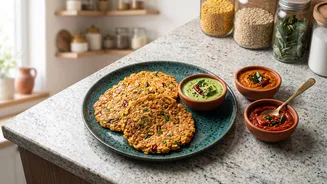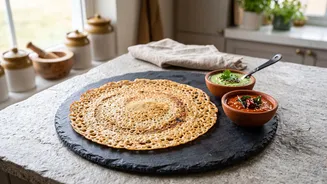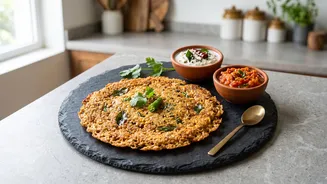







Oats Adai promises a healthy, fibre-rich twist on a beloved South Indian classic. But getting it right can be tricky. This guide cuts through the confusion, offering clear, factual tips for making crispy, delicious adai every single time.
Why Oats Change the Adai Game
Traditional adai,
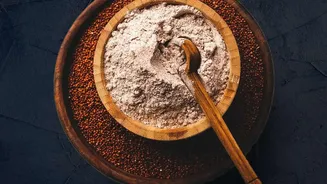
made with a blend of lentils and rice, is naturally protein-rich and filling. Substituting oats for rice introduces a significant amount of soluble fibre, particularly beta-glucan, which can help you feel full longer and offers a lower glycemic response compared to white rice. This makes oats adai a popular choice for those managing blood sugar or seeking a lighter, yet satisfying, meal. However, oats also change the batter's behaviour. Oats absorb more liquid than rice and can create a stickier, more delicate texture. Understanding this property is the first step to mastering the dish. Many recipes call for powdering rolled oats before adding them to the ground dal mixture to ensure a more uniform batter.
The Secret to Perfect Batter Consistency
The single most critical factor for successful oats adai is the batter's consistency. If the batter is too thick, the adai will be dense and chewy instead of crisp. If it's too thin or watery, it will be difficult to spread and likely stick to the tawa and break apart. The ideal consistency is often described as similar to a thick buttermilk or a standard dosa batter—pourable but not overly runny. To achieve this, always add water little by little to your ground dal and oats powder mixture. Since oats can continue to absorb liquid and thicken the batter as it sits, you may need to adjust by adding a splash of water right before making each adai. Some cooks let the batter rest for 15-30 minutes to allow the oats to soften fully before making final adjustments.
Mastering Your Tawa
A properly heated tawa is non-negotiable for a crisp, non-stick adai. The tawa must be hot, but not smoking. A good test is to sprinkle a few drops of water on the surface; they should sizzle and evaporate immediately. If the tawa is not hot enough, the batter will stick. If it's too hot, the adai will cook too quickly on the outside while remaining raw inside. Once you pour the batter, cook the adai on a low to medium flame. This is a crucial point of patience. Unlike some other dosas, oats adai takes time to cook through properly and develop a golden-brown, crisp bottom. Rushing the process on high heat is a common mistake that leads to a soft, doughy centre.
Techniques for a Flawless Flip
How you pour and cook the adai makes all the difference. For best results, pour a ladleful of batter in the centre and gently spread it in a circular motion to form a pancake that is neither too thick nor too thin. Some recipes suggest making a small hole in the centre of the adai after spreading it; this traditional technique helps it cook more evenly from the inside out. Drizzle a bit of oil or ghee around the edges and on top. Wait patiently for the edges to turn golden brown and start lifting from the pan before you attempt to flip it. This indicates the underside is cooked and firm enough to be turned. Use a thin, flat spatula to gently loosen the adai before flipping to cook the other side.
Boosting Flavour and Texture
While the base of lentils and oats is nutritious, simple additions can elevate your adai from good to great. Finely chopped onions, curry leaves, coriander, and ginger are classic flavour enhancers. For an extra crunch and flavour, you can sauté the onions and vegetables separately before adding them to the batter or sprinkling them on top of the adai as it cooks on the tawa. Some recipes recommend toasting the oats before powdering them to impart a nuttier, more complex flavour and reduce any raw taste. Finally, don't forget the salt. Adding a pinch of salt to the batter at the beginning is essential to bring out the savoury, earthy flavours of the dals and oats.