






First Steps: Assembly and Familiarisation
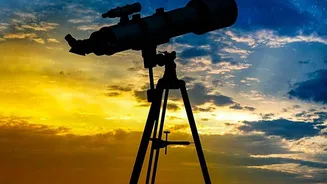
Before you can gaze at the cosmos, you need to build your window to it. Unbox all the components carefully and consult your manual. It is far easier to assemble everything for the first time indoors, during the day. Identify the main parts: the optical
tube (the main body of the telescope), the mount and tripod that support it, the finder scope (a smaller, low-power scope on top), and your eyepieces. Eyepieces are the interchangeable lenses that determine your magnification; they will have numbers like '25mm' or '10mm' printed on them. A lower number means higher magnification, but you should always start with your lowest power eyepiece (the one with the highest number, like 25mm).
The Most Crucial Step: Daytime Alignment
Here is the single most important tip for any beginner: align your finder scope during the day. A finder scope has a wide field of view to help you aim the main telescope, which has a very narrow view. If they aren't perfectly aligned, you will spend hours scanning the sky in frustration. Set up your fully assembled telescope outside and point it at a distant, stationary object—the top of a telephone pole, a faraway tree, or a street sign at least a few hundred yards away. First, look through the main telescope with your lowest power eyepiece and centre the object in your view. Lock the telescope in place. Now, without moving the main telescope, look through the finder scope. Use its adjustment screws or knobs to move the crosshairs or red dot until it is perfectly centred on the exact same object. Check your work by moving the telescope to a new distant object, centering it in the finder first, and then confirming it’s visible in the main eyepiece.
Preparing for Your Night with Saturn
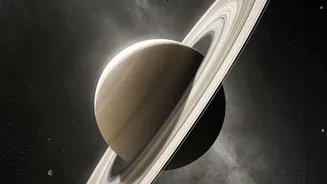
Your telescope needs to acclimate to the outdoor temperature to prevent blurry views caused by heat radiating from it. This is especially important for larger reflector telescopes with mirrors. Take your scope outside at least 30 minutes to an hour before you plan to observe. While it cools, use a stargazing app on your phone to confirm Saturn's location. In October 2026, Saturn reaches opposition on October 4th, making it visible all night long and at its brightest for the year. Throughout October, it will be a brilliant, steady, yellowish point of light, found in the constellation Cetus. You won't need a telescope to spot the planet itself, but you will need one to see its famous rings.
Making Your First Observation
With your finder scope aligned and telescope cooled, it’s time for the main event. Use the finder scope to locate Saturn and centre it in the crosshairs or red dot. Now, look through your low-power eyepiece. You should see a bright disc. Use the focuser knob to make the image as sharp as possible. Don't be disappointed if it looks small; this is normal. Even in a small telescope at low power, you should be able to distinguish the planet from its rings. Once you have it focused, you can try switching to a higher-power eyepiece (a lower millimetre number) for a closer look. You may need to refocus slightly. Be patient, as the Earth’s atmosphere can make the image shimmer or blur, but moments of steady 'seeing' will reveal a clearer view.
What to Expect and What to Look For
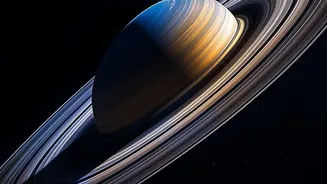
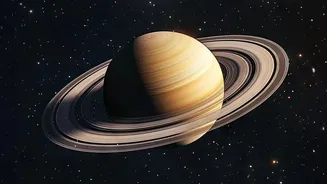
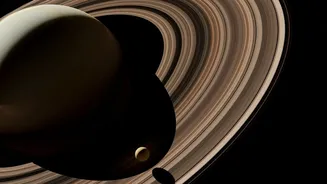
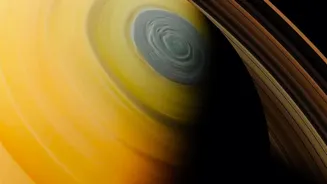
Managing expectations is key to a rewarding experience. The view will not look like a high-resolution NASA photo, but seeing the real thing with your own eyes is far more magical. With a quality beginner telescope (70mm refractor or 114mm reflector), you can clearly see the rings as separate from the planet. You may notice the planet itself is a pale yellow orb. Look for the shadow of the planet cast upon the rings, which gives the view a stunning 3-D effect. Depending on the size of your telescope and the atmospheric conditions, you might even be able to spot Saturn's largest and brightest moon, Titan, which will look like a tiny star very close to the planet.