




Why Timing Your Repotting Matters
Most houseplants enter their active growth phase in the spring and summer. Increased daylight and warmer temperatures signal to the plant that it's time to produce new leaves, stems, and roots. Repotting during this period means the plant is already primed
for expansion. It can quickly recover from the minor shock of being moved and will eagerly grow into its new, larger container. This process provides a fresh supply of nutrients from the new soil right when the plant needs them most. In contrast, repotting during winter dormancy can be more stressful. A dormant plant isn't focused on growth, so it will take much longer to establish itself in a new pot, and the risk of problems like root rot increases if the soil stays wet for too long.
Signs Your Plant is in its Growing Season
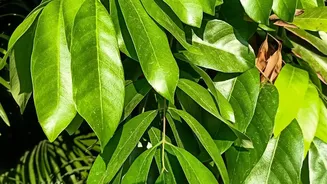
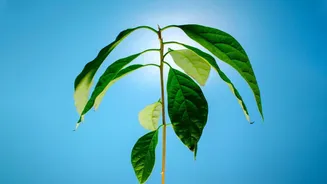
Identifying the active growth stage is mostly about observation. The most obvious sign is the appearance of new growth, such as fresh leaves, new stems, or flower buds. Healthy new leaves will often emerge a lighter green and then darken to match the rest of the foliage. You might also notice that your plant's existing leaves look more vibrant or that its stems are firmer. Another key indicator is an increased thirst; if you find yourself needing to water more frequently than you did in the winter, your plant is likely in its growth phase. For many common houseplants, this period reliably starts in early spring and continues through summer.
When You Should Wait to Repot
While the growing season is ideal, there are a few exceptions. If your plant is actively flowering, it's best to wait. Flowering consumes a tremendous amount of energy, and the stress of a repot can sometimes cause the plant to drop its blooms. Also, avoid repotting a plant that is already stressed from pests, disease, or a recent shock like a sudden temperature drop. Help it recover in its current pot before introducing the stress of a move. Finally, if a plant must be repotted in the fall or winter due to an emergency—like severe root rot or a broken pot—it can be done. Just be sure to provide it with a warm, bright location to help it recover.
A Simple Guide to Successful Repotting
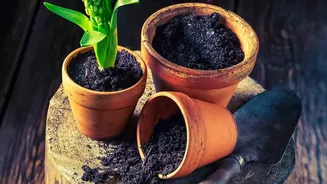
Once you've determined it's the right time, the process is straightforward. First, choose a new pot that is only about 1-2 inches wider in diameter than the old one. A pot that's too large can hold excess moisture and lead to root rot. Gently remove the plant from its current pot. If the roots are tightly wound in a circle (a sign it's "root-bound"), carefully loosen them with your fingers to encourage them to spread out in the new pot. Place a layer of fresh, appropriate potting mix in the bottom of the new container, set the plant on top, and fill in the sides, making sure the top of the root ball is at the same level as it was before. Gently tap the pot to settle the soil and eliminate air pockets before giving it a thorough watering.
When a Bigger Pot Isn't the Goal
Sometimes you may not want your plant to get any larger, or you simply love its current container. In this case, you can perform a root pruning during the active growing season. Carefully remove the plant from its pot and trim away some of the outer, circling roots. You can then add fresh potting soil back into the same pot and replant it. This refreshes the plant's nutrient supply without requiring a move to a larger home. This technique works well for many plants, but is especially common for species like orchids, where it can encourage new growth and blooms.