



Preparation Begins Before the Trail
A safe Himalayan trek in late November starts weeks, if not months, before you reach the trailhead. This is a period of transition, where post-monsoon stability gives way to winter's unpredictability. Your first step is a frank assessment of your physical
fitness. Cold weather and higher altitudes are demanding on the body. Cardiovascular training, such as running or cycling, is crucial to build endurance. Equally important is research. Not all treks are suitable for late November. High passes may become impassable due to snow. Choose a route known for its accessibility during this period, like the Kedarkantha or Har ki Dun treks. Always consult with experienced, certified trekking agencies who understand the local conditions and can provide invaluable advice on route selection. Finally, monitor weather forecasts from reliable sources like the India Meteorological Department (IMD) in the weeks leading up to your trip to understand developing patterns.
The Right Gear is Non-Negotiable
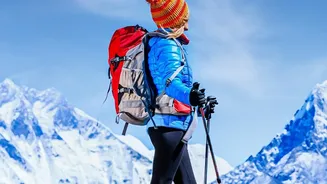
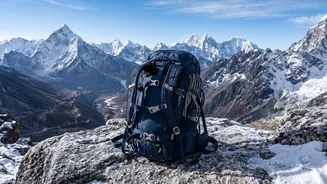
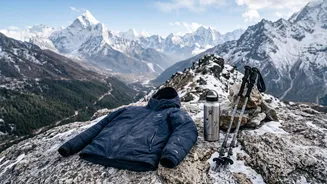
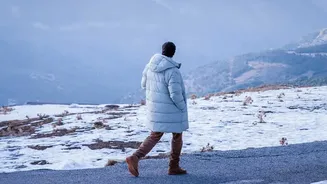
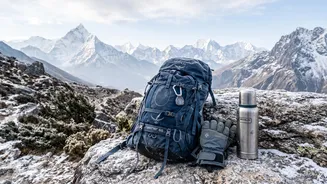
In the cold, your clothing is your first line of defence. Mastering the art of layering is essential. Start with a moisture-wicking synthetic or merino wool base layer to keep sweat off your skin. Add an insulating mid-layer, like a fleece or a down jacket, to trap body heat. Finish with a waterproof and windproof outer shell to protect you from the elements. This system allows you to adapt to changing temperatures throughout the day. Pay special attention to your extremities. Insulated, waterproof trekking boots with good grip are mandatory. Pack several pairs of woollen socks to ensure you always have a dry pair, especially for sleeping. Insulated, water-resistant gloves, a woollen cap or balaclava that covers your ears, and UV-blocking sunglasses to prevent snow blindness are also critical. For potentially icy sections, microspikes or crampons provide necessary traction and can be a trip-saver.
Understanding Mountain Sickness
As you ascend, the air gets thinner, and your body receives less oxygen with each breath, posing the risk of Acute Mountain Sickness (AMS). Symptoms of mild AMS include headache, nausea, dizziness, fatigue, and difficulty sleeping. It's crucial not to ignore these signs. The primary rule of acclimatisation is to ascend gradually. A common guideline is not to increase your sleeping elevation by more than 300 to 500 metres per night once you are above 3,000 metres. If you or a team member shows symptoms, the only cure is to rest and not ascend further until the symptoms subside. If they worsen, immediate descent is necessary. Staying well-hydrated is also key, so carry an insulated water bottle to prevent your water from freezing.
On-Trail Discipline and Awareness
Daily discipline on the trail is paramount for safety. Due to shorter daylight hours in winter, always start your day's trek early to ensure you reach your next campsite with ample light. Communicate your daily plan and stick to a firm turnaround time, a pre-decided time by which you will turn back regardless of how close you are to your destination. This prevents you from being caught out after dark. Always trek with a certified local guide who can read the weather and snow conditions. They are trained to spot signs of avalanche risk, such as recent heavy snowfall or the sound of collapsing snow. While the risk on many popular trails is low during the main seasons, late November's transitional weather can increase it, especially on steeper slopes or near high passes. Trust your guide's judgment above all else.
In Case of an Unexpected Snowstorm
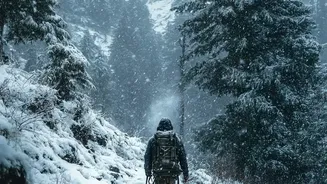
The weather in the Himalayas can change in an instant. If you are caught in an unexpected snowstorm, do not panic. The first priority is to find or create shelter out of the wind. If you are with a guide, follow their instructions implicitly. If you are on a well-marked trail and lose visibility in a whiteout, it is often safer to stay put rather than risk getting lost. Huddle together with your group to share body heat, put on all your layers, and conserve energy. Ensure you have a headlamp with extra batteries and a whistle easily accessible in your daypack. These simple tools are vital for signaling for help. Informing a reliable contact back home of your itinerary before you leave is a crucial safety net, allowing them to raise an alarm if you don't check in as scheduled.