
A Celestial Opportunity: The Perseids
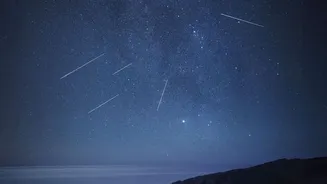
Your chance to practice night sky photography is here. The annual Perseid meteor shower, known for its bright and plentiful meteors, is peaking. This year's event is especially promising because the peak, on the night of August 12-13, 2026, coincides
with a new moon. This means the sky will be exceptionally dark, allowing even faint meteors to be seen and photographed, with a potential rate of 50 to 100 meteors per hour under ideal conditions. The best viewing time in India will be from late night on August 12 into the pre-dawn hours of August 13.
Gear Up for the Galactic
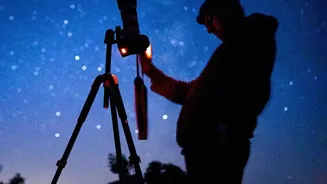
You don't need a space telescope, but the right gear is crucial. A DSLR or mirrorless camera that allows manual control is a must. Pair this with a wide-angle lens (e.g., 14-24mm) with a 'fast' aperture, like f/2.8 or lower, to let in as much light as possible. A sturdy tripod is non-negotiable to keep your camera stable during long exposures. Finally, a remote shutter release or using your camera's built-in timer will prevent camera shake when you take a picture. Don't forget extra batteries, as cold nights can drain them faster, and a red-light headlamp to see your controls without ruining your night vision.
Location, Location, Light Pollution
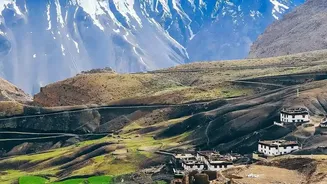
The single most important factor for any astrophotography is finding a dark sky. City and town lights create 'light pollution' that washes out the stars. For Indians, this often means heading out of urban centres. High-altitude regions like Hanle in Ladakh (India’s first designated Dark Sky Reserve) and Spiti Valley in Himachal Pradesh offer world-class viewing. Other excellent, more accessible options include the Rann of Kutch in Gujarat, parts of the Western Ghats like Coorg, and remote coastal areas like Neil Island in the Andamans. However, be mindful that the monsoon can bring cloud cover to many regions, making high-altitude deserts the most reliable bet for August.
Dialling in the Magic Settings
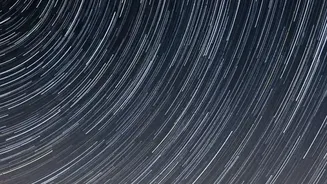
This is where art meets science. Set your camera to full Manual (M) mode. Start with these settings and adjust as needed: Aperture: Set it to the widest opening your lens allows (the lowest f-number, like f/1.8 or f/2.8). Shutter Speed: A 15 to 25-second exposure is a good starting point. Any longer and the Earth's rotation will cause stars to appear as trails. ISO: Set your ISO between 1600 and 6400. This boosts the camera's light sensitivity but can add 'noise' or grain, so experiment to find your camera's sweet spot. Focus: Switch your lens to manual focus. Use your camera's live view, magnify it on a bright star, and carefully adjust the focus ring until the star is a sharp, tiny point. * File Format: Always shoot in RAW. This captures the most data, giving you greater flexibility in editing later.
Patience and Composition
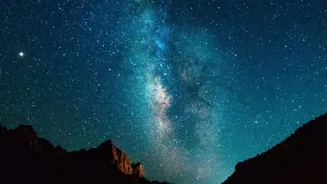
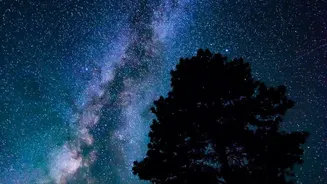
Meteor photography is a game of patience. Meteors appear randomly, so you can't time your shots perfectly. The best technique is to use an intervalometer (or a remote that can be locked) to take continuous shots. This maximises your chances of a meteor streaking through your frame. Don't just point your camera at the sky; improve your photo by including a foreground element like a tree, a mountain silhouette, or an old temple. This adds scale and context, turning a simple star photo into a compelling landscape. Aim your camera about 45-60 degrees away from the shower's radiant point (the constellation Perseus, in this case); meteors will have longer, more dramatic trails there.