


Why This Project Works Wonders
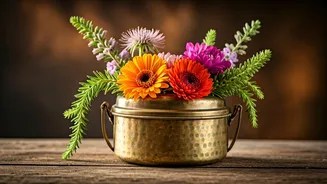
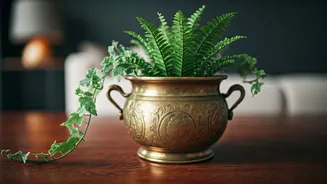
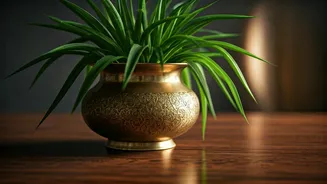
There’s a unique charm to vintage brass. Its warm, golden glow adds a touch of sophistication and history that a brand-new ceramic pot simply can't replicate. Repurposing these items is not just a nod to sustainability; it's about weaving your family's
story into your daily life. Every glance at your thriving plant will also be a quiet reminder of its origins. This project transforms a forgotten object into a living centrepiece, blending nostalgia with modern green-thumb enthusiasm. It's a conversation starter with a personal soul.
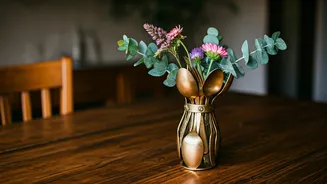
Step 1: The Treasure Hunt
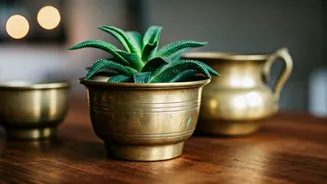
Before you begin, select the right container. Rummage through storage for those old brass pieces: a traditional 'lota', a heavy 'katori' (bowl), an ornate spice box, or even a sturdy tiffin carrier. Look for pieces with a good weight and an interesting shape. Avoid anything too delicate or with intricate fretwork that might be difficult to clean or could trap water. The ideal container is sturdy and has a wide enough opening to accommodate a plant and your fingers for potting. Pieces between four to eight inches in diameter are perfect for tabletop displays.
Step 2: Clean and Polish
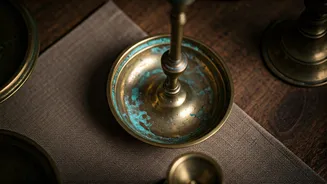
Most old brass will have developed a patina or tarnish over time. You have a choice: embrace the aged, antique look, or polish it to a high shine. For a deep clean that respects the metal, a homemade paste of lemon juice and salt (or baking soda) works wonders. Apply the paste, let it sit for a few minutes, and gently scrub with a soft cloth before rinsing and drying thoroughly. For a mirror-like finish, a commercial brass polish like Brasso is your best bet. Always test a small, inconspicuous area first.
Step 3: The Crucial Detail - Drainage
This is the most important step for your plant’s health. Without drainage, water will pool at the bottom, leading to root rot. You must drill a few small holes in the base of your container. Place the container upside down on a supportive surface, like a block of wood. Using a power drill with a metal-appropriate drill bit, start with a small bit and work your way up to your desired size (about 1/4 inch is good). Apply steady, firm pressure. Wear safety goggles to protect your eyes from any metal filings. If you're hesitant to drill into a precious heirloom, you can use the 'pot-in-a-pot' method: find a small plastic nursery pot that fits inside the brass container and place a layer of pebbles at the bottom of the brass pot for the inner pot to sit on.
Step 4: To Line or Not to Line
Even with drainage holes, lining your brass container is a good idea. Constant moisture can cause the brass to develop a greenish verdigris patina on the inside and potentially leach trace metals into the soil, which some sensitive plants dislike. The easiest solution is to find a thin plastic pot that fits snugly inside your brass vessel. This creates a protective barrier, making watering and future repotting much cleaner and easier. If a perfect fit is impossible, you can cut a liner from a thick plastic sheet, like a heavy-duty freezer bag.
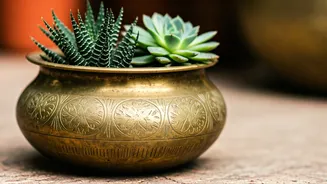
Step 5: Choosing the Right Plant
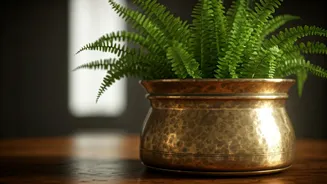
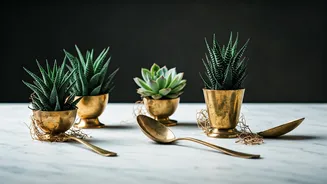
Since these containers are often small and have limited drainage compared to standard pots, choose plants that are forgiving and prefer to stay on the drier side. Succulents and cacti are perfect choices. Their sculptural forms look stunning against the warm brass. Other excellent options include the hardy Snake Plant (Sansevieria), the ZZ Plant (Zamioculcas zamiifolia), or a trailing Pothos (Epipremnum aureum). These plants are famously low-maintenance and will thrive without demanding constant attention, making them ideal partners for your newly repurposed planter.
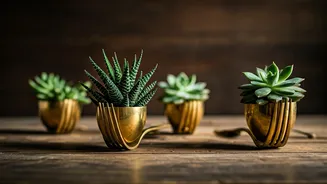
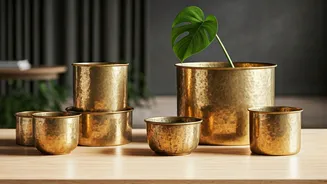
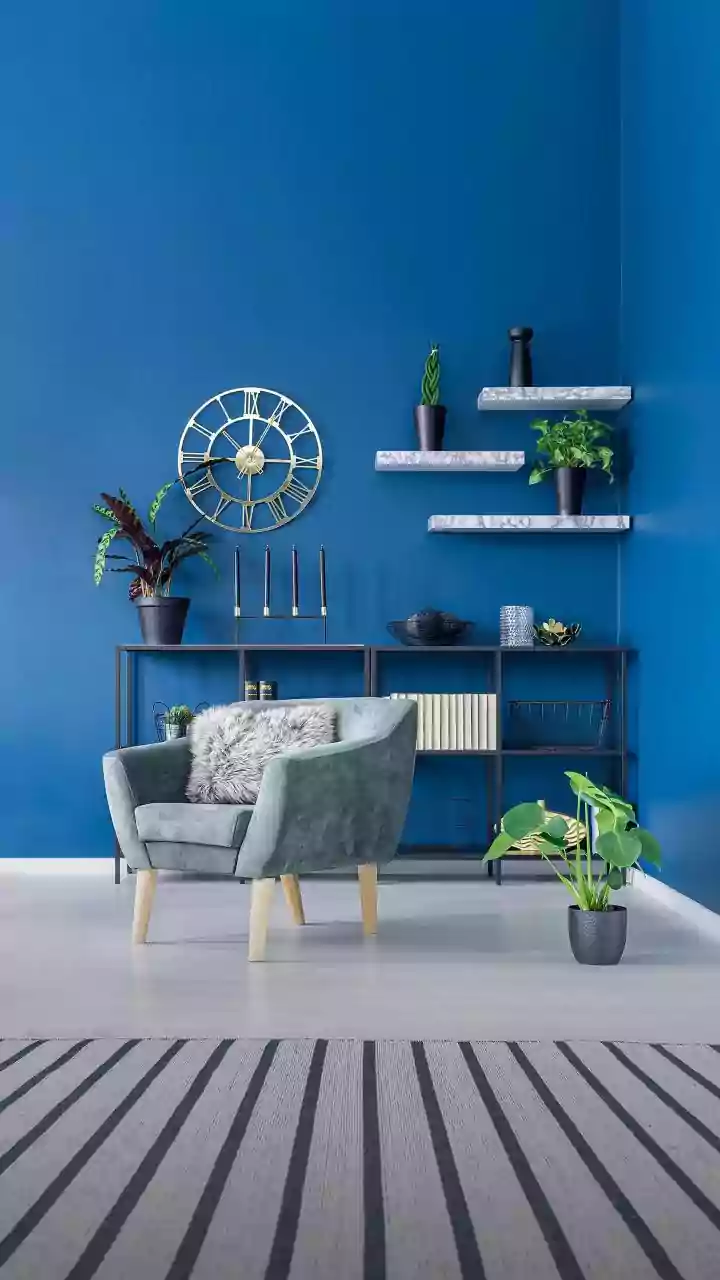
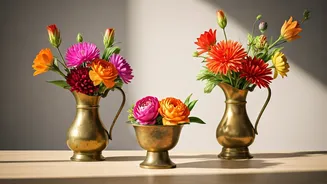
Step 6: Styling Your Creation
Now for the fun part. Once your plant is potted, it's time to find its perfect spot. A single, polished brass planter can be a statement piece on a side table or work desk. Try creating a small grouping of three planters of different heights and shapes on a bookshelf or console table for greater visual impact. The warm metal contrasts beautifully with dark wood, white marble, and lush green leaves. Don't be afraid to mix and match polished and unpolished pieces for a collected, eclectic look that tells a story.