


Recognise the Signs for Repotting
Before you start, it is important to confirm your plant actually needs a new home. Not all issues are solved by repotting. Key signs include roots visibly growing out of the drainage holes at the bottom of the pot. Another clue is if the soil dries out much
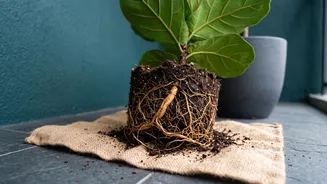
faster than it used to, forcing you to water more frequently. You might also notice that new growth has slowed or the leaves look smaller than they should. If you gently slide the plant out of its pot and see a dense, tangled mass of roots circling the container, it is officially root-bound and ready for an upgrade. A top-heavy plant that is prone to tipping over is also a candidate for a larger, more stable pot.
Gather Your Tools and Materials
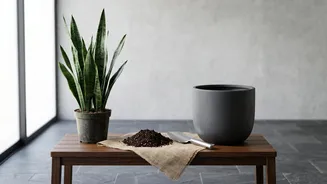
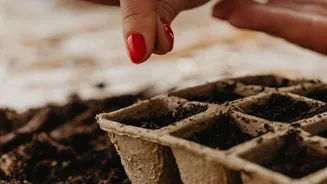
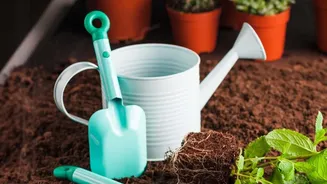
A successful repotting mission starts with having everything you need on hand. First, select a new pot. Choose one that is only 2-4 inches wider in diameter than the current one. A pot that is too large can hold excess moisture, leading to root rot. Ensure the new pot has drainage holes; this is non-negotiable for root health. You will also need fresh, high-quality potting mix. A good mix for most indoor plants contains ingredients like peat or coco coir for moisture retention, and perlite or orchid bark for aeration and and drainage. Do not use soil from your garden, as it's too dense for container plants. Finally, have a pair of clean, sharp scissors or pruning shears ready for any root trimming.
The Gentle Extraction and Root Inspection
This is the step where most new plant parents get nervous. The key is to be gentle but firm. To remove the plant, turn the pot on its side and gently tap or squeeze the sides to loosen the soil. Try to slide the plant out, holding it by the base of the stems, not by the leaves. If it is stuck, you can run a butter knife around the inside edge of the pot to help release it. Once it is out, you can inspect the roots. The term 'root collapse' often refers to transplant shock or root rot that occurs after repotting. Healthy roots are typically firm and light-coloured. If you see dark, mushy, or smelly roots, this is root rot. These need to be trimmed off with your sterile scissors. If the plant is heavily root-bound, gently tease the roots at the bottom to encourage them to grow outwards into the new soil.
Moving into the New Home
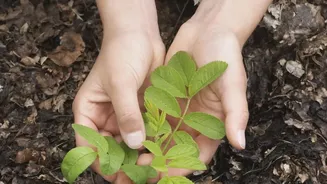
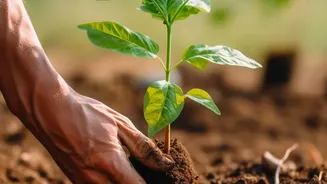
Now for the final placement. Place a layer of fresh potting mix at the bottom of the new pot. You can cover the drainage hole with a small piece of screen to prevent soil from washing out. Position your plant in the centre of the new pot, ensuring the top of the root ball sits about an inch below the rim. This space at the top makes watering easier. Begin filling in the sides with fresh soil, gently firming it down to remove any large air pockets. Avoid packing the soil too tightly, as this can restrict air and water flow to the roots. The goal is to have the plant sit at the same soil level as it was in its original pot.
Crucial Aftercare and Recovery
Your plant has just been through a major event, and it needs some time to recover. This period is when you prevent transplant shock. Unless you were dealing with root rot, water the plant thoroughly right after repotting until you see water flowing from the drainage holes. This helps settle the soil around the roots. For the next couple of weeks, place the plant in a spot with bright, indirect light, as direct sun can add stress. It is normal to see a little wilting in the first few days as the plant adjusts. Hold off on fertilising for at least four to six weeks, as the fresh potting mix contains enough nutrients and fertilising can burn the recovering roots. Once you see new growth, you know your plant has successfully settled in.