




Why Fold Your Own Decor?
Before you dismiss paper folding as just a childhood hobby, consider the benefits. Origami wall art is endlessly customisable. You choose the colours, the scale, and the design, ensuring it perfectly matches your room's aesthetic. It’s a mindful, relaxing
activity that results in a unique piece of 3D art that can’t be bought in a store. From a single, dramatic sculpture to a flock of birds soaring across the living room, origami gives you the power to create a truly personal focal point. It's an inexpensive hobby that makes a huge impact, turning simple sheets of paper into a conversation-starting masterpiece.
The Right Paper Makes a Difference
While you can practice with standard printer paper, choosing the right material will elevate your final product. For beginners, 'kami' paper is the go-to; it's thin, crisp, and designed specifically for folding. It’s often coloured on one side and white on the other, which can create interesting effects. For more durable or textured pieces, consider 'washi' paper, a traditional Japanese paper with beautiful patterns, or 'tant' paper, which is stiffer and comes in a vast array of solid colours. For larger, more structural 3D wall art, a heavier cardstock (around 120-170 gsm) will provide the necessary rigidity to hold its shape.
Start Simple: Models with Big Impact
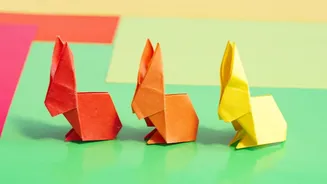
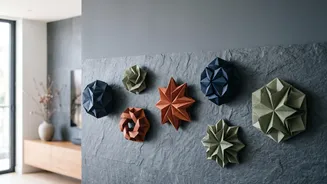
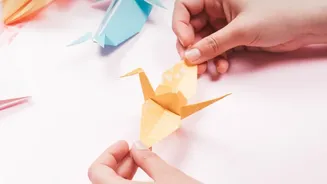
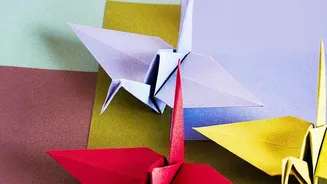
You don’t need to be an origami master to create something beautiful. Some of the most effective wall displays use simple, repeated shapes. Classic origami cranes are a perfect example; a group of them arranged to look like they are flying across a wall is both elegant and dynamic. Butterflies are another fantastic option for a whimsical, 3D effect. Geometric shapes, like simple pyramids or the Sonobe unit (a classic modular origami piece), can be combined to create incredible mosaics and abstract patterns. A collection of folded stars or flowers can also create a stunning visual, especially when using a variety of complementary colours.
Design an Eye-Catching Layout
Once you've folded a collection of pieces, the next step is arrangement. Think like a designer. Do you want a structured, geometric grid, or a more organic, flowing composition? An 'explosion' layout, where pieces radiate from a central point, can create a powerful sense of movement. You could also create a scene, such as a school of fish, a field of flowers, or a celestial display with moons and stars. Play with your pieces on the floor first to find a layout you love. Consider the principles of balance, colour flow, and negative space. Sometimes, the gaps between the pieces are just as important as the pieces themselves.
Mounting Your Art Without Damaging Walls
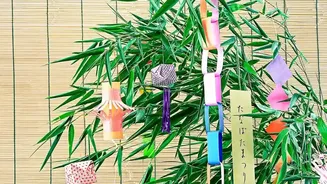
The final step is getting your creation onto the wall. For lightweight paper models, there are several renter-friendly options. Small pieces of double sided tape or poster putty are often sufficient and can be removed without leaving a mark. For a more polished or mobile display, consider attaching your origami pieces to a piece of foam board or a large canvas first, which can then be hung with a single hook. If you're creating hanging strands of cranes or other shapes, use a thin, clear monofilament fishing line or invisible nylon thread for a magical, 'floating' effect. You can string these from the ceiling using small, removable adhesive hooks or from a decorative branch for a rustic look.