




The Superfood in Your Pantry
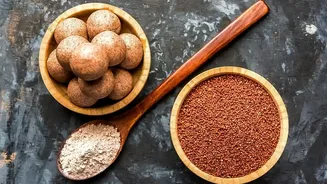
Known as finger millet, nachni, or mandua in various parts of India, ragi is a nutritional powerhouse that has been a staple in Indian households for centuries. This humble grain is celebrated for its impressive health benefits. It's exceptionally rich
in calcium, making it fantastic for bone health, and it's packed with dietary fiber. This high fiber content aids digestion, helps prevent constipation, and keeps you feeling full for longer, which can support weight management. Furthermore, ragi is naturally gluten-free and has a low glycemic index, which helps in managing blood sugar levels by ensuring a slow release of glucose into the bloodstream.
Choosing the Right Ragi
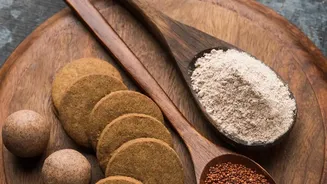
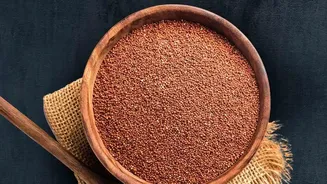
While many types of ragi flour are available, the most common is the brown or reddish-brown variety, which is perfect for traditional rotis and porridges due to its robust flavour. You might also encounter white, red, or even black ragi, each with a slightly different nutritional profile and culinary use. When shopping, look for finely milled flour, as this is key to achieving a soft texture in your rotis. While specific regional varieties like 'K-1' or 'GPU-28' are known in farming circles, for home cooks, the focus should be on freshness and a fine grind. Many cooks prefer to use sprouted ragi flour for enhanced nutrition.
The Secret to a Perfect Batter
The term 'bake' in the headline refers to the preparation of the dough or batter, a crucial step for a successful roti. The primary challenge with ragi flour is its lack of gluten, which makes the dough difficult to handle. The most critical trick is to use boiling hot water. When you add hot water to the flour, it helps to soften the dough and make it more pliable. Start by bringing one cup of water to a rolling boil. You can add a pinch of salt and a teaspoon of oil or ghee for extra flavor and softness. Turn off the heat, add one cup of ragi flour all at once, and mix quickly with a spatula until the flour is absorbed. Cover the pan and let it rest for about 10 minutes.
Kneading and Rolling for Softness
Once the dough has rested and is cool enough to handle, it's time to knead. Transfer the warm dough to a flat surface and knead it for 3-5 minutes. The goal is to create a smooth, pliable dough that doesn't stick to your hands. If the dough feels too dry, you can sprinkle a little warm water as you knead. After kneading, divide the dough into small, equal-sized balls. Dust a rolling surface with a bit of dry ragi flour to prevent sticking and gently roll each ball into a thin, even circle. Don't worry if the edges crack a little; this is normal with gluten-free flours. For perfectly round rotis, you can use a plate or a round cutter to trim the edges.
Cooking for a Perfect Puff
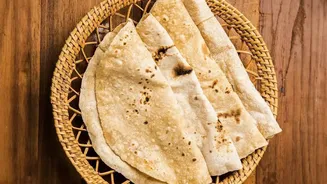
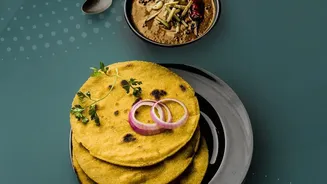
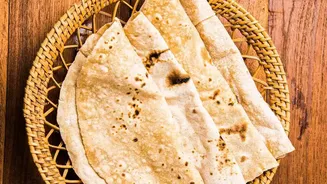
Heat a tawa or flat griddle over medium-high heat. Place the rolled roti on the hot tawa and cook for about 30-40 seconds on the first side, or until you see the edges begin to lift slightly. Flip the roti and cook the other side until light brown spots appear. For that satisfying puff, you can flip the roti again and gently press it with a soft cloth or spatula. Alternatively, you can use tongs to place the roti directly over an open flame for a few seconds until it inflates. This final step makes the roti incredibly soft and light. Serve the hot ragi rotis immediately with a dab of ghee for the best taste and texture.