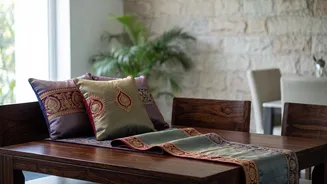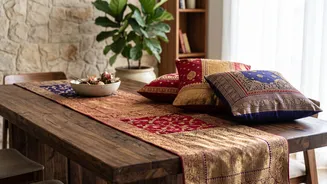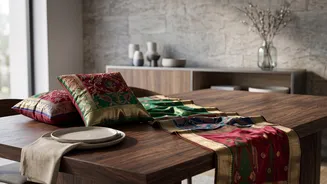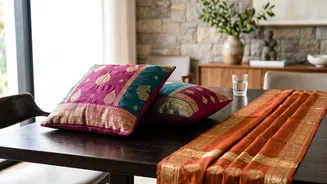


Why Upcycle Your Sarees?
Turning an old saree into home decor is more than just a craft project; it’s an act of preserving memories and practicing sustainability. Those rich colours, intricate weaves, and soft textures that you once wore can now add a layer of personal history
and warmth to your living space. Instead of buying mass-produced decor, you can create one-of-a-kind pieces that are conversation starters. It's a beautiful way to honour family heirlooms and reduce waste, all while giving your home a uniquely Indian touch for the festive season.
Gathering Your Materials
Before you begin, gather a few basic tools. The complexity of your project will determine exactly what you need. For a simple sewing project, you will require: an old silk saree, a measuring tape, sharp fabric scissors, pins, and a sewing machine or a needle and thread. For embellishments, you might want some tassels or beads. If you prefer a no-sew approach, a good quality permanent fabric glue is an excellent alternative to stitching. You will also need cushion inserts for the covers and a clear space to work.
Preparing the Saree Fabric
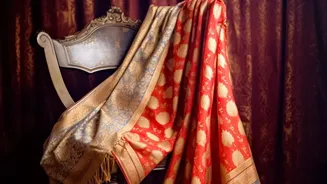
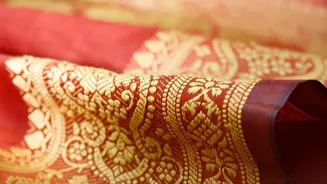
Proper preparation is key to a beautiful result. Start by selecting a suitable saree. Avoid those that are extremely delicate or badly damaged, although small tears can be worked around. It's a good idea to gently hand wash and air dry the saree to ensure it's clean and fresh before you begin. Iron the fabric on a low heat setting to remove all wrinkles for accurate cutting. Take a moment to study the saree's design. The 'pallu' and decorative borders are often the most beautiful parts and can be strategically used as the centrepiece of your cushion or the edge of your table runner.
Project 1: The Envelope Cushion Cover
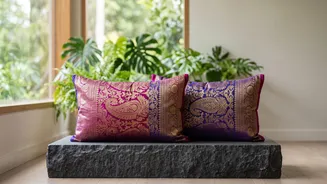
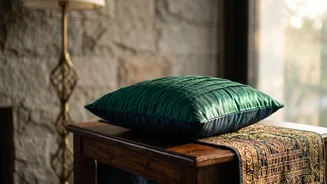
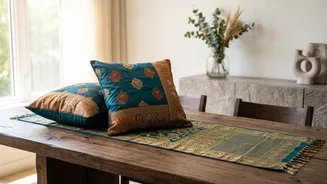
The envelope-style cover is the easiest for beginners as it requires no zippers or buttons. For a standard 16x16 inch cushion, you'll need one piece of fabric measuring 17x17 inches for the front, and two pieces measuring 17x12 inches for the back. Place the front piece right-side-up. Place one of the back pieces on top, right-side-down, aligning it with one edge. Place the second back piece on top, aligning it with the opposite edge; the two back pieces will overlap in the middle. Pin all around the outside and sew a straight stitch. Double-stitch the corners for durability. Once sewn, turn the cover right-side-out through the envelope opening and press the seams. Your cushion cover is ready to be filled!
Project 2: The Elegant Table Runner
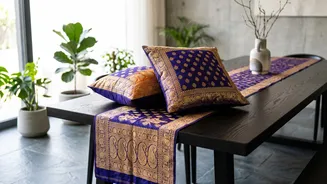
A table runner instantly elevates your dining space. First, measure the length of your table. A good rule of thumb is to add about 12 inches of overhang for each end. So, for a 60-inch table, you would want a runner that is 84 inches long. The width can be anywhere from 12 to 15 inches. Cut a long strip of the saree to your desired dimensions. If the fabric is lightweight, consider adding a lining for more stability. The simplest way to finish the edges is to fold them over twice to create a neat hem and stitch it down. For a truly decorative touch, position the saree's original border along the length or at the ends of the runner.
No-Sew Alternatives For Ease
If sewing isn't for you, there are simple no-sew methods. For a cushion cover, you can wrap the fabric around the cushion insert like a gift, folding the ends neatly and securing them with safety pins or fabric glue. For a table runner, fabric glue can be used to create clean, hemmed edges without a single stitch. Simply fold the raw edge over, apply a thin line of permanent fabric glue, and press it down. This method is quick and effective, allowing you to enjoy your handmade decor in no time.