




The Unseen Hero of Eye Makeup
Blending is the single most important step in achieving a professional-looking eyeshadow application. It's the technique of diffusing harsh lines and creating a smooth, gradual transition between different colours. Without it, even the most beautiful
shades can look patchy, disjointed, or amateurish. Proper blending creates depth, dimension, and a soft-focus effect that makes the eyes appear bigger and more defined. For a brown smoky eye, which relies on layering different tones, blending is what separates a muddy mess from a masterpiece. It turns distinct patches of light, medium, and dark brown into a cohesive, smoky gradient.
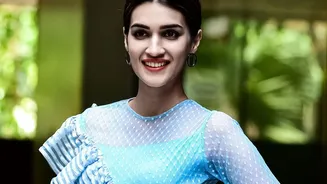
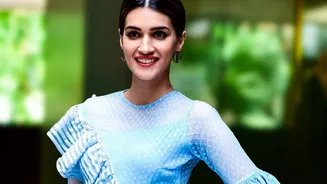
Decoding Kriti Sanon's Signature Style
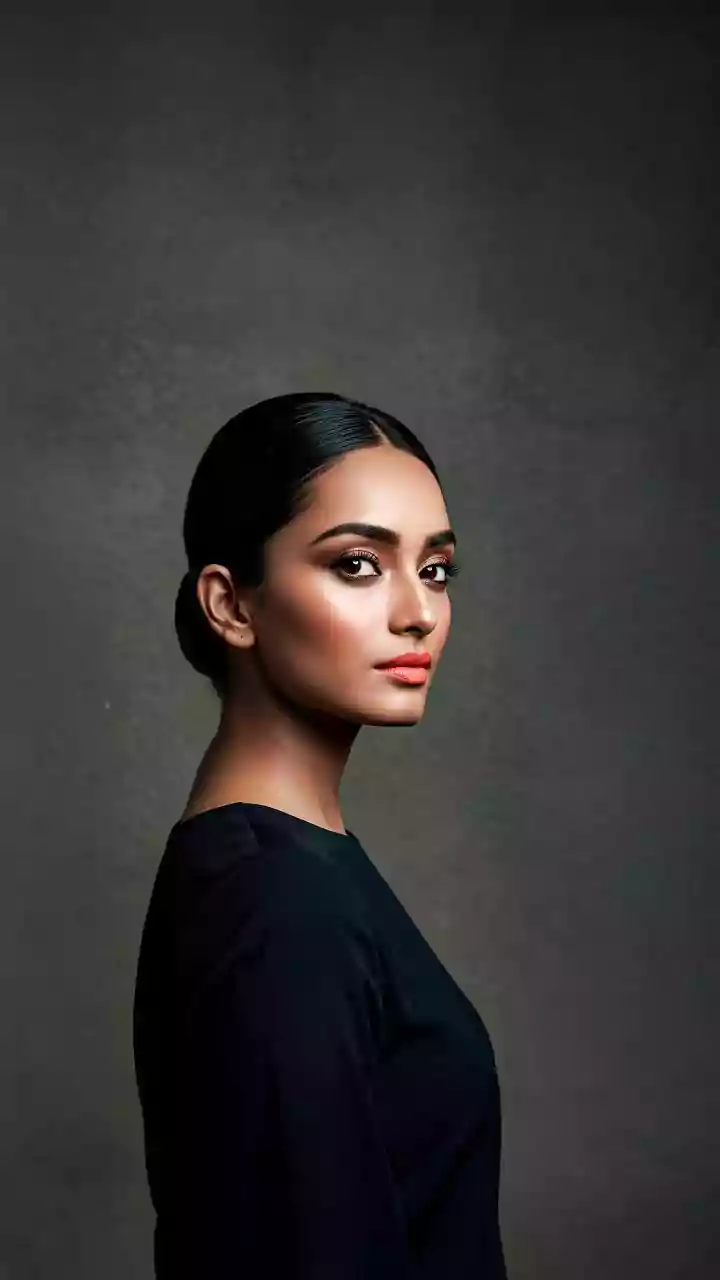
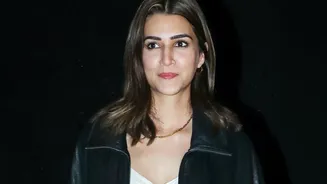
Kriti Sanon often opts for a brown smoky eye that enhances her features without overpowering them. Her look is characterised by a soft, diffused warmth. You won't see any sharp edges. The colour is concentrated along the lash line and outer corner, then blended upwards and outwards into a soft haze. This lifts and elongates the eye. The key is that the intensity is built gradually, creating a smouldering effect rather than a heavy one. This makes it a versatile look, perfect for anything from a festive occasion to an elegant evening out.
Your Essential Toolkit
To recreate this look, you don't need a professional kit, just a few key items. First, an eyeshadow primer or a thin layer of concealer will create a smooth base and prevent creasing. Next, you'll need at least three shades of brown eyeshadow: a light matte brown for your transition, a medium chocolate brown for definition, and a deep espresso or dark brown for intensity. A touch of a champagne or gold shimmer for the inner corner is optional but adds a beautiful pop. Most importantly, you need the right brushes: a flat shader brush to pack on colour and a fluffy blending brush to diffuse it.
Step 1: Create the Canvas
Begin by prepping your eyelids with a primer. This ensures your eyeshadow applies evenly and lasts for hours. Once the primer is set, take your fluffy blending brush and dip it into the lightest matte brown shade. Tap off any excess powder. Looking straight ahead, sweep this colour into your crease, the area just above your eyeball. Use gentle 'windshield-wiper' motions to build a soft wash of colour. This is your transition shade, and it will act as a buffer to help the darker colours blend seamlessly.
Step 2: Build the Depth
Using the flat shader brush, pick up the medium brown eyeshadow. Pat this colour onto the outer third of your eyelid, from the lash line up to the crease. Now, take a smaller, denser brush or the tip of your fluffy brush and apply the darkest brown shade right at the outer corner in a 'V' shape. Keep this dark colour concentrated in a small area for now; the goal is to place the pigment strategically before you start blending. To complete this stage, smudge the medium or dark brown along your lower lash line to balance the eye.
Step 3: The Magic of Blending
This is where the look comes together. Take a clean, fluffy blending brush with no extra product on it. Start by softening the edges of the dark brown shadow, using small, circular motions. Gently blend it into the medium brown. Then, use larger windshielder motions to blend the edge of the medium brown into your light transition shade in the crease. The key is to use a very light hand; too much pressure can remove the product. Keep blending until you can no longer see where one colour ends and the next begins. The transition should be flawless.
Finishing the Look
To add that final touch of glamour, use your fingertip to press a small amount of shimmer onto the center of your eyelid or just the inner corner. This catches the light and adds a beautiful dimension. Apply a brown or black kohl pencil to your waterline to intensify the smoky effect. Finish with a generous coat of mascara, wiggling the wand at the base of your lashes to build volume. Set your creation with a setting spray to lock it all in place for the night.