


Why Radish Shoots Rule
Before you start thinking this is another complicated gardening project, let’s be clear: growing radish shoots (often called microgreens) is less like farming and more like a simple kitchen craft with a delicious reward. Unlike a full-grown radish that
takes a month or more, these zesty little greens are ready to harvest in 7 to 10 days. They pack an incredible nutritional punch, with high concentrations of vitamins and minerals. But the real selling point is the taste. Radish shoots have a wonderfully spicy, peppery flavor that’s like a concentrated version of a mature radish. They add a sophisticated, fresh kick to everything from salads and sandwiches to eggs and tacos, providing a texture and flavor that pre-packaged greens simply can't match.
Your Minimalist Shopping List
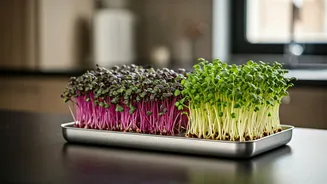
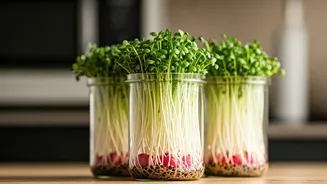
You don’t need a green thumb or a backyard. In fact, you can gather most of what you need without a trip to a specialty garden center. Here’s the bare-bones list: * **Radish Seeds:** Look for seeds specifically sold for sprouting or microgreens. A common variety like Daikon or China Rose works perfectly. A single packet goes a long way. * **A Shallow Container:** This is where you can get creative. A plastic takeout container, a rotisserie chicken clamshell, or a disposable aluminum pie plate all work great. Just poke a few holes in the bottom for drainage. * **Growing Medium:** A small bag of sterile potting mix or coconut coir is ideal. You only need an inch or two, so you don't need a giant, heavy bag of soil. * **A Spray Bottle:** For gentle watering, a simple spray bottle is your best tool. You can find one for a couple of dollars at any big-box store.
Step 1: The Five-Minute Planting Process
This is the most “work” you’ll do, and it’s incredibly simple. First, moisten your potting mix in a separate bowl until it feels like a damp sponge, but isn’t dripping wet. Fill your chosen container with about one to two inches of this damp soil and gently press it down to create a flat, even surface. Now, sprinkle your radish seeds generously across the entire surface of the soil. You want them to be quite dense, almost like you’re seasoning a steak—don’t worry about perfect spacing. Once they’re sown, lightly press them into the soil with your hand or the bottom of another container to ensure good contact. Give them a final misting with your spray bottle.
Step 2: The Blackout and The Green-Out
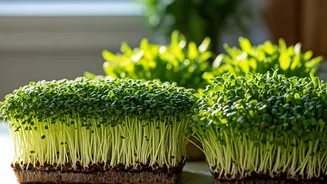
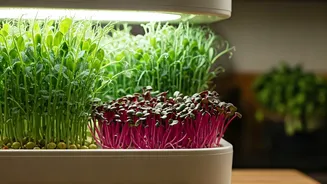
For the first 2-3 days, your seeds need darkness to germinate. This is called the “blackout period.” Cover your container with another tray or a piece of cardboard and place it in a cupboard or a dark corner. Check on it once a day and give it a light misting to keep the seeds from drying out. You’ll soon see tiny white root hairs and the first signs of sprouting. Once you see the little shoots pushing up (around day 3), it’s time for the “green-out.” Remove the cover and move your tray to the sunniest spot you have, like a south-facing windowsill. Over the next 4-7 days, your only job is to watch them grow. They will quickly turn green and stretch toward the light. Keep the soil moist with a daily misting, but don't oversaturate it.
Harvest Day and Delicious Ideas
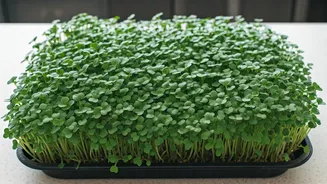
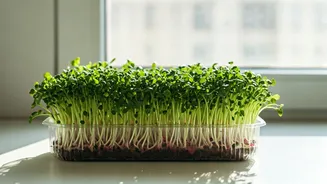
Your radish shoots are ready to harvest when they’re about 2-3 inches tall and have their first set of leaves (these are called cotyledons). This is typically 7-10 days after planting. To harvest, simply grab a pair of clean kitchen scissors and give your mini-crop a haircut, cutting the stems just above the soil line. There’s no need to wash them if you used a sterile potting mix and clean container. Now for the fun part: using them. Their spicy crunch is a game-changer. Pile them on avocado toast, toss them into a salad for a peppery bite, use them to garnish a bowl of soup or chili, or layer them into a sandwich for a fresh, chef-quality touch. They're a simple way to make any meal look and taste more impressive.