



The Appeal of a Coconut Planter
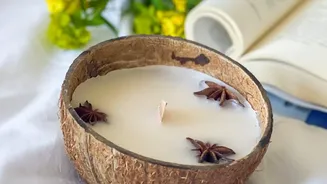
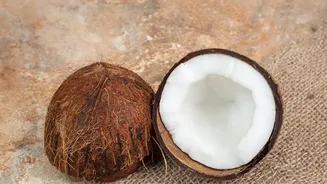
Using a coconut shell as a planter is more than just a clever DIY project; it's a nod to sustainable living. After you've enjoyed the water and flesh, the sturdy shell remains. Instead of discarding it, you can give it a second life as a home for small
plants. Their natural, textured appearance adds a tropical and rustic charm to any space, whether perched on a windowsill or hanging in a sunny corner. They are perfect for small spaces and serve as a great starting point for anyone looking to get creative with their gardening. Succulents, cacti, and especially culinary herbs are excellent candidates for these miniature pots. However, the very thing that makes a coconut shell a sturdy container—its hard, non-porous nature—is also its biggest challenge.
Why Drainage is Non-Negotiable
The headline claim is not an exaggeration. For herbs to thrive in any container, proper drainage is absolutely essential. Plant roots need oxygen to survive, and when water pools at the bottom of a pot, it fills the air pockets in the soil, effectively suffocating the roots. This waterlogged environment is the perfect breeding ground for fungal diseases, most notably root rot, a condition from which few plants recover. Most culinary herbs, particularly those from Mediterranean climates like rosemary, thyme, and lavender, prefer drier soil conditions and are especially sensitive to wet feet. Without holes for excess water to escape, salts from tap water and fertilisers can also build up in the soil, creating a toxic environment for the plant. While a layer of gravel at the bottom is a common suggestion for pots without holes, it is not a substitute for actual drainage and can sometimes worsen waterlogging problems. A hole at the bottom of the container is critical.
Step 1: Preparing Your Coconut Shell
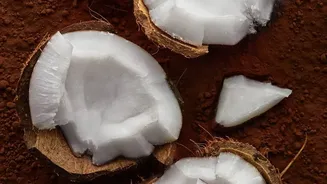
Preparing the shell is the most important part of the process. First, you'll need a clean, empty coconut half. If starting from scratch, carefully split a coconut and scoop out all the white flesh, as any residue can rot and harm the plant. Sanding the inside and outer edges can create a smoother, more finished look. Now for the crucial step: creating drainage holes. Using a drill with a small bit, carefully make several holes in the bottom of the shell. This will allow excess water to drain away freely. If you plan to hang your planter, you will also need to drill two or three larger holes around the rim to thread twine or rope through. Ensure these are not too close to the edge, to prevent the shell from cracking.
Step 2: Choosing Soil and Herbs
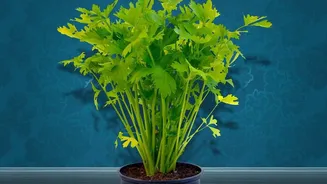
With your shell prepared, the next consideration is the growing medium. Do not use heavy garden soil, which compacts easily and retains too much water. A lightweight, well-draining potting mix is essential for container gardening. Mixes containing ingredients like perlite, vermiculite, or coco coir provide the aeration and drainage that herbs need to develop healthy root systems. When selecting your herbs, choose varieties that are well-suited to smaller containers. Trailing herbs like thyme look wonderful spilling over the sides. Other great options include chives, mint, parsley, and certain compact basil varieties. Many nurseries sell small starter plants that are the perfect size for a coconut shell planter.
Step 3: Planting and Ongoing Care
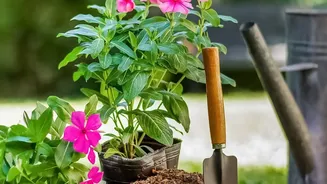
Fill the shell with your potting mix, leaving a little space at the top. Gently remove your herb from its nursery pot, loosen the root ball slightly, and place it in the shell. Add more soil to fill any gaps, gently patting it down. Water the plant thoroughly after planting, allowing the excess to run out through the drainage holes. Most culinary herbs require at least six to eight hours of direct sunlight per day, so place your new planter in a sunny spot. Check the soil every few days; when the top inch feels dry to the touch, it's time to water again. Regular harvesting will encourage your herbs to grow bushier and more productive.