




The Foundation of a Flawless Braid
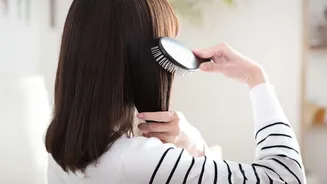
The single most important step to a fast and easy fishtail braid happens before you even divide your hair. Brushing your hair until it is completely smooth and free of knots is non-negotiable. When you’re weaving small sections of hair back and forth,
any snag or tangle will disrupt your rhythm, create lumps, and lead to a messy, uneven finish. Starting with a smooth canvas ensures that each strand glides effortlessly into place, allowing you to work faster and maintain consistent tension for a polished braid. For those with hair that’s prone to frizz or flyaways, applying a small amount of styling cream or a light leave-in conditioner after brushing can provide extra smoothness and control.
Gather Your Simple Toolkit
You don't need a professional salon's worth of equipment to create a beautiful fishtail braid. The essentials are simple and few. First and foremost is a good brush suited to your hair type to detangle thoroughly. You will also need at least one or two small, clear elastic hair ties to secure the braid at the end. Some people find it helpful to start with their hair in a ponytail, which requires an extra elastic you can carefully cut out at the end. While optional, a light hairspray or a texturizing spray can be useful. If your hair is freshly washed and too slippery, a texturizing spray can add grip; if you want a sleek finish, a light hairspray at the end will tame any stray hairs.
Weaving the Perfect Fishtail: Step-by-Step
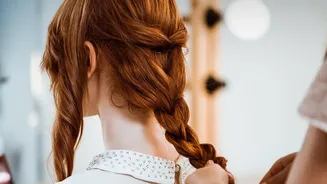
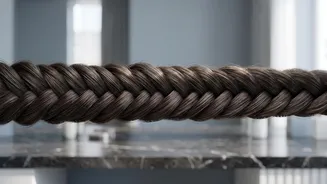
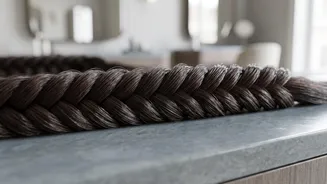
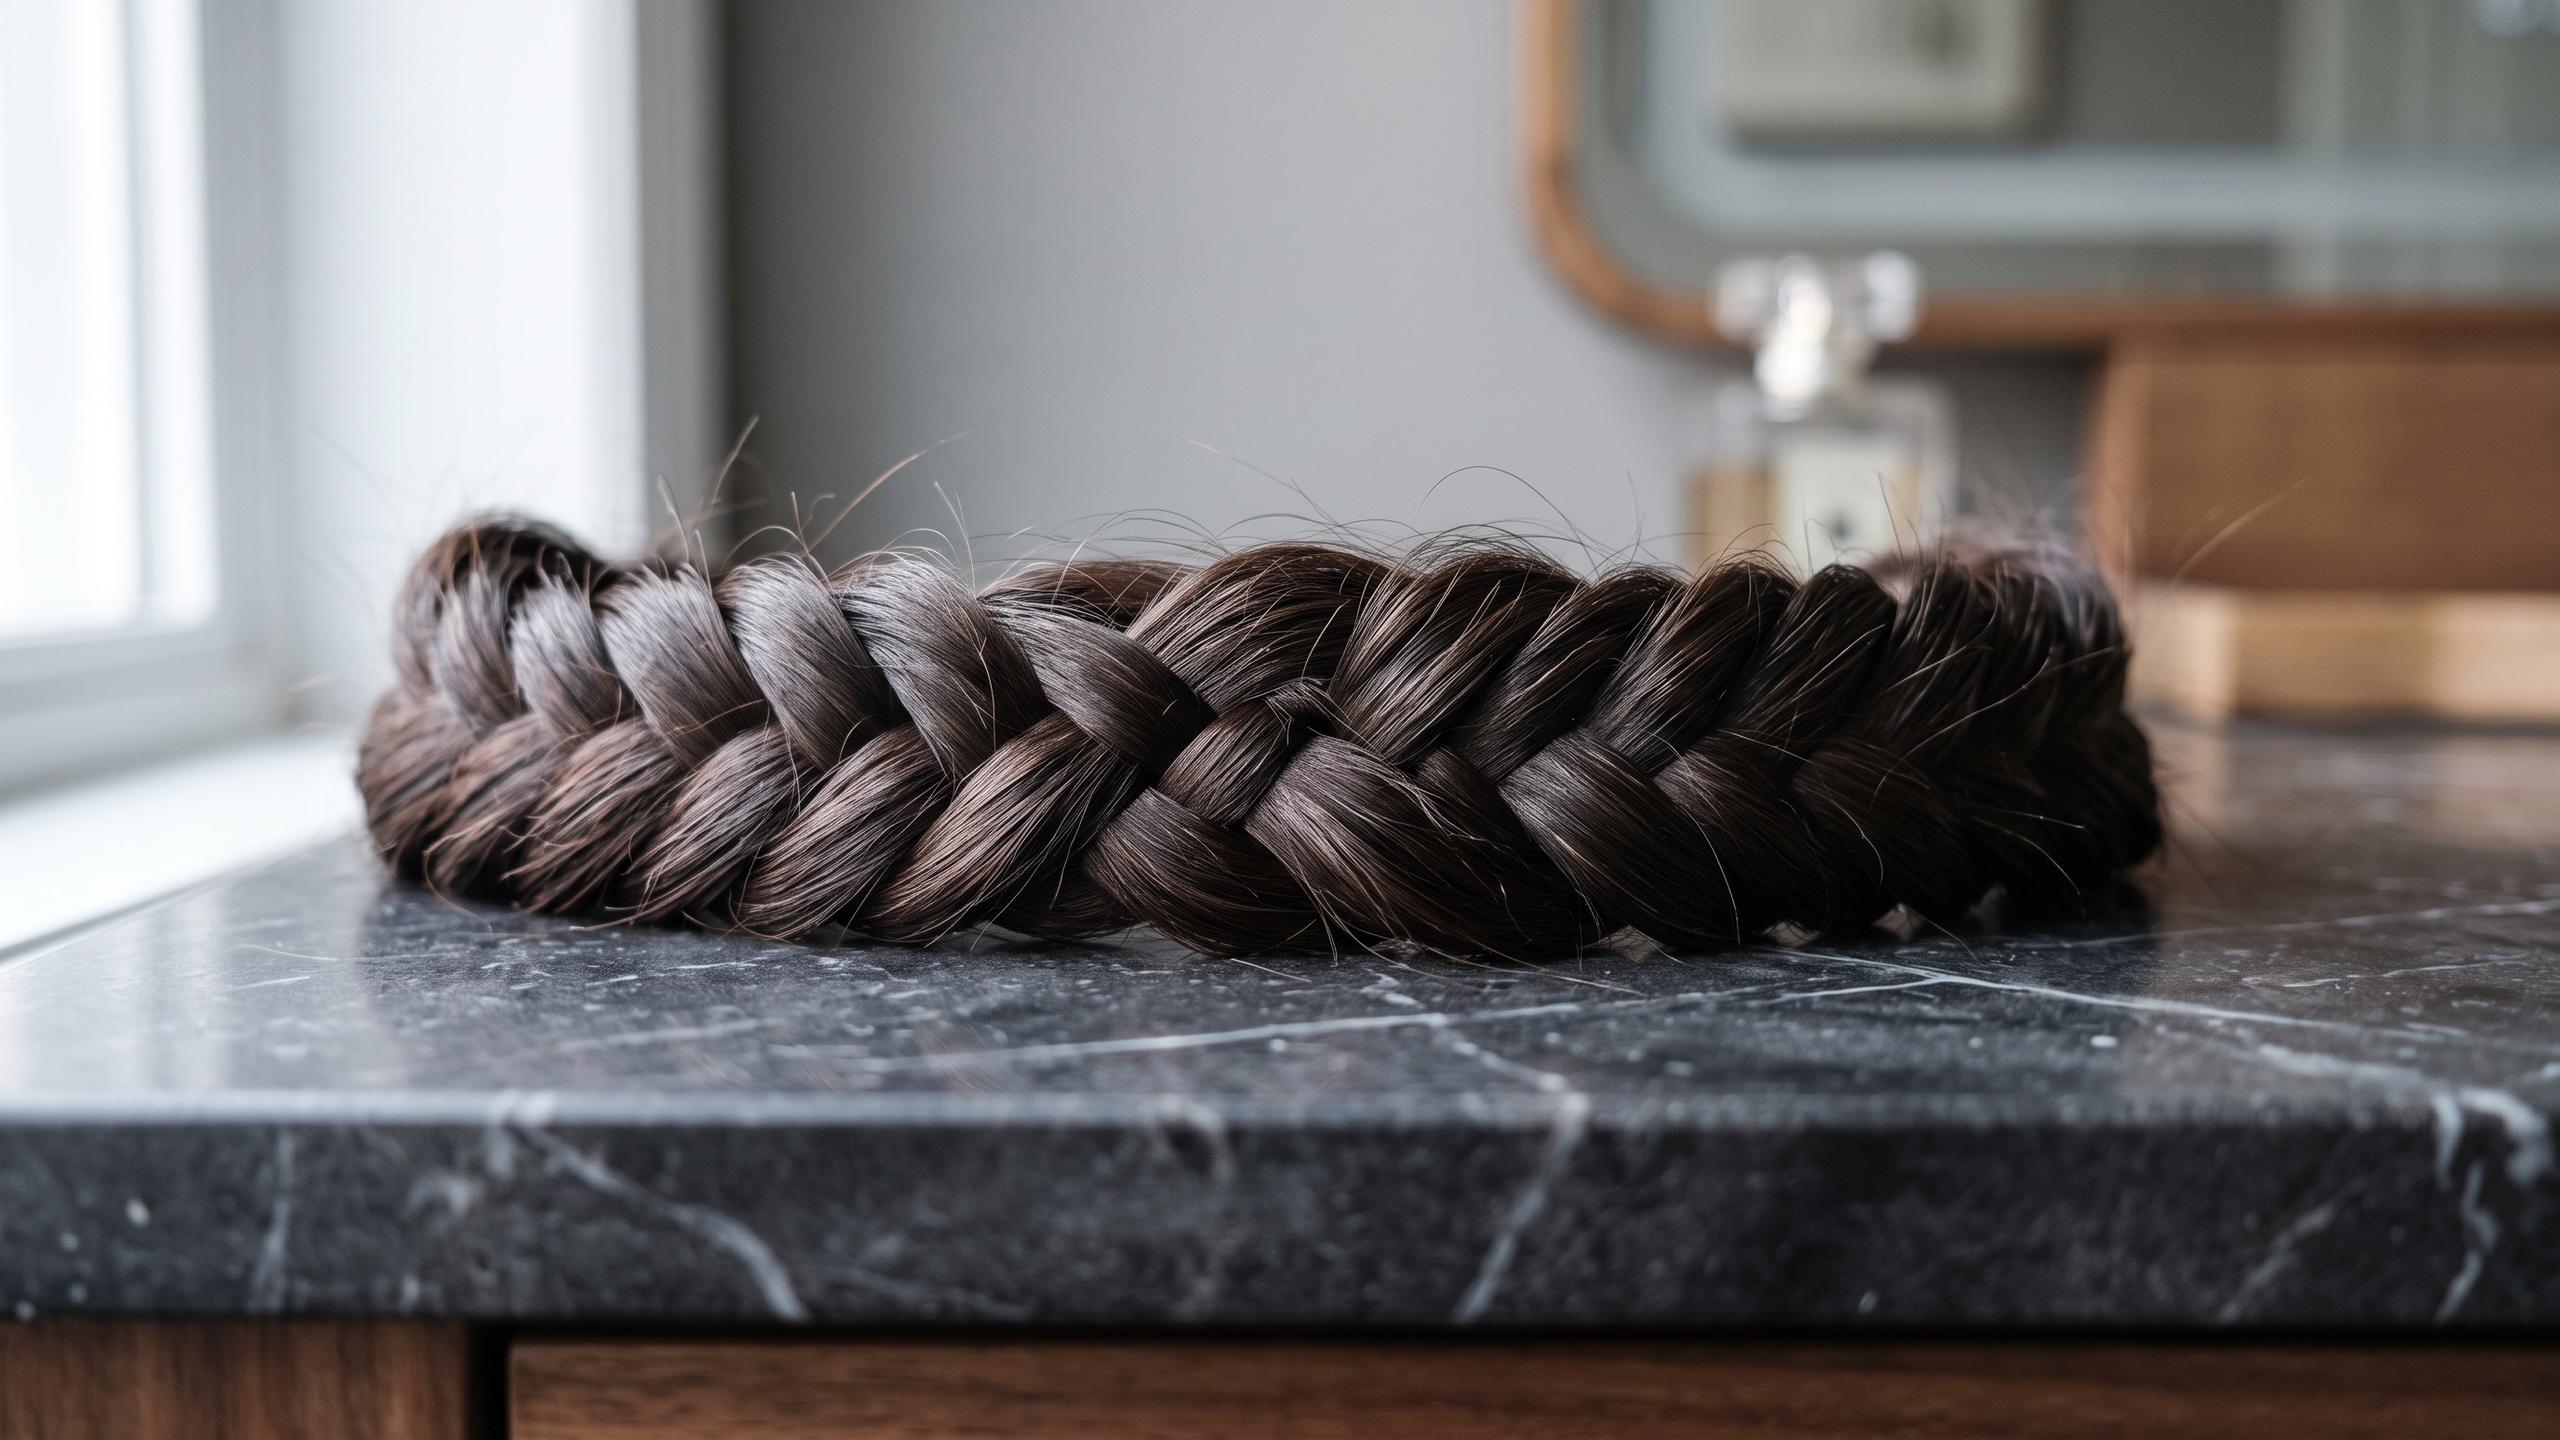
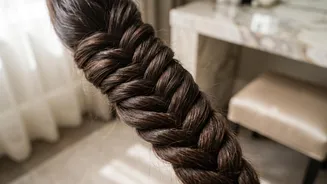
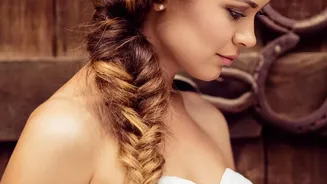
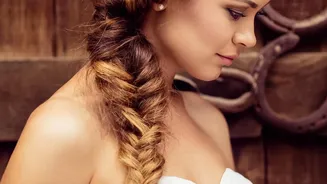
Once your hair is smooth, the process becomes much simpler. Start by gathering your hair to one side or at the nape of your neck and divide it into two large, equal sections. Hold one section in each hand. Now, take a small, thin piece of hair from the outer edge of the left section. Cross this piece over the top of the left section and add it to the inside of the right section. Now, repeat on the other side: take a small piece from the outer edge of the right section, cross it over the right section, and merge it with the inside of the left section. That's the entire motion. Continue this pattern, alternating sides, all the way down the length of your hair. The key is consistency; try to take pieces of the same thickness each time for a uniform look.
Troubleshooting Common Problems
One of the most common issues is the braid loosening as you work. To prevent this, try to keep a firm grip on the two main sections, holding them taut as you cross the smaller pieces over. If you find it hard to manage, especially when starting out, securing your hair in a low ponytail first can provide a stable base. Another issue is flyaways, especially in layered hair. A little styling cream or gel applied beforehand can help these shorter pieces integrate into the braid. If strands still pop out, you can gently tuck them back in with a bobby pin once the braid is finished. Lastly, if your braid looks too thin or tight, don't worry. The final step of 'pancaking' will fix this.
From Sleek to Boho Chic
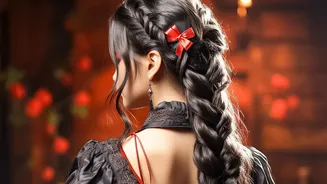
After securing the end of your braid with an elastic, you can customize the final look. For a sleek, polished style, a light mist of hairspray is all you need. For a more relaxed, voluminous, and trendy 'boho' look, it's time to 'pancake' the braid. Gently begin pulling at the outer edges of each woven section, starting from the bottom and working your way up. Be careful not to pull too hard; you want to create width and texture without the braid falling apart. This technique makes the braid appear much fuller and is especially effective for those with finer hair. Don't be afraid to pull some small strands out around your face to complete the soft, effortless vibe.