





Harnessing the Sun: Choosing Your Solar Fairy Lights
Solar fairy lights are an excellent, eco-friendly choice for balcony decoration. They require no wiring or electricity, saving on energy costs and making installation simple. When choosing a set, look for weather-resistant models (often rated IP65) to
ensure they can withstand rain and humidity. The length of the string and the bulb count will depend on the size of your balcony. For best results, place the small solar panel where it can receive at least six to eight hours of direct sunlight each day. Some models come with a separate panel connected by a long cable, allowing you to place the lights in a shaded area while the panel soaks up the sun on a railing. Before your first use, allow the panel to charge for a full two days for optimal battery performance.
The Personal Touch: Crafting Handmade Clay Diyas
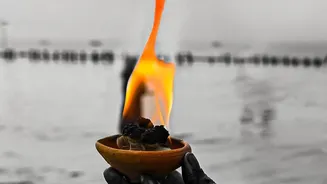
Creating your own clay diyas adds a personal and traditional touch to your decor. Air-dry clay is the most accessible material, requiring no special kiln. You can find it at most craft stores in either a natural terracotta or white color. To start, knead the clay and roll it into a ball. You can then form a simple pinch pot by pressing your thumb into the center and shaping the walls. Alternatively, roll the clay flat to about a 1/4-inch thickness, cut a circle, and press it into a small bowl to create a uniform shape. Pinch one side to form the classic spout for the wick. Let the diyas dry for at least 24 to 48 hours until they are completely hard. Once dry, you can leave them with a natural finish or paint them with acrylic paints to match your decor.
An Essential Guide to Balcony Fire Safety
While diyas create a beautiful atmosphere, safety is paramount when dealing with open flames. Never leave a burning diya unattended, and always extinguish them before going to bed or leaving the room. Place your diyas on stable, heat-resistant surfaces away from any flammable materials like curtains, wooden furniture, or dry plants. Maintain at least a one-foot clear zone around each lit diya. Keep them out of reach of children and pets. Avoid placing them in windy spots where the flame could flicker dangerously or be blown out. For added safety, you can place the diyas in a larger bowl of water or use battery-operated LED candles as a worry-free alternative.
Fuelling the Flame: Choosing an Oil
Traditionally, diyas are filled with oil and a cotton wick. You have several options for oil, each with its own characteristics. Mustard oil, sesame (gingelly) oil, and ghee are popular choices in many households. Coconut and castor oil are also used; castor oil is known for helping the flame last longer. For a clean burn with minimal smoke, look for pure, high-quality oils. To prepare the diya, simply fill the bowl with your chosen oil, place a cotton wick in the spout, ensuring a small part is soaked in the oil, and light the tip. If you prefer a simpler method, small tealight candles can be placed inside your handmade diyas for a similar effect without the oil.
Designing Your Luminous Haven
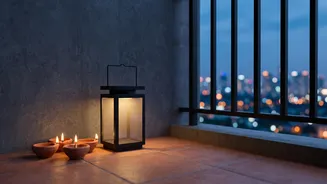
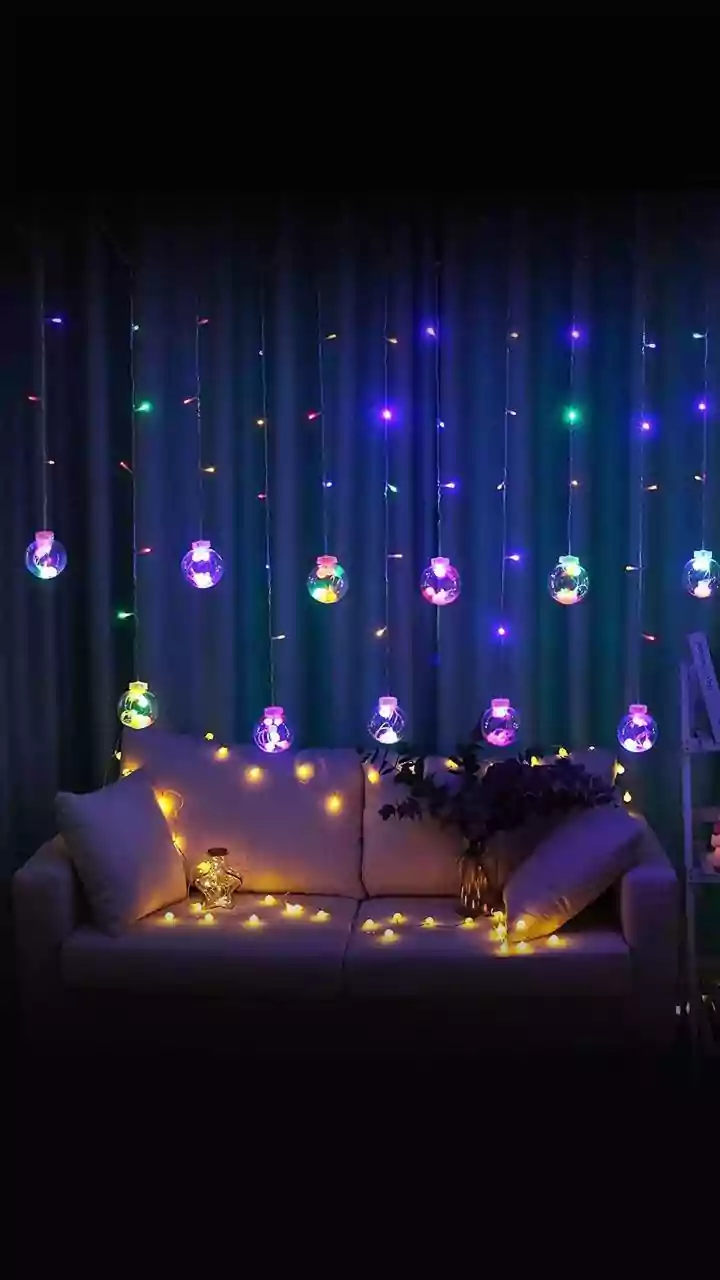
The magic happens when you combine both lighting elements. Use the solar fairy lights to create a base layer of ambient light. Drape them along railings, weave them through plant pots, or hang them as a curtain against a wall for a dreamy backdrop. Then, use your clay diyas as accent lighting. Group them in clusters on a table or in a corner to create a warm, inviting focal point. Placing diyas within a traditional urli bowl filled with water and flower petals can make a stunning centerpiece. The combination of the twinkling, cool-toned fairy lights with the steady, warm flame of the diyas creates a dynamic and layered lighting scheme that is both beautiful and welcoming.