




The Foundation: Your Key Ingredients
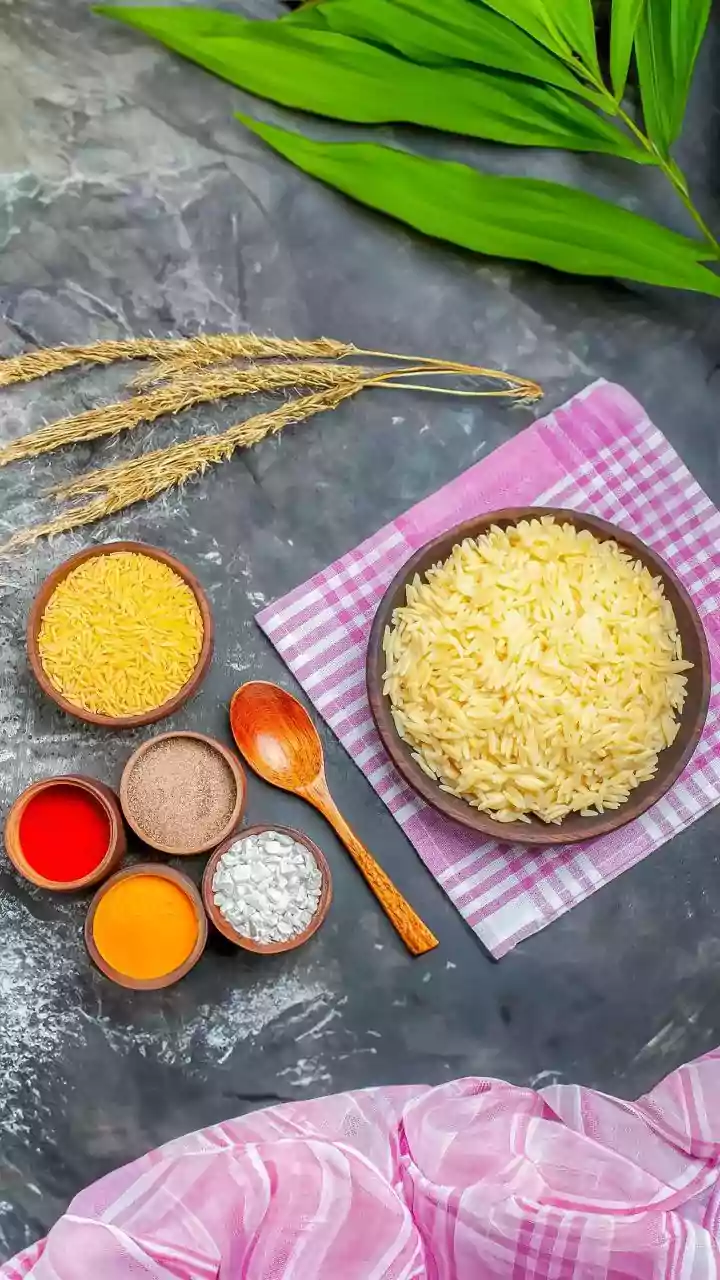
The soul of a great naan is its dough, and the ingredients are its building blocks. While all-purpose flour (maida) is the traditional base, the real magic comes from the supporting cast. Yogurt is non-negotiable; it adds a subtle tang and is crucial
for a tender, soft texture. For leavening, you have options. A combination of baking powder and baking soda reacts with the yogurt to create bubbles and lift, making it a great yeast-free option. If using yeast, ensure it's activated properly in warm (not hot) water with a pinch of sugar. A small amount of fat, like oil or melted ghee, is also vital. It coats the flour proteins, preventing the naan from becoming tough and ensuring it stays soft long after cooking.
The Art of Mixing and Kneading
How you bring the ingredients together matters immensely. Start by combining your dry ingredients—flour, salt, sugar, and your chosen leavening agent. Make a well in the centre and add the wet ingredients: yogurt, oil, and activated yeast mixture if using. Mix until a shaggy dough forms, then turn it out onto a lightly floured surface. Now, the most important part: kneading. Knead for a solid 5-10 minutes. The goal is a dough that is soft, smooth, and pliable. It should feel slightly sticky or tacky to the touch; resisting the urge to add too much extra flour is key. A sticky dough has high hydration, which translates directly into a softer, fluffier naan.
The Crucial Resting Period
Patience is a virtue, especially in naan making. Once kneaded, the dough needs to rest. This period, often called proofing, is when the gluten network relaxes and the leavening agents get to work. For yeast-based dough, this allows the yeast to ferment and create the carbon dioxide bubbles that give naan its airy structure. For yeast-free versions, it allows the flour to fully hydrate and the baking soda to begin reacting with the yogurt. Place the dough in a lightly oiled bowl, cover it with a damp cloth or plastic wrap, and let it rest in a warm place for at least one to two hours, or until it has visibly increased in size. Under-fermented dough is a common mistake that leads to dense, chewy results.
Infusing the Signature Garlic Flavour
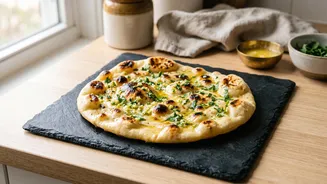
There are two main schools of thought for adding the garlic. You can knead finely minced garlic directly into the dough for a flavour that permeates every bite. Alternatively, and perhaps more classically, you can press minced garlic and chopped coriander onto the surface of the rolled dough just before cooking. This method provides a more intense, aromatic garlic hit. A popular technique is to create a garlic butter by gently melting butter and infusing it with minced garlic. This can be brushed onto the naan the moment it comes off the tawa, allowing the hot bread to soak up all the flavour.
The Tawa Technique: From Dough to Naan
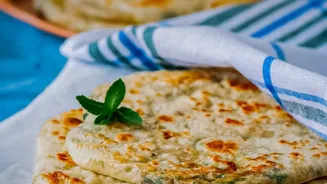
This is where you replicate the intense heat of a tandoor. You'll need a heavy-bottomed tawa, preferably cast iron—avoid non-stick if possible. Heat the tawa over high heat until it's scorching hot. Roll your dough into the classic teardrop or oval shape, keeping it slightly thick, not thin like a roti. Now for the trick: brush one side of the naan with water. Place the naan water-side down onto the hot tawa; the water will make it stick. Within seconds, you'll see bubbles forming on the surface. Once it starts to puff up, grab the handle of the tawa and flip it upside down, exposing the top of the naan directly to the gas flame. This direct heat will create the signature charred spots, or blisters. Cook for a minute or two until beautifully browned, then use tongs to remove it from the tawa.