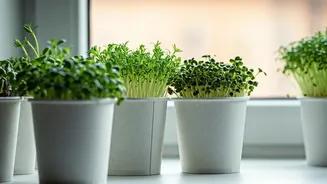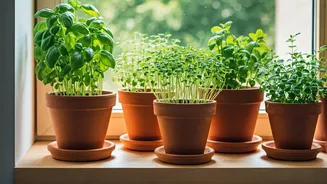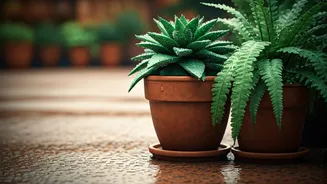


Gather Your Simple Supplies
The beauty of this method lies in its simplicity. You don’t need a large garden or expensive equipment. Here’s a basic list to get you started: - **Seed Trays:** Look for shallow trays (2-3 inches deep) with drainage holes. You can buy these online or at
a local nursery. For a zero-cost option, clean and poke holes in old plastic food containers, takeout boxes, or egg cartons. - **Growing Medium:** A coco-peat and compost mix is ideal. It's lightweight, retains moisture well, and provides nutrients. You can buy pre-made seed-starting mixes, but a simple 50/50 blend of coco-peat and vermicompost works wonders. Avoid using heavy garden soil, as it can compact easily. - **Seeds:** Choose seeds for greens that grow quickly. More on this next! - **Spray Bottle:** A simple spray bottle for gentle watering is essential to avoid dislodging the tiny seeds.
Choose Your Quick-Growing Seeds
The key to a fast, rewarding harvest is choosing the right seeds. You can grow two types of greens this way: microgreens (harvested after the first true leaves appear) or baby greens (harvested when a bit larger). For beginners, focus on seeds known for quick germination and robust growth. Excellent choices for the Indian climate include:
- **Lettuce Varieties:** Black-seeded Simpson or Lollo Rosso are fast and reliable.
- **Mustard (Rai):** Adds a wonderful peppery kick. Grows incredibly fast.
- **Fenugreek (Methi):** A staple in Indian kitchens, its leaves are delicious and easy to grow.
- **Amaranth (Chaulai):** Both red and green varieties are nutritious and grow well in our climate.
- **Rocket (Arugula):** Another peppery favourite that thrives in trays.
- **Spinach (Palak):** Choose a baby leaf variety for tender, quick results.
Buy seeds from a trusted local nursery or online store. A small packet goes a very long way.
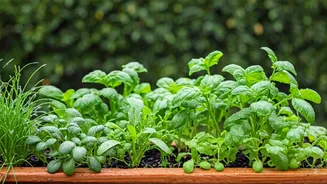
Prepare and Sow Your Trays
This is the fun part. First, moisten your growing medium. Put your coco-peat and compost mix in a larger bucket and add water slowly, mixing it with your hands until it’s damp like a wrung-out sponge, but not dripping wet. Now, fill your seed trays with this mix, pressing it down gently to create a flat, even surface about half an inch from the rim. Don't compact it too tightly.
Next, scatter your seeds evenly and generously across the surface. For salad greens, you want a dense carpet of growth. There's no need to be precise and plant in rows. Once sown, you can either gently press the seeds into the soil or cover them with a very thin layer of the same growing medium. A light sprinkle is all you need.
Provide Water and Sunlight
Your seeds now need two things to thrive: consistent moisture and light. Use your spray bottle to gently mist the surface of the soil twice a day. The goal is to keep the medium consistently moist but never waterlogged, as that can cause the seeds to rot. Drainage holes are your best friend here.
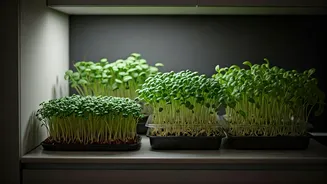
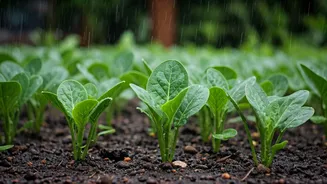
Place the trays on a sunny windowsill where they will receive at least 4-6 hours of indirect sunlight. Direct, harsh afternoon sun can scorch the delicate seedlings, so an east-facing window is often perfect. If you don't have a sunny spot, even a well-lit balcony or patio space will work. You should see the first signs of germination within 3 to 7 days, depending on the seed variety.
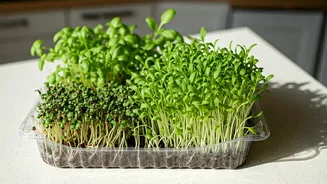
Harvesting Your Fresh Greens
This is the most satisfying step. Your greens are ready to harvest in as little as 10 days for microgreens or 20-30 days for baby salad leaves. The best way to harvest is the 'cut-and-come-again' method. Use a clean pair of scissors to snip the leaves about an inch above the soil line. Don't pull them out by the root. This allows the plant base to regrow, giving you a second or even a third harvest from the same tray!
Harvest in the morning when the leaves are at their most crisp and hydrated. You can cut just enough for one salad, ensuring maximum freshness every single time. Rinse them gently under cool water right before you eat them.