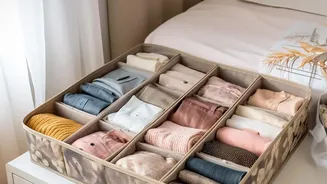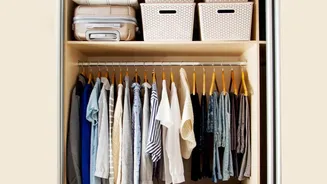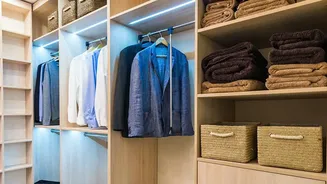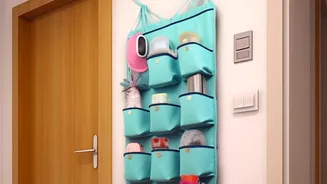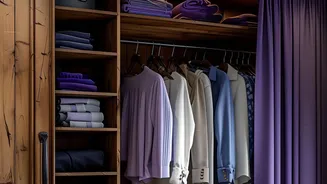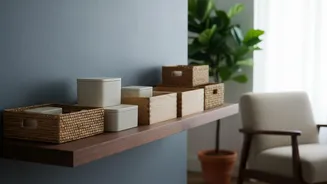





The Cycle of 'Organiser Creep'
It’s a familiar story for many. You identify a messy area—a chaotic pantry, a cluttered closet, a disorderly desk—and head to the store. The answer, you believe, lies in a new set of matching containers. For a moment, you feel productive as you fill your
new bins. But soon, you realise the problem isn't solved. Your home is still full of stuff, only now it's hidden inside boxes. This phenomenon can be called 'organiser creep'. It’s the slow but steady accumulation of storage solutions that, ironically, end up taking up valuable space and contributing to the feeling of being overwhelmed. Many professional organizers agree that buying containers should be the last step in the process, not the first. Without a plan, you might buy bins that are the wrong size or that don’t fit your space, creating yet another organizational problem to solve.
What Exactly Is a Shelf Plan?
A shelf plan is a simple but powerful concept: it’s a strategy for using your storage space before you purchase a single container. It’s about designing the system, not just buying the components. The plan forces you to assess what you own, what you need, and how you can best use the vertical and horizontal space you already have. Instead of reacting to clutter with a shopping trip, you proactively design a home for your belongings. This approach flips the traditional organizing script. It prioritizes maximizing your existing shelving, closets, and cabinets first. The goal is to create a functional, logical system where every item has a designated place, making it easy to find things and, crucially, to put them away.
Step 1: Declutter First, Organise Later
The most crucial step in any organizational project costs nothing: getting rid of things you don't need. You cannot organize clutter; you can only move it around. Before you even think about shelves or bins, you must declutter. Go through the area you want to tackle and be honest about each item. Keep only what you use, need, or love. Sell, donate, or discard the rest. This single step is transformative. Very often, once you've purged the excess, you'll find you have much more space than you thought. You may even discover that you don't need new organisers at all, because the items you’re keeping now fit comfortably in the space you already have. This process isn't just about freeing up physical space; it's about reducing the mental load of managing too much stuff.
Step 2: Audit and Design Your Space
With your decluttered items set aside, it's time to look at your empty shelves with fresh eyes. This is the 'planning' part of your shelf plan. Start by measuring your space—the height, width, and depth of each shelf. Think about the items you need to store. Group similar items together. This is known as 'zoning'. For example, in a pantry, you might create a zone for baking supplies, another for breakfast items, and a third for canned goods. In a closet, you might zone by clothing type. Consider how to best use vertical space. Often, shelves are spaced too far apart, leaving a large, inefficient gap above items. Adding shelf risers or adjustable shelves can instantly double your storage capacity in these situations. The goal is to create a blueprint that dictates where everything will live.
Step 3: 'Shop' Your Home and Choose Mindfully
Now that you have a plan, you can finally think about containers. But before you buy anything new, 'shop' in your own home. You likely have unused baskets, boxes, or bins from a previous organizing attempt. See if any of them fit your new system. Even a simple shoebox or a cardboard box can be a fantastic, free container for items inside a drawer or a deep cabinet. If, and only if, you have a genuine need after exhausting your own resources, you can then purchase a container. Because you have a plan and measurements, you’ll know exactly what size and type of container to buy. This mindful approach prevents you from buying organisers that are too big, too small, or simply unnecessary, saving you money and preventing further clutter.