

Why Mint is Your Perfect Starter Plant
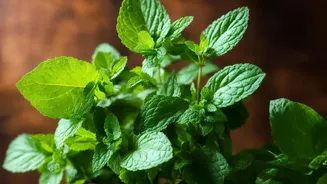
Mint's reputation for being aggressive in an outdoor garden is precisely what makes it a resilient and forgiving choice for indoor pots. It's famously easy to grow, bounces back from occasional neglect, and grows quickly enough to provide a rewarding
sense of accomplishment. Unlike many herbs that are difficult to start from seed, mint readily propagates from a simple stem cutting. This vigor provides a steady supply of fresh leaves for teas, cooking, or simply a refreshing aroma in your kitchen. Plus, the process of watching roots emerge from a stem in a glass of water is a small piece of everyday magic that can build confidence for any aspiring plant parent.
Step 1: Taking the Perfect Cutting
Your journey begins with a healthy mint stem, which you can snip from a friend's plant or even from a bunch purchased at the grocery store. Look for a vibrant, healthy stem that isn't flowering and is about 4 to 6 inches long. Using clean scissors or a sharp knife, make your cut just below a leaf node—the small bumps on the stem where leaves emerge. This node area is where the new roots will form. Once you have your cutting, gently strip the leaves from the bottom half of the stem. It's crucial that no leaves are left on the part of the stem that will be submerged, as they will rot in the water.
Step 2: Rooting Your Cutting in Water
This is the simplest and most visual method for a beginner. Place your prepared mint cutting in a clear glass or jar filled with fresh water. Ensure the leafless part of the stem is fully submerged. Position the jar on a windowsill or in a spot that receives bright, indirect sunlight. Direct, intense sun can stress the cutting before it has roots. To keep the water fresh and prevent rot, change it every few days. Within a week or two, you should start to see small white roots begin to sprout from the submerged nodes. This visible progress is one of the most encouraging parts of the process.
Step 3: Transplanting to a Pot
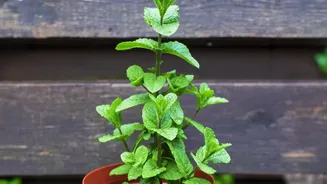
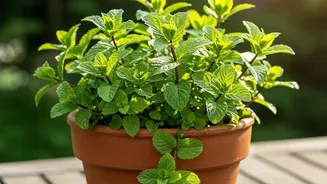
Once the roots on your cutting are about one to two inches long, it’s ready for its new home. Choose a pot that is at least 8 inches in diameter to give the mint's vigorous root system room to grow. Crucially, ensure the pot has drainage holes to prevent the soil from becoming waterlogged, which can lead to root rot—one of the most common issues for indoor mint. Fill the pot with a quality, well-draining potting mix. Make a small hole in the soil, gently place the rooted cutting inside, and backfill with soil to cover the roots. Water it thoroughly to help the soil settle.
Caring For Your Indoor Mint Plant
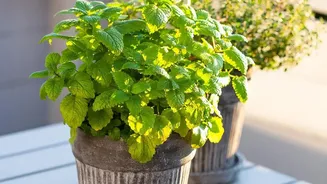
Now that your mint is potted, a simple routine will keep it thriving. Place it in the brightest spot you have, ideally a south-facing window where it can get at least six hours of light per day. If your mint starts to look 'leggy' with long stems and sparse leaves, it's a sign it needs more light. Water your plant whenever the top inch of soil feels dry to the touch. Mint likes consistently moist soil but hates being soggy. To encourage your plant to grow bushy and full, regularly pinch off the top sets of leaves. This not only promotes new growth but also gives you a fresh harvest.
Enjoying the Fresh Rewards
Beyond the satisfaction of nurturing a plant from a simple cutting, growing your own mint has numerous benefits. A fresh sprig can elevate a glass of water or a homemade mojito. Mint tea is a classic remedy for soothing an upset stomach or clearing congestion. The plant's aroma can act as a natural air freshener and may even help repel common household pests like ants and flies. Having a fresh, edible plant on hand connects you to what you consume and adds a touch of green, vibrant life to your home.