


Know When It's Time for a Change
Before you get your hands dirty, it’s important to know if your plant actually needs a new home. Repotting too often can stress a plant. A good rule of thumb is to repot most houseplants every 12 to 18 months, but faster-growing plants may need it more
frequently. Look for tell-tale signs: roots growing out of the drainage holes are a classic indicator. Another sign is if the soil dries out extremely quickly, requiring more frequent watering. You can also gently slide the plant out of its pot; if you see a dense mass of roots circling the root ball with little soil visible, it's definitely time for an upgrade. Stunted growth, where new leaves are smaller than old ones, or a plant that looks top-heavy and unstable are also clues.
Gather Your Tools and Materials
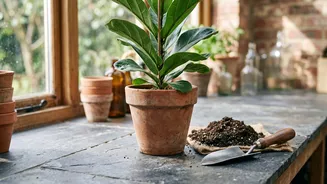
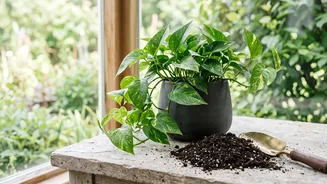
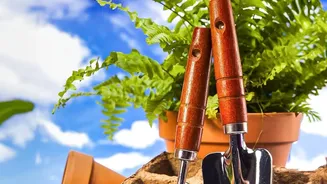
Being prepared makes the process smooth and clean. You don’t need a lot of specialised equipment, just a few key items. First, you'll need a new pot. Second, get a bag of fresh potting mix suitable for your type of plant. Avoid using soil from your garden, as it's too dense for container plants and can introduce pests. A good quality, all-purpose potting mix for indoor plants is usually a safe bet. Many mixes contain ingredients like peat moss, perlite, and compost to ensure good drainage and nutrition. It’s also helpful to have a small trowel, a pair of gloves, and a tarp or some newspaper to work on, which makes cleanup much easier.
Choose the Perfect New Pot
Choosing the right pot is crucial. A common mistake is picking one that is too large. A pot that’s too big holds excess soil, which retains too much water and can lead to root rot. The general rule is to select a new pot that is just one to two inches larger in diameter than the current one. This provides enough room for growth without overwhelming the plant. Most importantly, ensure the new pot has drainage holes at the bottom. Without proper drainage, water will sit at the base, suffocating the roots and causing them to rot. Pots come in various materials, like terracotta or plastic. Terracotta is porous and allows soil to dry out faster, making it great for plants like succulents, while plastic pots retain moisture longer.
A Step-by-Step Guide to Repotting
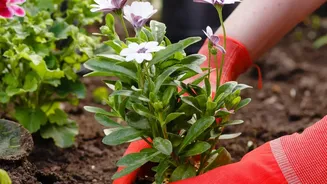
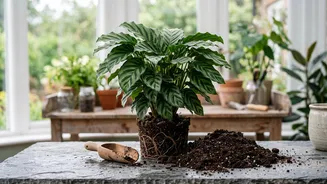
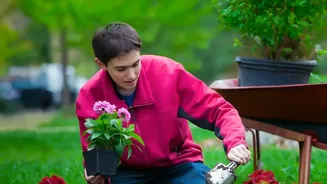
With your supplies ready, it's time to perform the transplant. First, gently remove the plant from its current pot. You may need to tap the sides or bottom to loosen it. Once it's out, carefully loosen the root ball with your fingers. If the roots are tightly wound in a circle (a condition known as being 'root-bound'), gently tease them apart to encourage them to grow outwards into the new soil. Next, prepare the new pot. Add a layer of fresh potting mix at the bottom. Place your plant in the centre, ensuring the top of the root ball sits about an inch below the rim of the pot to leave space for watering. Fill the space around the root ball with more potting mix, gently pressing it down to eliminate large air pockets without compacting it too tightly. The goal is to secure the plant while allowing the roots room to breathe.
Post-Repotting Care and What to Expect
Aftercare is just as important as the repotting itself. Once the plant is settled in its new home, give it a thorough watering until you see water run from the drainage holes. This helps settle the soil around the roots. It's normal for a plant to experience some 'transplant shock', which can look like wilting or yellowing leaves for a week or two. To help it recover, place the plant in a spot with indirect sunlight and avoid extreme temperatures. One of the biggest mistakes is fertilising too soon. The fresh potting soil already contains nutrients, and adding more can burn the sensitive, recovering roots. Wait at least four to six weeks before resuming your regular fertilising schedule. Also, be careful not to overwater; allow the top inch or two of soil to dry out before watering again.