




What Are Microgreens, Really?
First, let's clear up some confusion. Microgreens are not the same as sprouts. Sprouts are germinated seeds, typically grown in water, and the entire seed, root, and stem are eaten within days. Microgreens are the next stage of a plant's life. Grown in soil
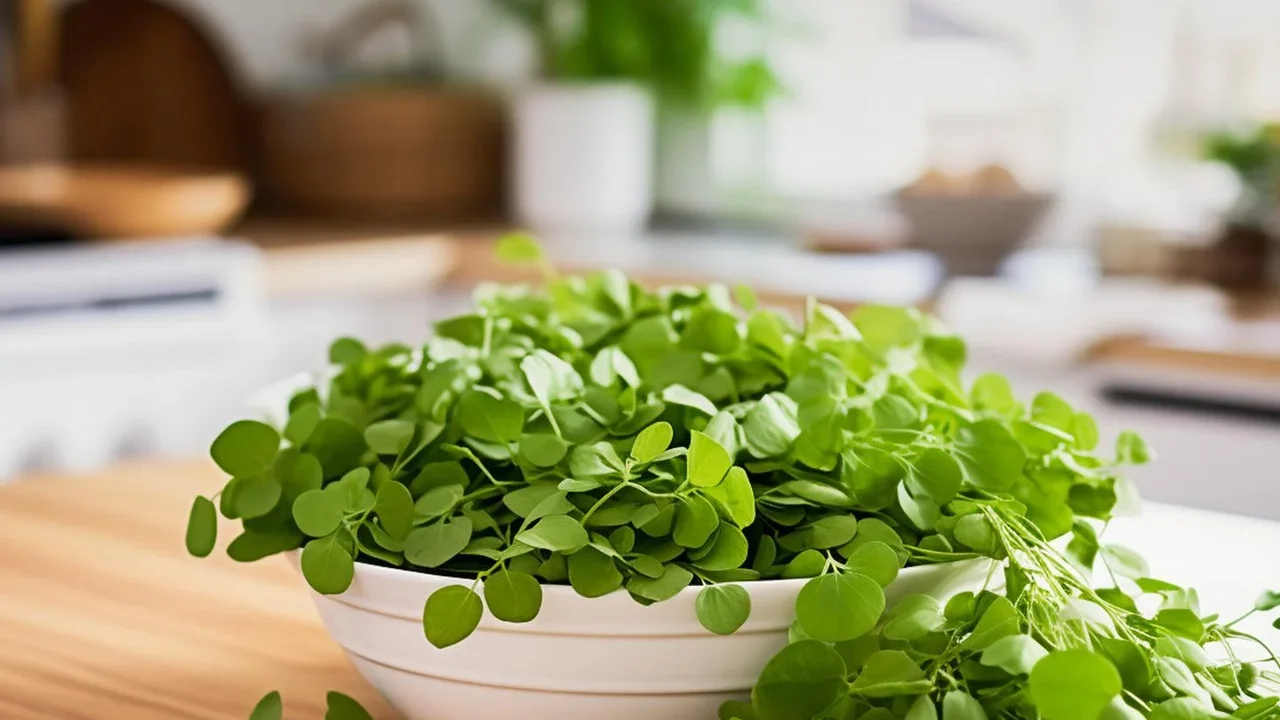
or on a growing mat, they are tiny, immature versions of edible vegetables and herbs, harvested after they develop their first set of true leaves, usually within one to three weeks. This extra time in the soil and sun allows them to develop more flavour and a significantly higher nutrient concentration than sprouts. You eat only the stem and leaves, just like you would with mature greens. Think of them as baby plants, delivering all the essence of the mature vegetable in a small, tender package.
A Nutritional Powerhouse on Your Windowsill
The primary appeal of microgreens is their astonishing nutritional profile. Studies have shown that microgreens can contain anywhere from four to 40 times more vitamins and minerals—like vitamins C, E, and K, along with potassium and iron—than their fully-grown counterparts. This concentration means just a small handful can significantly boost your meal's nutritional value. They are packed with antioxidants, which help the body combat cell damage. For urban dwellers with limited access to fresh produce, or anyone looking to maximize their nutrient intake, a simple tray of microgreens offers an efficient and powerful solution.
Your Windowsill Growing Kit
Getting started is simpler and cheaper than you might think. You don't need a garden or expensive equipment. Many beginners successfully use recycled plastic takeout containers or foil baking trays. Here’s a basic checklist to gather before you start: Trays: Two shallow trays, one with drainage holes and one without to act as a water-catching base. Growing Medium: A light potting soil or a soil-free medium like coconut coir is perfect. While you can grow them without soil, it's often the easiest way to start. Seeds: Purchase seeds specifically sold for microgreens to ensure they haven't been treated with fungicides. Water: A spray bottle for gentle misting is essential to avoid dislodging the delicate seeds and seedlings. * Light: A bright windowsill is all you need. South-facing windows are ideal, but any spot with several hours of light will work for many varieties.
A Simple Step-by-Step Guide
Ready to plant your first crop? The process is straightforward and rewarding. 1. Prepare Your Tray: Fill your tray with about an inch or two of pre-moistened potting soil, gently smoothing the surface. 2. Sow Your Seeds: Sprinkle your seeds evenly and densely across the entire surface of the soil. Don't worry about perfect spacing; microgreens are meant to grow in a dense mat. Gently press the seeds into the soil. 3. Water and Cover: Lightly mist the seeds with your spray bottle. Cover the tray with a lid or another tray to create a dark, humid environment for germination. 4. The Blackout Period: For the first 2-3 days, keep the tray covered and in the dark, misting once or twice a day to keep the soil moist but not waterlogged. You should see seeds starting to sprout. 5. Let There Be Light: Once you see germination, remove the cover and move your tray to a bright windowsill. Water from the bottom by pouring water into the base tray to encourage strong root growth. 6. Harvest Time: In about 7-14 days, depending on the variety, your microgreens will be a few inches tall and ready to harvest. Use a sharp pair of scissors to snip the greens just above the soil line.
The Easiest Greens for Beginners
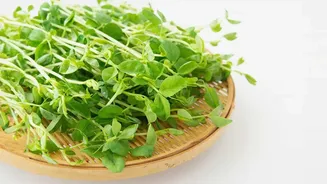
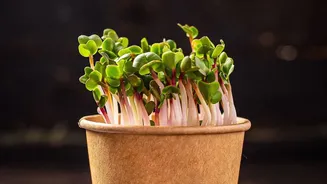
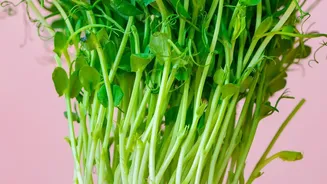
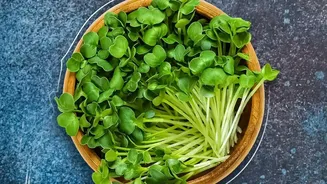
Not all microgreens are created equal when it comes to ease of growing. For your first harvest, choose forgiving varieties known for fast, reliable germination. Radish microgreens are a gold standard for beginners, often ready in about a week with a pleasant, peppery kick. Broccoli and kale are also excellent choices, known for being nutrient-dense and having a mild flavour. For something more substantial, pea shoots are sturdy and forgiving, with a sweet, fresh taste that’s hard to dislike. Starting with these varieties will build your confidence and ensure a successful first experience.
Upgrading Your Daily Meals
Once harvested, the possibilities are endless. The best way to preserve their delicate texture and nutrients is to eat them raw. Toss a handful into your morning smoothie for a hidden nutritional boost. Use them to top off your avocado toast, omelets, or pizza for added flavour and visual appeal. They can elevate a simple sandwich or wrap, adding a fresh, crunchy element. Of course, they are a natural addition to any salad, instantly making it more vibrant and nutrient-dense. Their flavours range from mild and sweet to spicy and nutty, allowing you to experiment and find the perfect green accent for your favorite dishes.