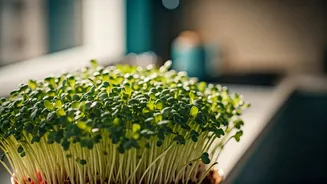


What Exactly Are Microgreens?
Before you picture tiny heads of lettuce, let’s clarify. Microgreens are not just small vegetables; they are the young seedlings of edible vegetables and herbs. Harvested just 7 to 21 days after germination, they are more developed than sprouts but not yet
mature baby greens. Think of them as the toddler stage of a plant. While sprouts are germinated seeds grown in water, microgreens are grown in soil or a similar medium and require light. This process allows them to develop their first set of true leaves, which is where they get their vibrant color and concentrated flavor, ranging from the spicy kick of radish to the sweet, earthy taste of beet.
The Allure of the Tiny Farm
So why is this trend captivating a generation often associated with urban living and digital-first lifestyles? It’s a perfect storm of modern values. For starters, it offers a direct connection to food. In an era of complex supply chains, growing your own greens provides transparency and a sense of control. There's also the wellness component; people are more conscious than ever about what they eat, and having fresh, pesticide-free greens at arm's length is a huge plus. For apartment dwellers, it’s a solution to the no-garden problem, offering the satisfaction of cultivation without the need for a backyard. And let’s be honest—a lush tray of green, purple, and red microgreens on a kitchen counter is highly photogenic, making it a natural fit for the social media age.
A Nutrient-Dense Powerhouse
The phrase “nutrient-dense” isn’t just marketing hype. While nutrition content varies by variety, research suggests that microgreens can pack a serious punch. Studies have shown that microgreens can contain significantly higher concentrations of vitamins, minerals, and antioxidants than their mature counterparts. For example, red cabbage microgreens have been found to have many times the Vitamin C and Vitamin K of mature red cabbage. Because they are harvested at their peak, these tiny plants are essentially concentrated little flavor and nutrition bombs. They offer a simple way to elevate the nutritional profile of any meal, adding a burst of vitamins with just a small handful.
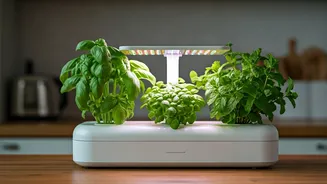
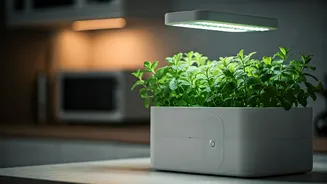
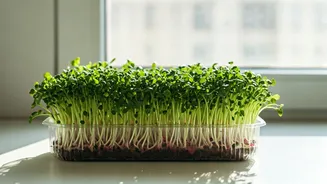
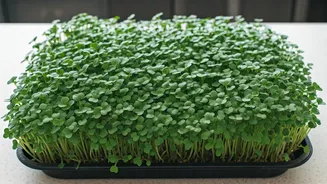
Your Kitchen Counter Starter Kit
Getting started is surprisingly simple and affordable, requiring no fancy or expensive equipment. You can buy a pre-made kit or assemble your own supplies. Here’s a basic checklist: 1. Seeds: Look for seeds specifically labeled for microgreens. Popular choices for beginners include broccoli, radish, kale, and pea shoots. 2. Trays: You’ll need a shallow tray with drainage holes and another tray to place underneath it to catch water. Reusable plastic takeout containers can even work in a pinch. 3. Growing Medium: A fine, organic potting soil or a soil-free medium like coco coir or a hydroponic grow mat works perfectly. 4. Light Source: A sunny windowsill that gets at least four to six hours of direct sunlight is ideal. If you lack natural light, a simple, inexpensive LED grow light will do the trick. 5. Water: A spray bottle for misting is helpful to keep seeds moist without dislodging them.
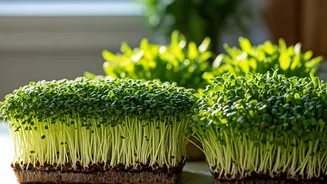
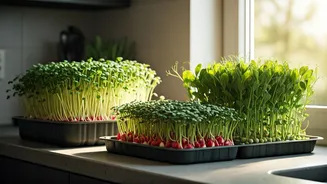
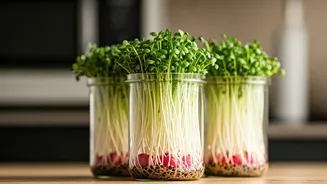
From Seed to Harvest in 10 Days
The process is incredibly rewarding because the turnaround is so fast. First, moisten your soil or growing medium and fill your tray, patting it down gently. Next, sprinkle your seeds densely and evenly across the entire surface—you want them close together. Lightly mist the seeds with water and cover the tray for a couple of days to encourage germination (this is the “blackout” period). Once you see sprouts, uncover the tray and move it to your light source. Water daily from the bottom tray or mist lightly to keep the soil moist but not soggy. In about 7 to 14 days, depending on the variety, your microgreens will be a few inches tall and ready to harvest. Simply use a sharp pair of scissors to snip them just above the soil line.
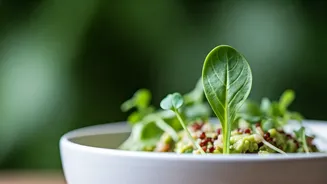
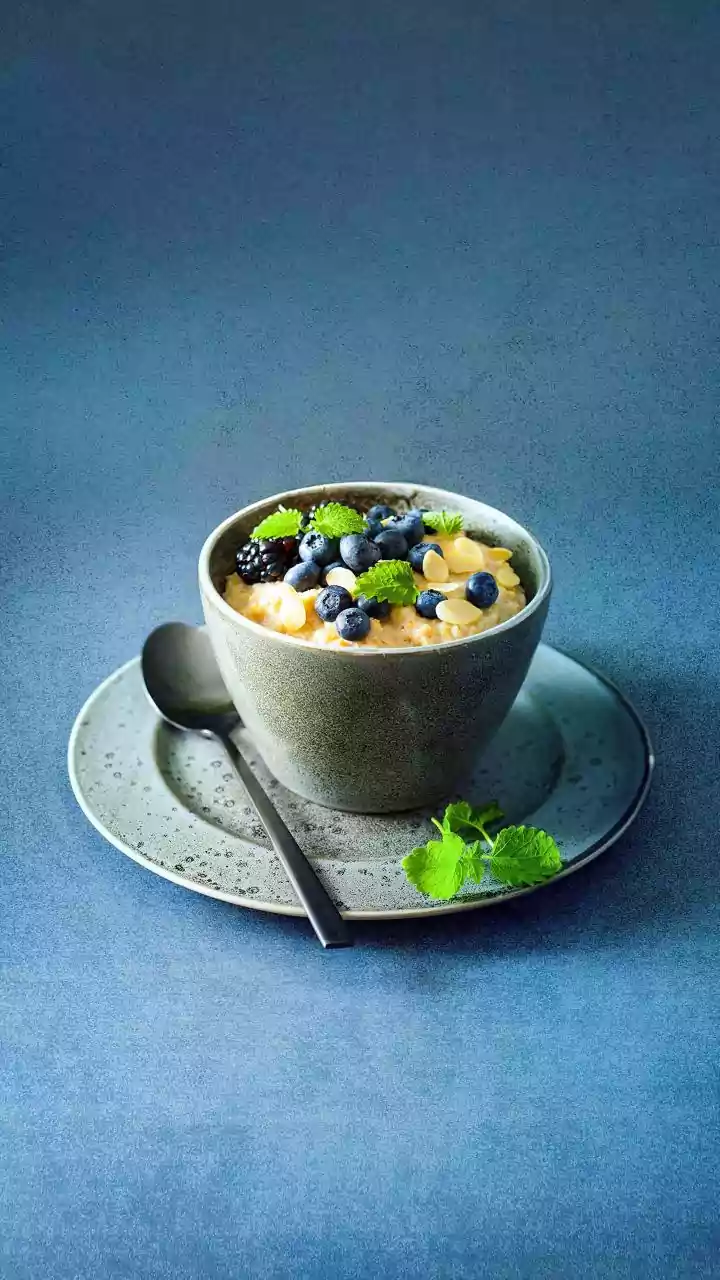
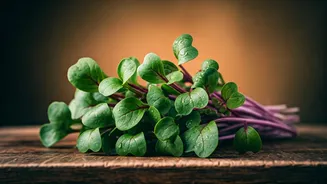
Beyond the Fancy Garnish
While they look beautiful as a garnish on a restaurant plate, microgreens are incredibly versatile. Their flavors are often a more intense version of the mature plant, making them a powerful ingredient. Toss a handful into your salad for extra crunch and a nutrient boost. Layer them into sandwiches and wraps for a peppery bite. Blend them into smoothies for hidden nutrition, or use them as a fresh, vibrant topping for avocado toast, eggs, soups, and tacos. Once you have a steady supply growing on your counter, you’ll find yourself adding them to almost everything.