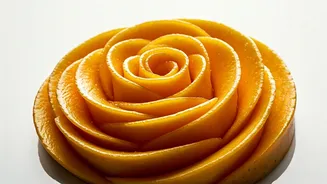


The Art of the Edible Flower
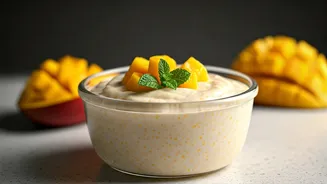
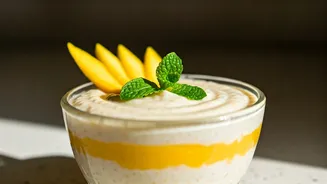
Why go through the trouble of making a mango rose? Because it’s one of those kitchen tricks that delivers maximum impact for minimal effort—once you know the secret. A single, perfectly formed mango rose can turn a simple bowl of dahi, a slice of cheesecake,
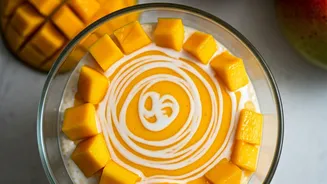
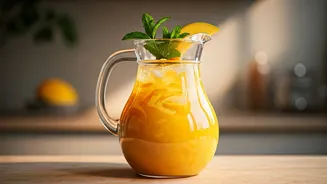
or a humble cupcake into a dessert worthy of a five-star restaurant. It’s not just food; it’s an experience. It shows care, elevates the presentation, and makes any occasion feel more special. In the world of social media, it’s also the perfect way to make your food photos pop, capturing the vibrant essence of summer in a single, beautiful swirl.
Choosing the Perfect Mango
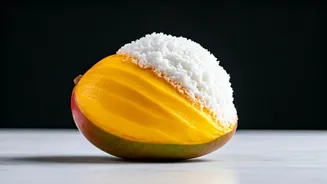
Your rose will only be as good as the mango you start with. Not all mangoes are created equal for this task. The ideal candidate is ripe but still firm to the touch. If it’s too soft, the slices will turn to mush; if it’s too hard, they won’t be flexible enough to bend. Look for varieties with minimal fibre, as stringy bits can ruin the clean slices you need. Varieties like Alphonso (when perfectly ripe), Kesar, or even the less fibrous Badami are excellent choices. The mango should have a sweet fragrance at the stem and give just slightly when you press it gently. Avoid mangoes with bruised skin or soft spots.
Essential Tools and Prep
You don’t need a full chef’s kit for this, but a few key tools will make the process much smoother. First and foremost, a very sharp knife is non-negotiable. A thin, flexible blade works best, allowing you to slice close to the seed and get uniform pieces. A Y-peeler is also your best friend for removing the skin with minimal waste. Finally, ensure you have a stable, non-slip cutting board. To prepare the mango, wash and dry it. Slice off the two fleshy “cheeks” as close to the flat, central seed as possible. You can use the remaining flesh from the sides for a snack, as the cheeks are what you’ll use for the rose.
The Slicing Technique
This is the most crucial step. Take one mango cheek and place it cut-side down on your board. Using your sharp knife, carefully slice the cheek into very thin, uniform strips, about 2-3 millimetres thick. The key is consistency. Try to keep all your slices the same thickness so they bend and roll evenly. Don’t worry if the first few slices aren’t perfect; they can be used for the centre of the rose. Lay the slices out on your cutting board as you go, keeping them in order. If the mango is correctly ripe, the slices should be pliable without breaking.
Assembling Your Gorgeous Rose
Now for the fun part. Arrange your mango slices in a long, straight line, overlapping them by about halfway. The curved edge of the slices should all face the same direction. The length of your line will determine the size of your rose; a good starting point is about 10-12 slices. Once they are arranged, start rolling from one end. Take the first slice and curl it tightly to form the centre bud of the rose. Continue rolling the entire line of slices around this central bud. As you roll, the overlapping pieces will naturally fan out, creating the petal effect. Be gentle but firm to keep the shape intact.
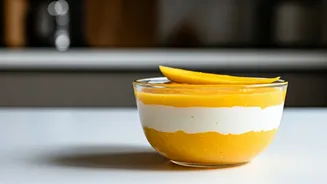
Showcasing Your Creation
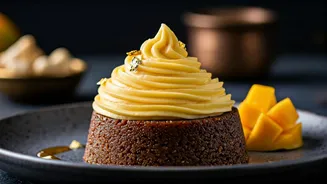
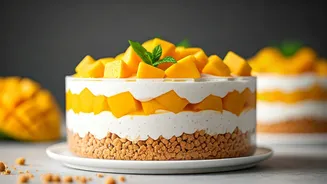
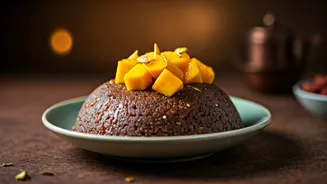
Once rolled, gently pick up your mango rose from the bottom and place it on your desired dessert. It’s a stunning topper for cheesecakes, pavlovas, tarts, and cakes. You can place one in the centre of a smoothie bowl, on a stack of pancakes, or simply on a plate with some ice cream or Greek yogurt. For a truly decadent touch, you can garnish it with a mint leaf to act as a “leaf.” The vibrant orange-yellow hue against a creamy white or dark chocolate background is visually spectacular and a guaranteed way to impress your guests.