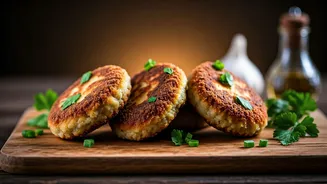

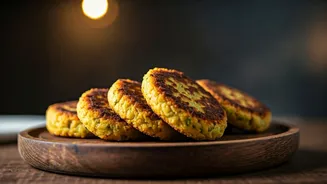


Prep Your Protein
Whether you're using chicken, fish, or a vegetarian alternative like paneer or thick slices of aubergine, the first step is achieving a uniform thickness. For chicken breasts, it's best to slice them in half horizontally to create thinner cutlets. [3]
Then, place them between sheets of plastic wrap and gently pound them to an even thickness of about 1/4 to 1/2 inch. [6, 21] This not only tenderises the meat but also ensures it cooks quickly and evenly, preventing a dry result. [21] Before you begin breading, make sure to trim away any excess fat or sinew, as these can make the texture tough. [19]
The Classic Three-Step Breading Station
The secret to a coating that sticks lies in the classic three-step breading procedure. [11] You’ll need three shallow dishes. [1] In the first, place all-purpose flour. In the second, whisk together an egg with a splash of water. In the third, put your breadcrumbs. For maximum flavour, season every layer: add salt and pepper to the chicken itself, the flour, and the breadcrumbs. [2, 12, 23] First, dredge the cutlet in the flour, shaking off any excess. [5] The flour gives the egg something to cling to. [23] Next, dip it into the egg wash, allowing any extra to drip off. [5] Finally, press the cutlet firmly into the breadcrumbs, ensuring it's coated completely on all sides. [17]
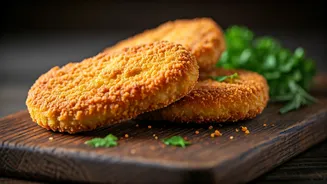
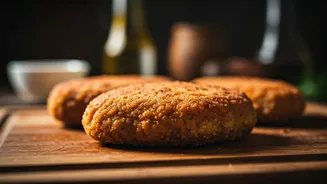
Choose Your Crunch: Panko Is King
For the ultimate crispy texture, panko breadcrumbs are your best friend. [13] Originating from Japan, panko is made from crustless bread and processed into large, airy flakes. [7, 9] These flakes absorb less oil than traditional fine breadcrumbs, resulting in a lighter, crispier coating that stays crunchy for longer. [7, 10, 16] While regular breadcrumbs can sometimes become dense or soggy, panko delivers that audible crunch that makes a cutlet so satisfying. [14] You can often find panko in both white and whole wheat varieties at most grocery stores. [9]
A Moment of Rest
This is a simple but crucial tip that many home cooks miss. Once your cutlets are breaded, let them rest on a plate or tray for at least 10-15 minutes before frying. [2, 5] This waiting period allows the breading to set and properly adhere to the surface of the chicken, which means it’s much less likely to fall off during the cooking process. [1, 23] This little bit of patience makes a huge difference in achieving a flawless, intact crust.
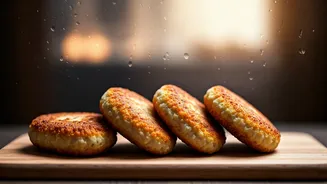
Mastering the Fry
You don't need a deep fryer for perfect cutlets; a shallow fry in a heavy skillet, like cast iron, works beautifully. [21] Add enough neutral oil (like canola, vegetable, or avocado oil) to come about a quarter to halfway up the sides of the cutlet. [1, 2] The oil temperature is critical. Heat the oil over medium-high heat to about 350°F (175°C). [1] If it's too cool, the cutlets will absorb excess oil and become greasy; if it's too hot, the breading will burn before the inside is cooked. [4, 8] A great tip is to drop a single breadcrumb into the oil; if it sizzles immediately, you're ready to go. [1] Fry the cutlets in a single layer, being careful not to overcrowd the pan, which can lower the oil temperature. [2, 11] Cook for about 2-4 minutes per side, until deep golden brown and cooked through. [1, 3]
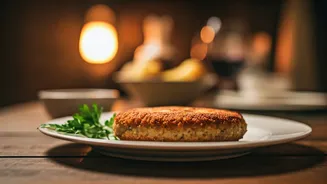
The Final Step: Keep It Crispy
Where you put your cutlets after frying is just as important as how you fry them. Never place them on paper towels. [26] While paper towels absorb some oil, they also trap steam, which will quickly turn your crispy coating soggy. [26] The best method is to transfer the cooked cutlets immediately to a wire rack set over a baking sheet. [1, 11] This allows air to circulate all around the cutlet, wicking away steam and keeping the breading perfectly crisp. [26] While they are still hot, sprinkle with a little flaky salt and a squeeze of fresh lemon juice for a final burst of flavour. [1]