

The Divine Taste of Mathura
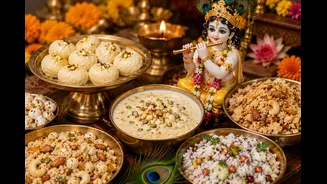
The connection between peda and Lord Krishna is deeply rooted in folklore. Legend tells of Krishna's mother, Yashoda, accidentally creating the sweet by over-boiling milk and adding sugar to salvage it. Krishna's fondness for the treat established a tradition,
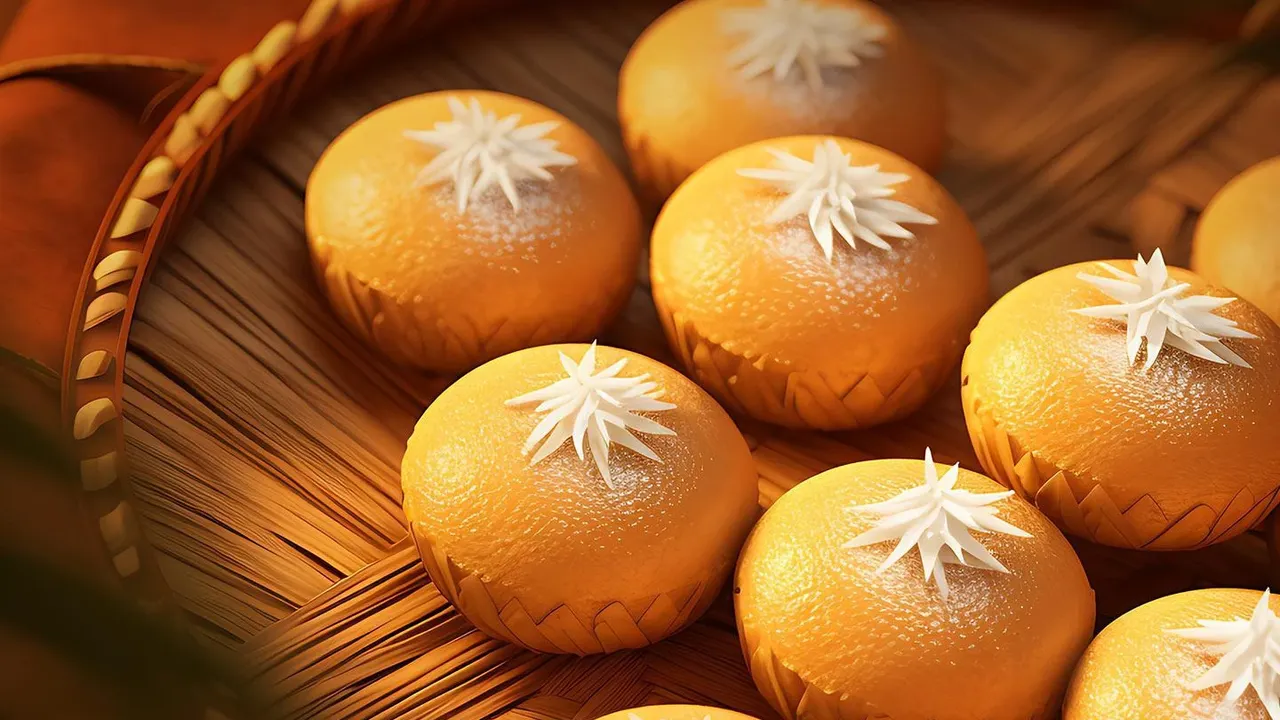
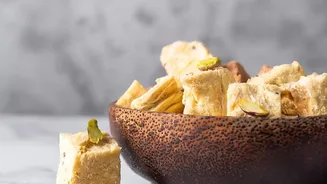
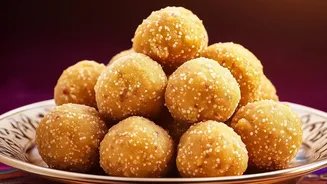
making the peda an iconic offering, or prasad, especially in his birthplace, Mathura. While many varieties exist, the Mathura-style peda is distinct for its rich, caramelized flavour and slightly grainy texture, which comes from slowly roasting milk solids, known as khoya or mawa. Preparing this prasad at home adds a personal touch to the festivities, turning a simple sweet into an offering of love and devotion.
Your Ingredients for Authentic Peda
This recipe yields approximately 15-20 pedas. The key to the authentic taste lies in using good quality khoya and a special type of sugar called tagar. While regular powdered sugar works, tagar provides a superior texture. The ingredients are: 250 grams unsweetened khoya (mawa), grated 100 grams bura sugar (tagar), plus extra for coating 2-3 tablespoons ghee (clarified butter) 1/2 teaspoon green cardamom powder 2-3 tablespoons milk (if needed) Pistachios or almonds for garnish (optional)
The Halwai's Secret: What is Bura Sugar?
Professionals and traditional sweet makers (halwais) often use bura sugar, also known as tagar, instead of regular powdered sugar. Unlike finely ground sugar, tagar is made by cooking sugar syrup until it crystallizes, resulting in a porous, sandy, and less intensely sweet powder. This unique texture prevents the peda from becoming sticky or overly dense, creating the signature melt-in-the-mouth feel that defines a high-quality Mathura peda. You can find it at larger Indian grocery stores or even make it at home, but for convenience, finely powdered sugar is a suitable substitute.
Step-by-Step Guide to Making Peda
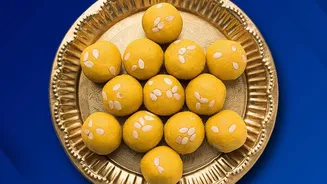
Patience is the key to perfecting this recipe, especially during the roasting process. Follow these steps carefully: 1. Roast the Khoya: In a heavy-bottomed pan on low heat, add the grated khoya. Stir continuously for a few minutes until it begins to melt. Add the ghee and continue to roast, scraping the sides and bottom of the pan. 2. Achieve the Golden-Brown Colour: This is the most crucial step. Keep roasting the khoya on low flame for 15-20 minutes, stirring constantly. The mixture will gradually turn a deep golden-brown and release a rich, nutty aroma. If the mixture appears too dry, you can add a tablespoon of milk. 3. Cool the Mixture: Once the khoya is beautifully browned, turn off the heat and transfer the mixture to a plate or bowl. Allow it to cool until it is just warm to the touch. Do not proceed while it is hot, as this will cause the sugar to melt and ruin the texture. 4. Add Sugar and Flavouring: Once the mixture is warm, add the bura sugar (tagar) and cardamom powder. Mix everything thoroughly with your hands until it forms a uniform, crumbly dough. 5. Shape the Pedas: Grease your palms with a little ghee. Take small portions of the dough and roll them into smooth, crack-free balls. Gently flatten each ball between your palms to create the classic peda shape. You can make a small indentation in the centre with your thumb for garnish. 6. Coat and Garnish: Roll the shaped pedas in the extra bura sugar for a traditional finish. Garnish with slivered pistachios or almonds if desired. Let the pedas set at room temperature for about an hour before serving.
Tips for Perfect Homemade Peda
Making mithai at home can seem daunting, but these tips will ensure success. First, always use a heavy-bottomed or non-stick pan to prevent the khoya from scorching. Consistent low heat is non-negotiable for even roasting. If your khoya is very firm or dry, grating it before roasting is essential for a smooth texture. Finally, remember that the pedas will firm up as they cool. If your mixture seems slightly soft after shaping, do not worry. You can store them in an airtight container, and they will stay fresh at room temperature for several days.