


Choose Your Container Wisely
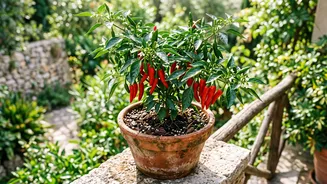
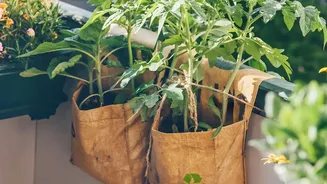
The foundation of a healthy chilli plant is giving its roots enough room to grow. For Thai chillies, a pot that is at least 10-12 inches (25-30 cm) deep and wide is a great starting point. A 10-litre pot is often considered the ideal size for most chilli varieties
to ensure a bountiful harvest. Using a pot that is too small will signal the plant to stop growing and produce only a few fruits. Terracotta pots are excellent as they are porous and allow soil to breathe, but any container will work as long as it has plenty of drainage holes at the bottom. Chilli plants despise 'wet feet', and waterlogged soil is a quick way to invite root rot.
The Perfect Potting Mix Recipe
While you can buy pre-made potting soil, creating your own simple mix gives you control over the quality and ensures your plant has the best start. A great, well-draining mix is crucial. For a simple and effective recipe, combine equal parts of three key ingredients: cocopeat (or standard potting compost), fully decomposed compost or vermicompost (worm castings), and perlite. Cocopeat provides a sterile base that retains moisture without becoming waterlogged. The compost provides a slow release of essential nutrients. Perlite, a lightweight volcanic rock, is the secret to excellent aeration and drainage, preventing the soil from compacting and allowing roots to thrive. A good ratio to start with is 2 parts compost, 1 part top soil, and 1 part perlite. This blend creates a light, airy, and nutrient-rich environment that chilli plants love.
Sunlight and Watering Needs
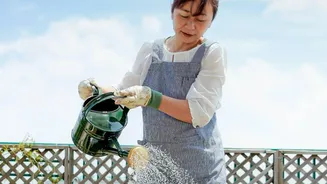
Thai chillies are sun-worshippers. To produce a generous amount of fruit, they need at least six hours of direct, bright sunlight every day. A south-facing balcony or a sunny terrace is the perfect location. If you see slow growth or a lack of fruit, a lack of sun is the most likely culprit. When it comes to watering, consistency is key, but it's important not to overdo it. A good rule is to water deeply whenever the top inch of soil feels dry to the touch. In the intense Indian heat, you may need to water more frequently, but always check the soil first. Allow the pot to drain completely after watering.
Planting and Ongoing Care
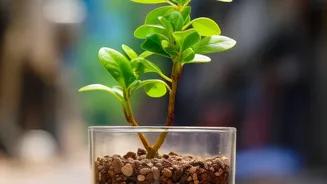
You can start with seeds or, for an easier start, buy a small seedling from a local nursery. If starting from seed, plant them about a quarter-inch deep in your potting mix. Once your plant is about 15-20 cm tall, you can 'pinch' the main growing tip to encourage it to become bushier, which often leads to more chillies. Begin feeding your plant with a balanced liquid fertilizer every few weeks, but only after you see the first few chillies beginning to form. A fertilizer with a 5-10-10 NPK ratio is well-suited for pepper development. If you notice pests like aphids, a simple spray of homemade insecticidal soap (mild dish soap mixed with water) can often resolve the issue.
Harvesting Your Fiery Rewards
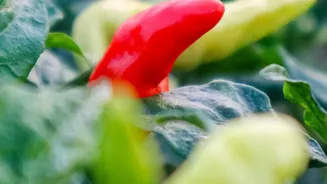
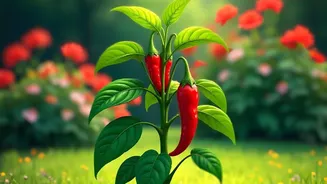
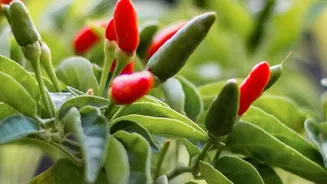
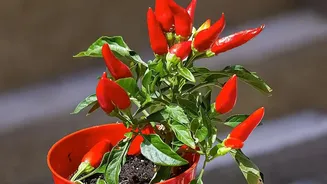
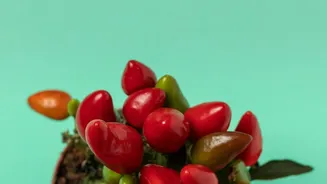
The most exciting part is the harvest. Thai chillies can be picked when they are green, but for their full, fiery heat and fruity flavour, it's best to wait until they turn a vibrant, glossy red. They will typically mature around 70-100 days after planting. Use a pair of scissors or small snips to cut the chillies from the stem; pulling them by hand can damage the delicate branches. Regular harvesting is the best way to encourage the plant to keep producing more flowers and, subsequently, more fruit throughout the season. One healthy plant can provide hundreds of peppers in a single growing season.