



Know When It’s Time for a Change
Plants are good at giving hints when they're feeling cramped. Repotting isn't an annual chore; for most houseplants, every two to three years is sufficient. However, fast-growing plants may need a new home sooner. Look for tell-tale signs that your plant has
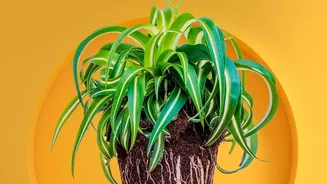
outgrown its current pot. The most obvious clue is roots poking out of the drainage holes at the bottom. You might also see roots circling the top of the soil. Another key indicator is how the soil behaves. If water runs straight through without seeming to saturate the soil, or if the soil dries out completely in just a day or two, it's a sign that the pot is more roots than soil. Stunted growth can also be a cry for help; if your plant isn't producing new leaves during its growing season, its roots may be too restricted to support new growth.
Gather Your Supplies
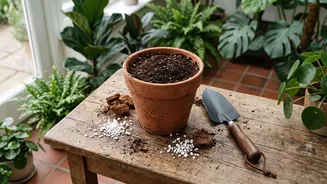
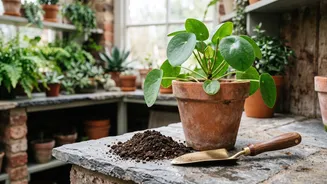
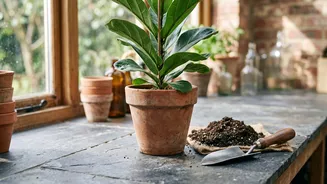
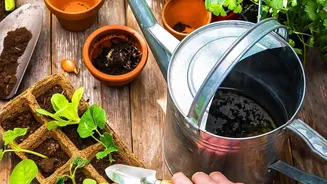
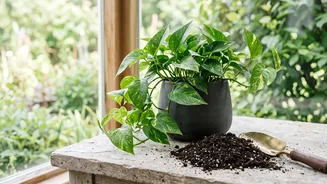
A successful repotting session starts with having everything you need on hand. First and foremost, you'll need a new pot. The golden rule is to choose a container that is only about one to two inches wider in diameter than the old one. A pot that is too large can hold excess water, increasing the risk of root rot. Ensure the new pot has drainage holes, as this is non-negotiable for preventing waterlogged soil. You'll also need fresh potting mix. It's best to buy a quality commercial mix designed for indoor plants, as garden soil is too heavy and can contain pests. Different plants have different needs; for instance, cacti and succulents prefer a fast-draining mix, while tropical plants might enjoy a mix that retains a bit more moisture.
The Step-by-Step Repotting Process
Once you have your supplies, you're ready to begin. Start by gently removing the plant from its current pot. If it's in a flexible plastic pot, you can squeeze the sides to loosen the soil. For more rigid pots, you may need to run a butter knife around the inside edge. Tip the pot sideways and gently slide the plant out, holding it by the base. Once it's free, take a moment to inspect the root ball. Gently loosen any tightly coiled or matted roots with your fingers. This encourages them to grow outwards into the new soil. Place a layer of fresh potting mix in the bottom of the new pot. Position the plant in the center, ensuring the top of the root ball sits about an inch below the rim of the new pot. Then, fill in the space around the root ball with more soil, gently patting it down to eliminate large air pockets.
Aftercare for a Happy Plant
The first few weeks after repotting are a crucial adjustment period. Immediately after securing the plant in its new home, give it a thorough watering until you see water run out of the drainage holes. This helps settle the new soil around the roots. Some plants may show signs of 'transplant shock', such as slight wilting. This is normal, and they should recover within a couple of weeks with proper care. Place the plant back in a spot with appropriate light, but avoid direct sunlight, which can add stress. It's also best to hold off on fertilizing for at least a month. Most fresh potting mixes contain nutrients, and adding more can be too much for a plant that is focusing its energy on establishing new roots.