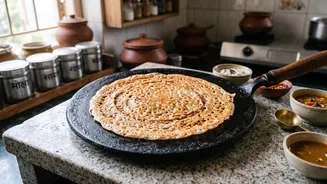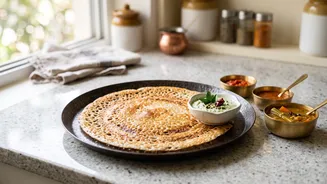




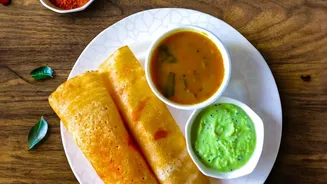

The dream of a perfect, paper-thin, crispy golden dosa, straight from your own kitchen, can feel just out of reach. Often, the culprit is the pan. A cast-iron tawa is the secret, but only if you know how to prepare it for a flawless finish.
Why Cast Iron Is King for Dosas
Before we dive
into the 'how', let's understand the 'why'. Unlike modern non-stick pans with chemical coatings, a cast-iron tawa offers unparalleled heat retention and distribution. This means the entire surface heats up evenly, cooking the dosa uniformly without hot spots that cause burning or sticking. Over time, as you cook with it, the tawa develops a natural non-stick surface called a patina. This process, known as polymerization, occurs when layers of oil bake onto the metal, creating a smooth, slick coating. This seasoned surface is what allows a dosa to spread thinly and lift off effortlessly, delivering that signature crispiness that is simply hard to replicate on other surfaces. A well-maintained tawa doesn't just cook food; it gets better with every single use.
The All-Important First Seasoning
If you have a brand-new tawa, or one that has become rusty, a proper initial seasoning is non-negotiable. Start by washing the tawa with mild soap and water to remove any factory residue or dust, then dry it completely. The most common method is on the stovetop. Place the dry tawa on a medium flame. Apply a very thin layer of a high-smoke-point oil, like sunflower, canola, or gingelly (sesame) oil, all over the surface with a paper towel. Heat the tawa until it begins to smoke lightly, which takes about 10-15 minutes. Let it cool down completely, then wipe off any excess oil. For a truly robust initial seasoning, it's recommended to repeat this process two to three times. This builds a strong foundational layer that will be the start of your non-stick journey.
Your Pre-Dosa Ritual
Seasoning is not a one-time affair. Preparing the tawa correctly before each use is the key to consistent results. First, heat the tawa on a medium flame for several minutes. Cast iron needs time to heat up properly. A common mistake is pouring batter onto a lukewarm pan, which is a primary cause of sticking. To test if it's ready, sprinkle a few drops of water on the surface. If they sizzle and evaporate immediately, it's too hot. If they dance and skitter across the surface before disappearing, the temperature is perfect. Now, for the classic trick: pour a few drops of oil and rub it all over the hot surface using half an onion on a fork. This not only greases the pan but the sulphur compounds in the onion also help create a temporary non-stick effect. Wipe away any excess oil with a paper towel; you want a sheen, not a puddle.
Troubleshooting Common Tawa Troubles
Even with preparation, you might face issues. If your dosa sticks, the most likely culprits are improper heat or a weak seasoning. If the pan was too hot, the batter will stick and burn instantly. Too cold, and it will just glue itself to the surface. If you see minor rust spots, don't panic. Gently scrub them off with some salt and a cloth, rinse, dry completely on the stove, and apply a thin coat of oil to re-season the spot. One of the biggest mistakes is using harsh soaps or steel scrubbers for cleaning, as this will strip away the precious seasoning you've worked so hard to build. Another tip is to avoid soaking the tawa in water, which will quickly lead to rust.
Daily Care for a Lifetime Finish
The best way to maintain your tawa is to use it regularly. After you've finished making your dosas, cleaning is simple. While the tawa is still warm, wipe it clean with a paper towel or a soft cloth. If there's stuckstuck food, you can rinse it with warm water and use a soft brush. For stubborn bits than scrubbing with coarse salt and a little oil works wonders. The most critical step is to dry it thoroughly. The easiest way is to place it back on the stove over a low flame for a few minutes until all moisture has evaporated. Finally, while it’s still warm than apply a micro layer of oil before storing it in a dry place than this protects it from moisture and keeps it ready for your next culinary adventure.